Gilded trinket tray

I’ve been doing a lot of crafty stuff lately. 

On my long to do list is sharing them with you because frankly, they’re cool and original and they make me happy to make so they’ll increase my happy to share. So here’s one:

A few posts back I mentioned how I was painting on my front lawn and one of my oldest friends in the world whom I’d lost touch with randomly walked by. 

She invited me to her daughters upcoming bat mitzvah. When we met her daughter was wearing a t-shirt that said “sparkle is my favorite color”, so ya know, my people. 

I thought about what’s a good thing to give a 12 year old girl that she’ll really appreciate (besides cash) and decided that something sophisticated and unique and personalized would be what I’d want and since I basically have the same tastes as a 12 year old, I got to work. 

Since I don’t know her kid at all, I based my idea on the small bit of knowledge I did know about her, and that came from the design of the invitation:   

Shockingly enough, I already owned washi tape in similar colors and with a similar pattern to match her invitation. 

I also happened to have a lovely yet simple white ceramic candle/trinket tray, still wrapped from a gift I’d rec’d but didn’t really have a great spot for. 

Excellent. Let’s get started. 

First, I laid the wide washi tape around the four sides.  After that I laid the skinny washi tape about 1/4 in from the first washi tape. Sorta a layered look. 

 
Some technical notes: 

I made sure to leave a reasonable sized border of plate on the outside edge of the wide tape. This helped the the tape conform to the curves of the plate without having to work too hard. 

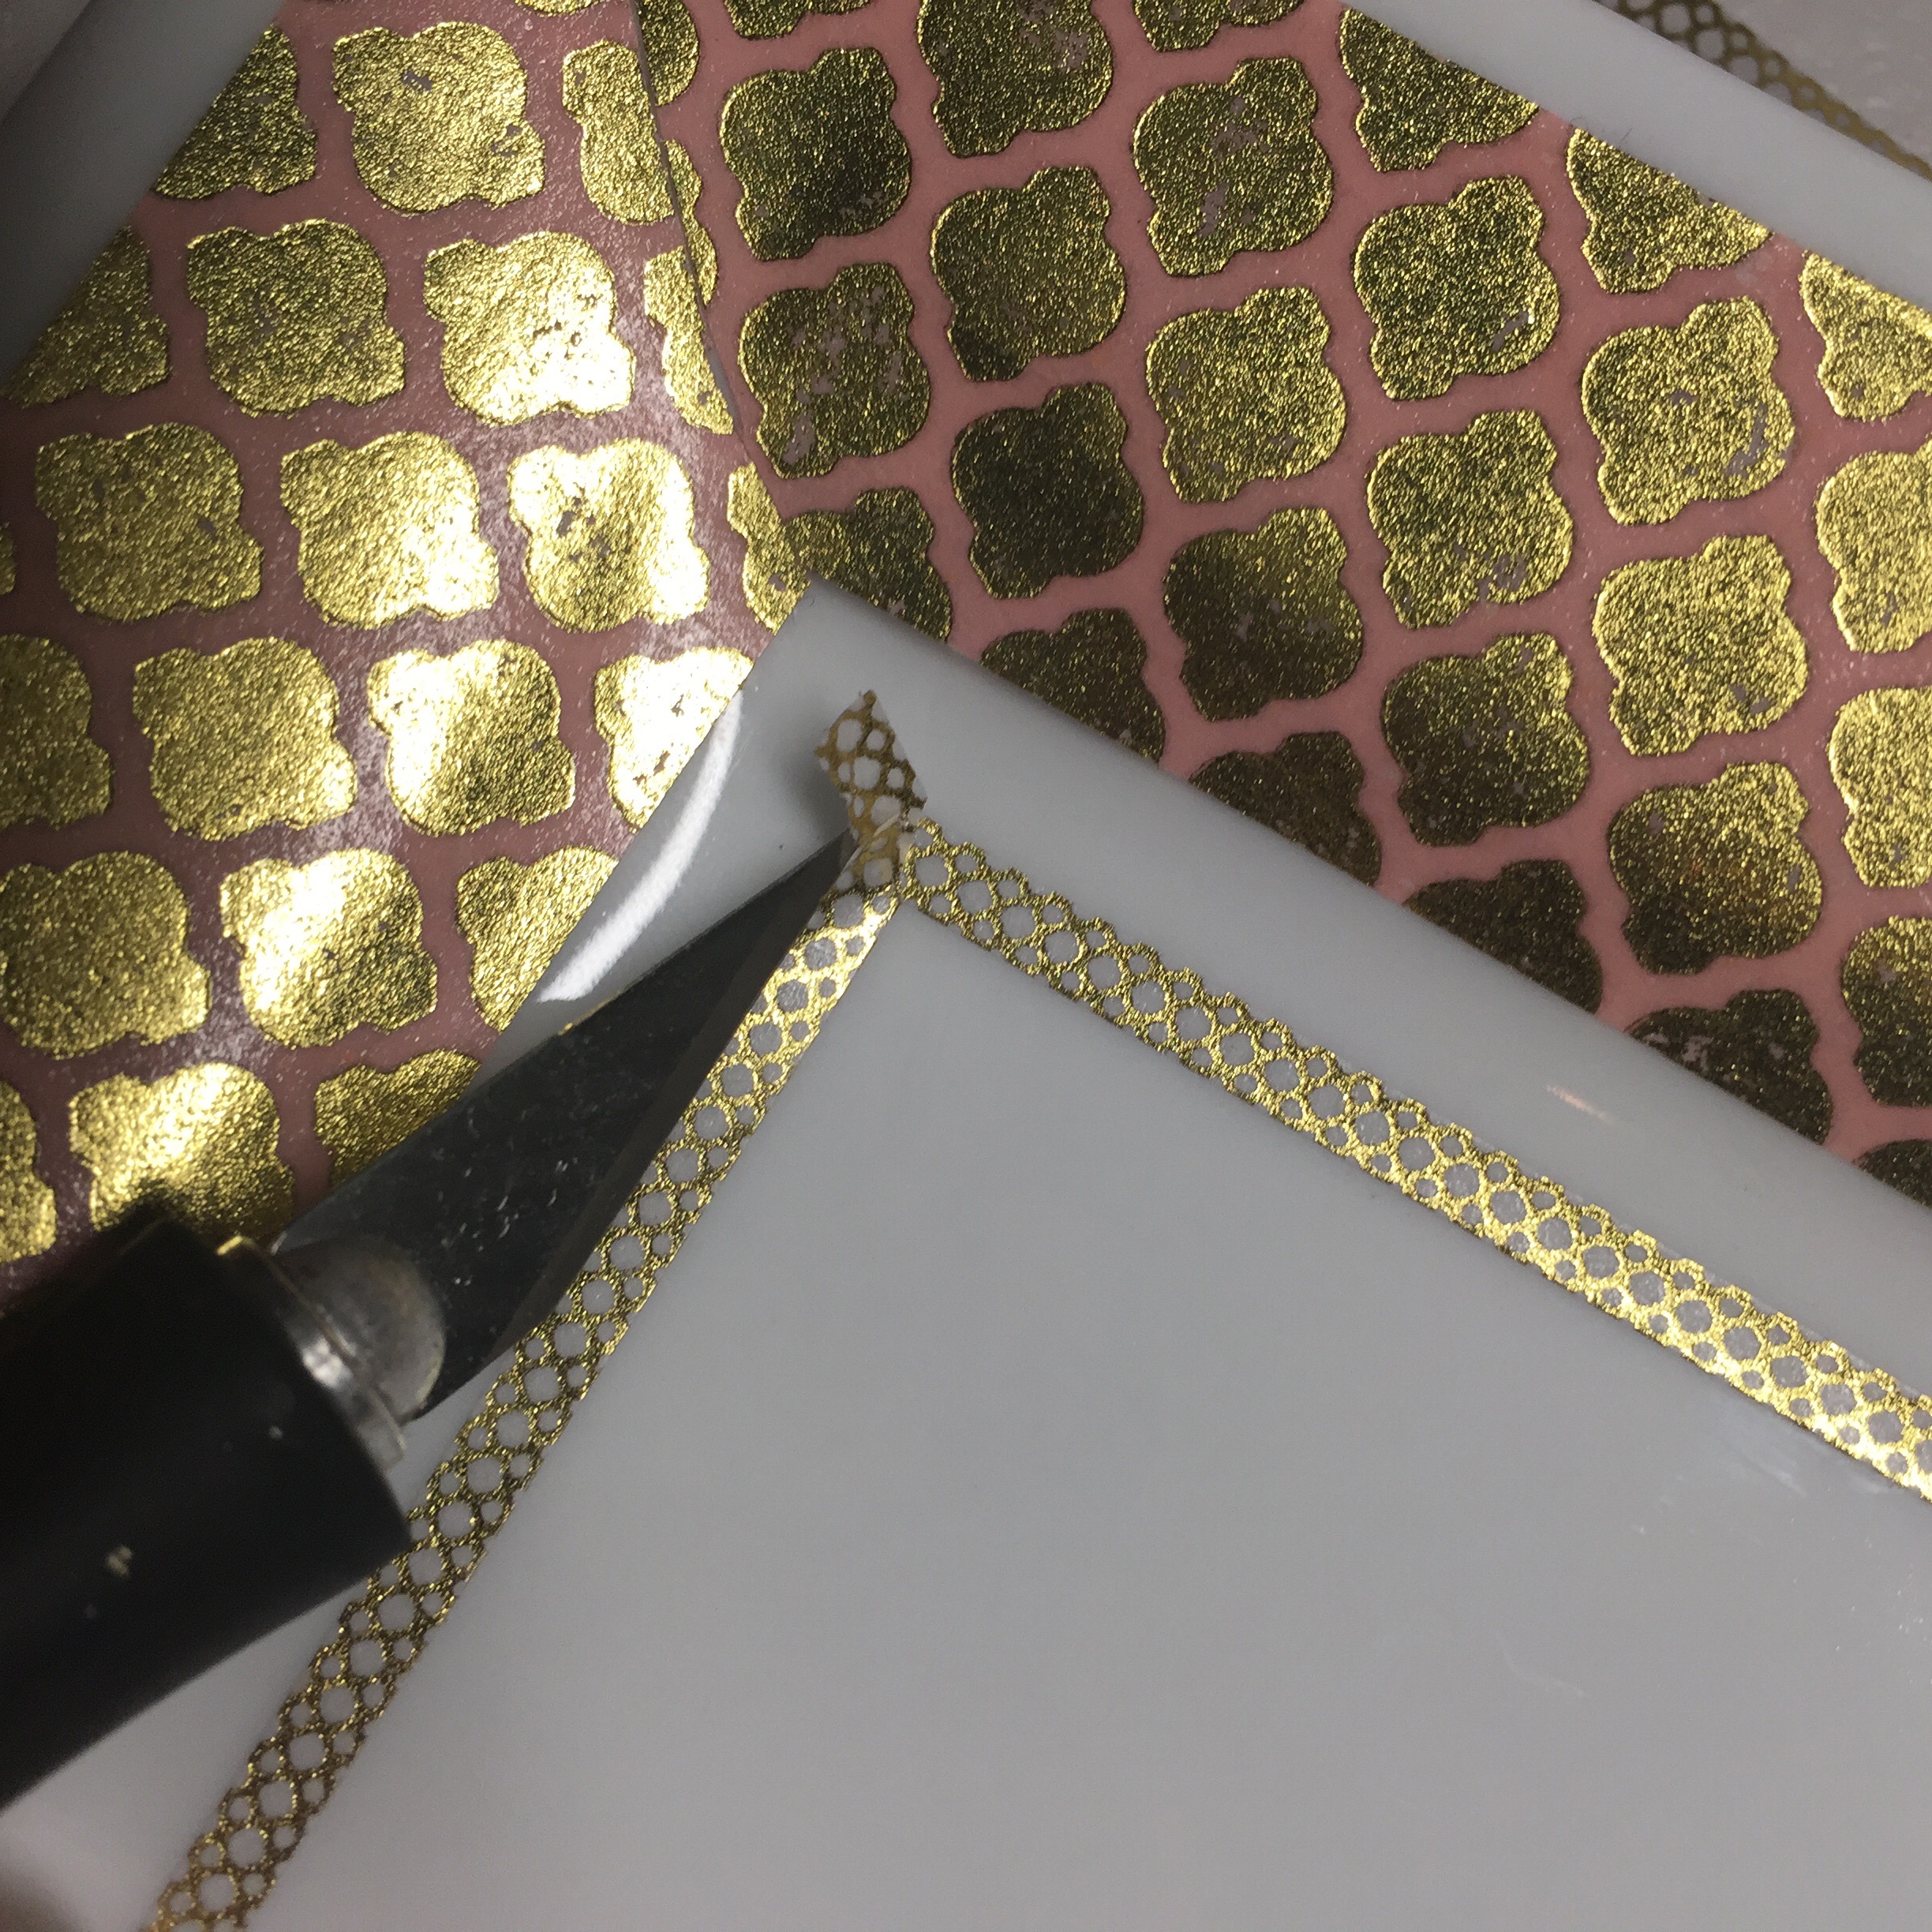
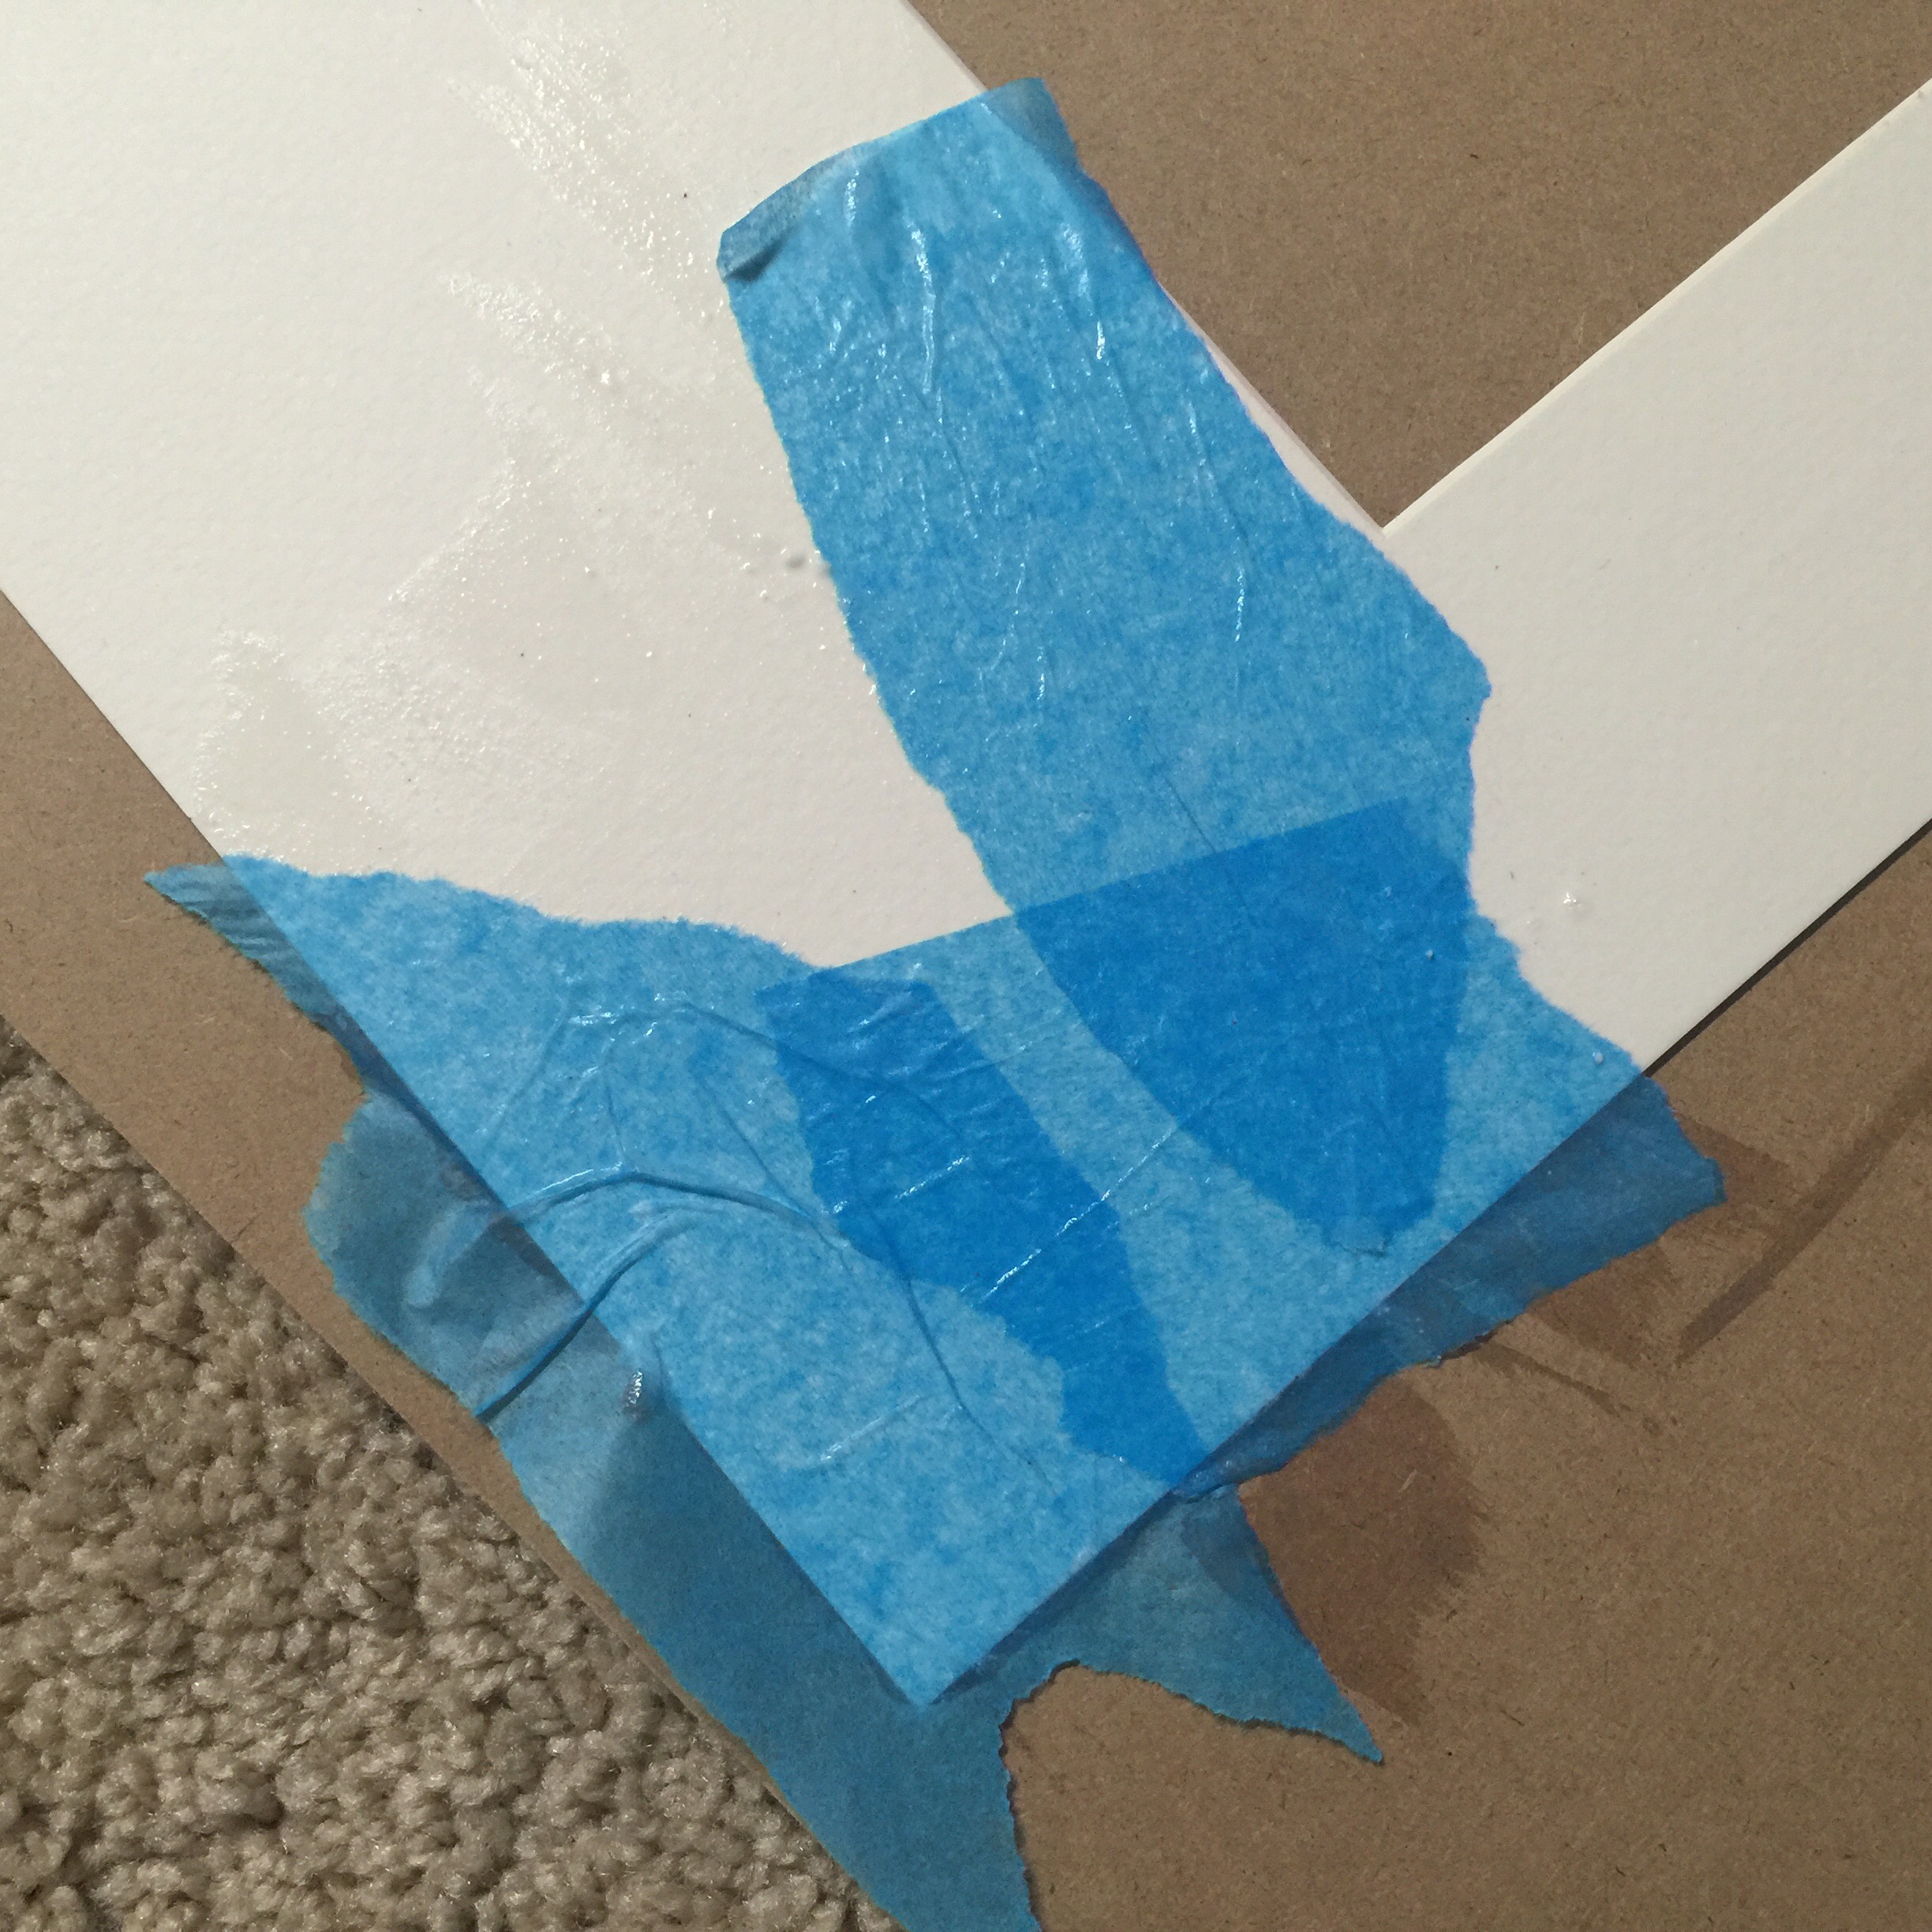
I created those mitred corners really easily. I laid the tape edge to edge in each direction and then just sliced through both layers from corner to corner. 

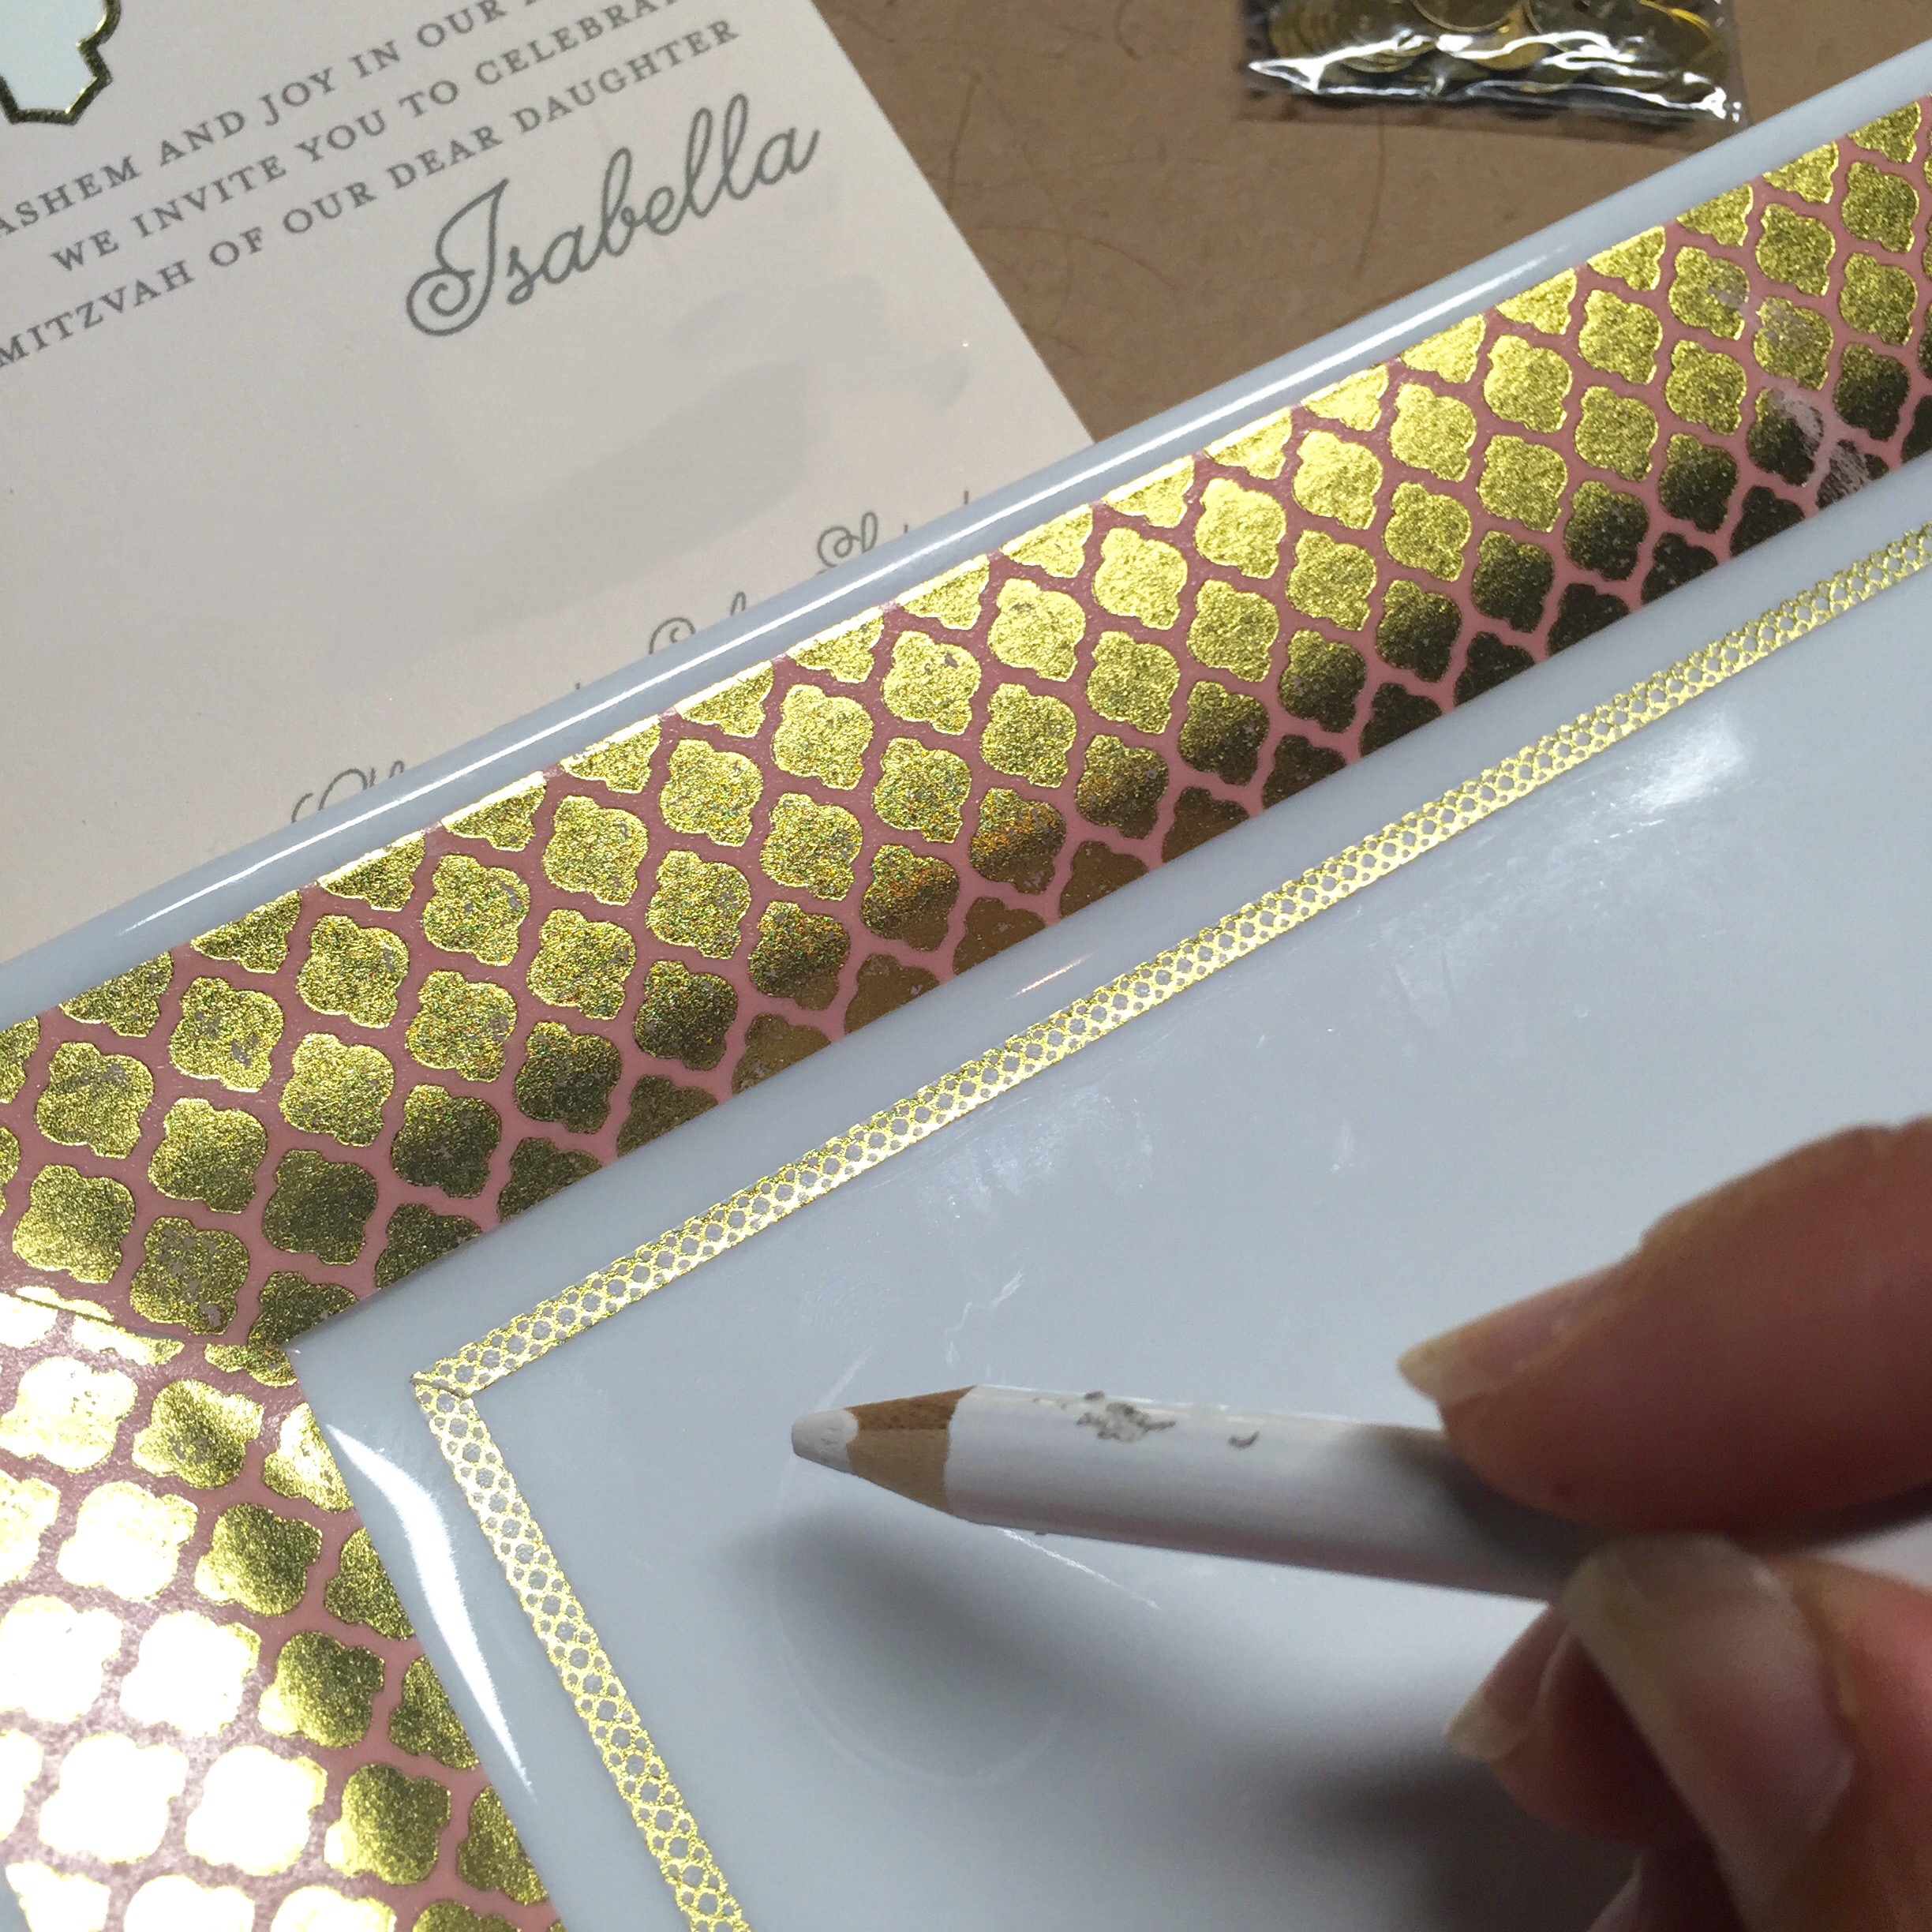
Here’s a pic of me doing it w the skinny tape:  


What was unexpectedly cool was how much the tape looked like it was part of the ceramic, especially the tape with the white background. 

Ok. After getting my washi frame in place I got to work on the name. 

At first I’d wanted to use Swarovski crystals to write it but I also knew I wanted to seal the whole thing for durability and sealer on top of swarovskis is a disaster. 

I was going through my “muchification drawer” (a real thing) looking for gold glitter paper. I was gonna print her name backwards, glue it to the back of the paper and then carefully exacto out the name and glue it in place. But, as luck would have it, while rifling through the muchification drawer I came upon the perfect solution: itty bitty little gold sequins with subtle pink accents.  

Because seriously, who doesn’t have that just hanging out at the bottom of a drawer somewhere, right?  

So, I got to work. 

I used a white pickup pencil because I had it within arms reach and i could rub it off. I free-handed her name in the same style font as it’s written on the invitation.  
 
Then I used jewelry epoxy to carefully glue the sequins in place.  
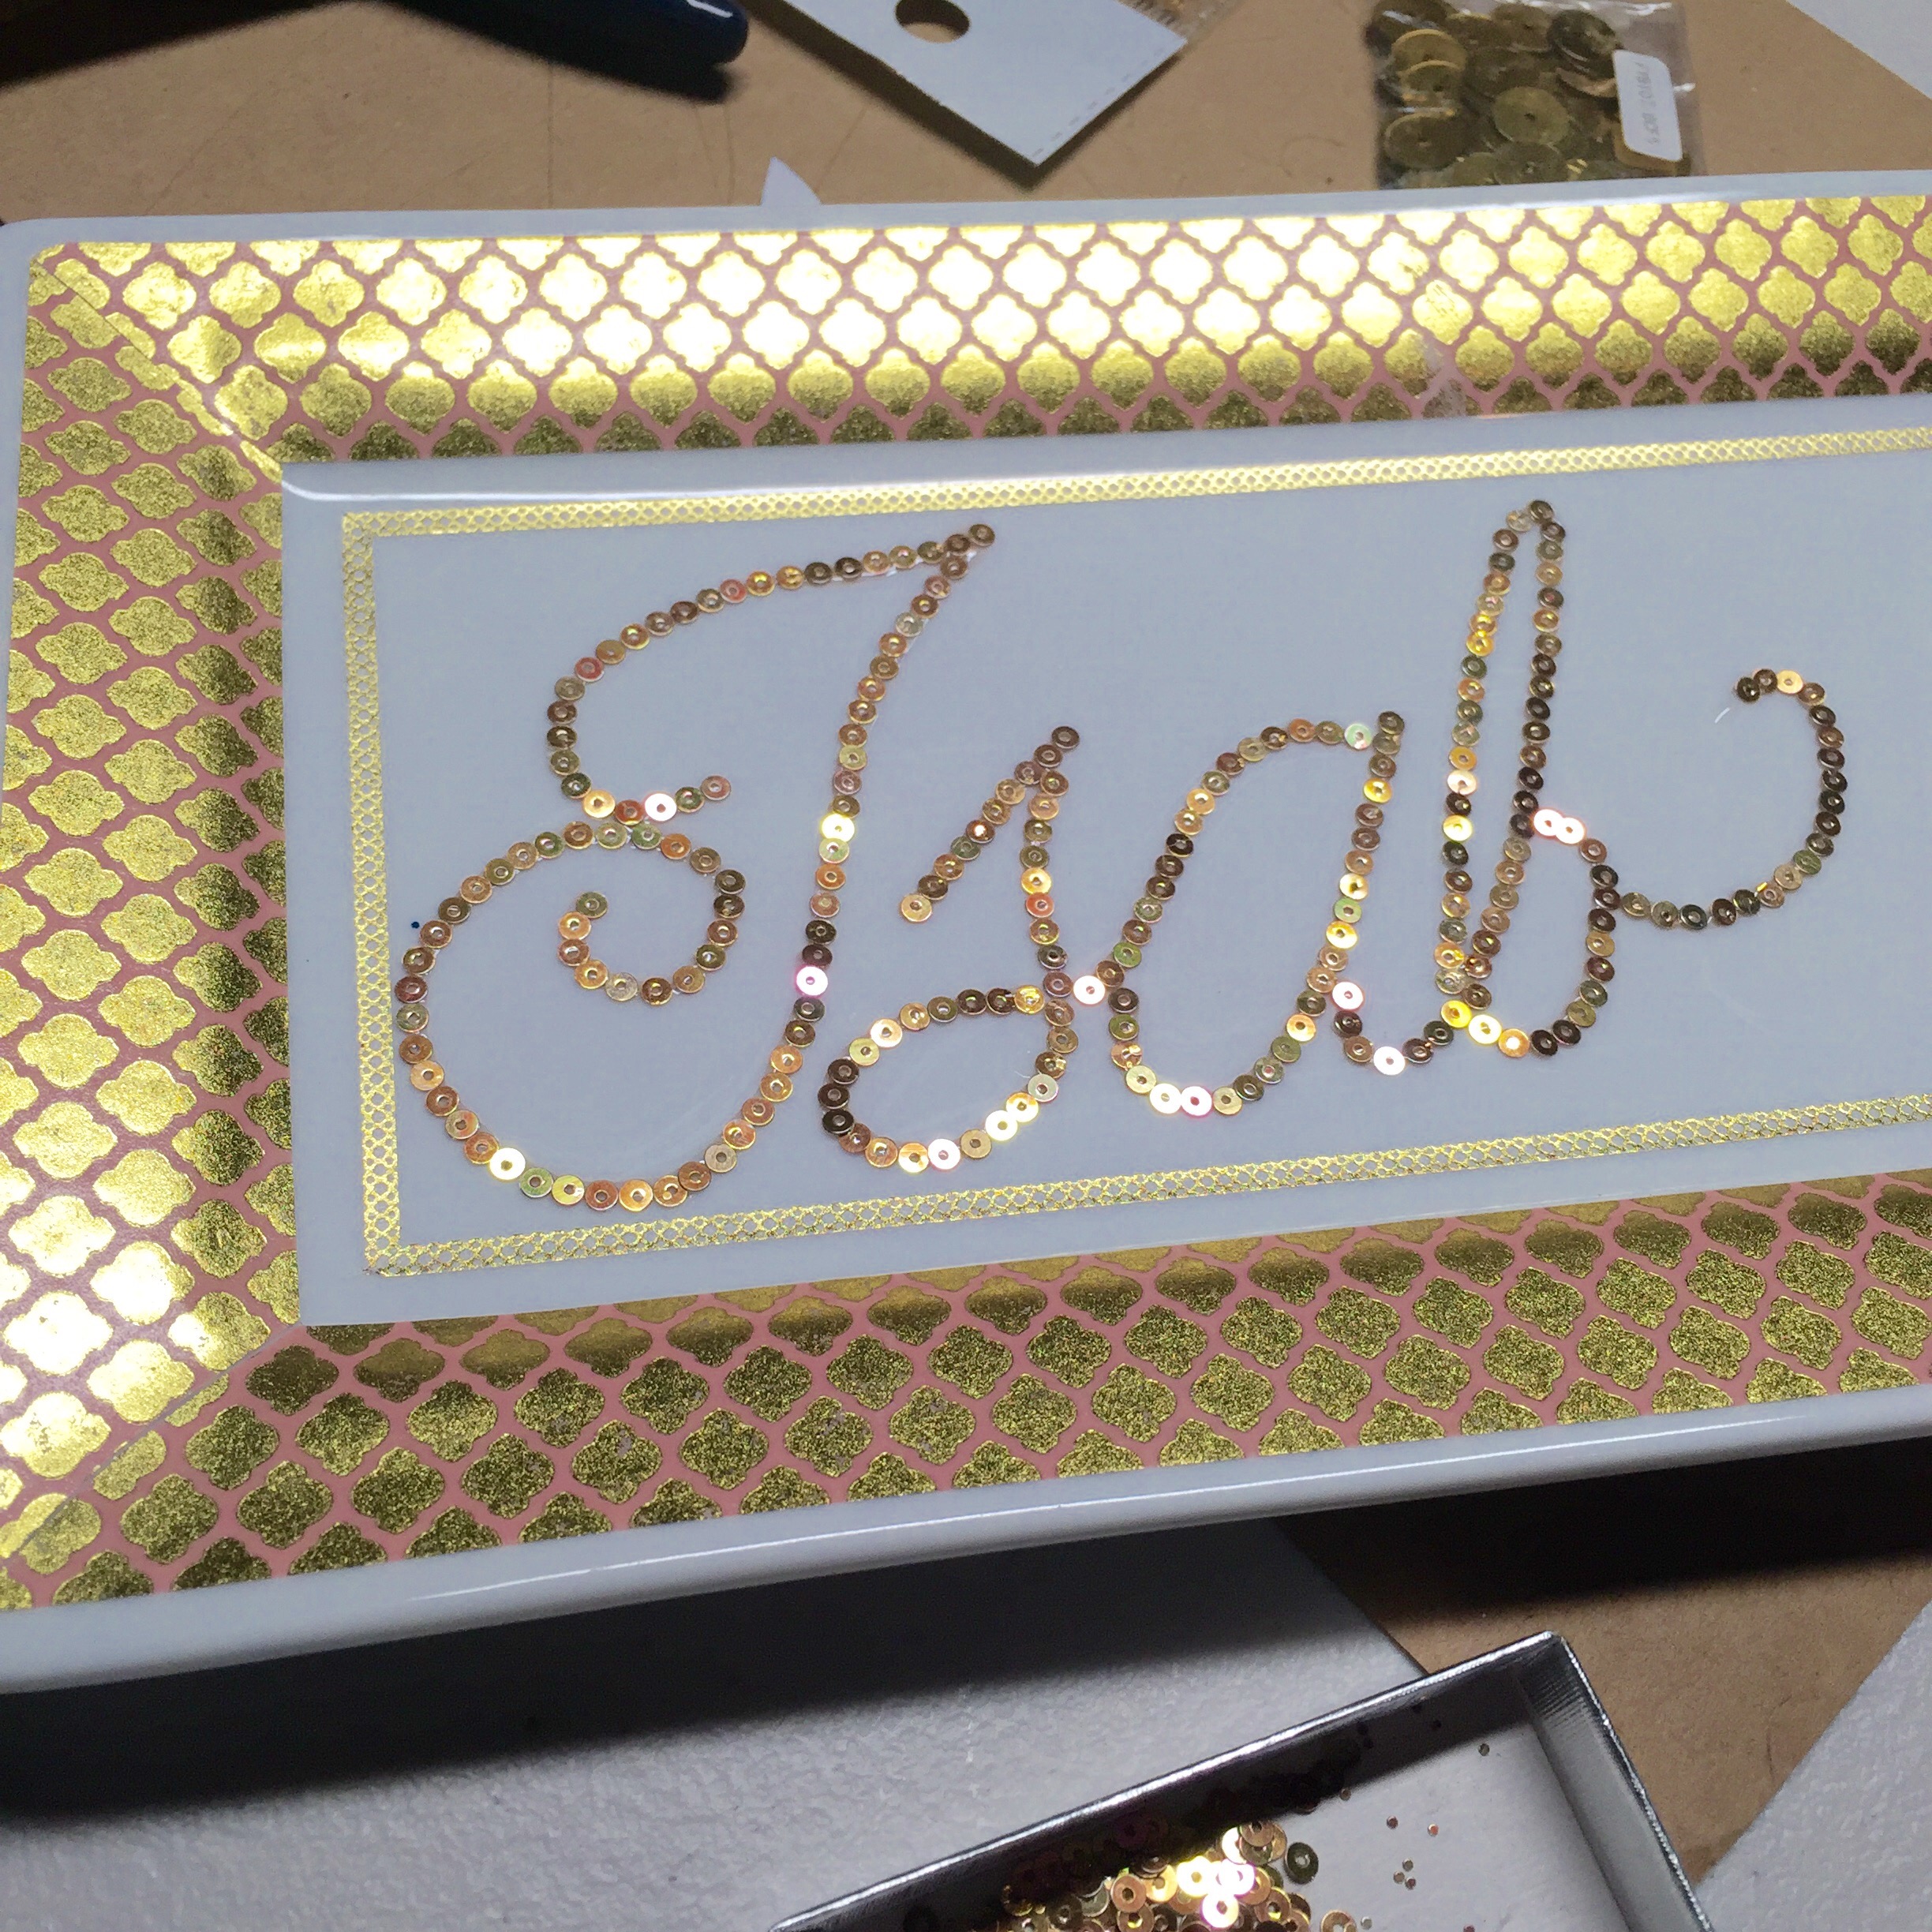
 
That thing was sparkleriffic, let me tell you! 

After the sequin glue dried I pulled out the elmers glue and a foam brush to reinforce and seal the washi tape to the plate.  

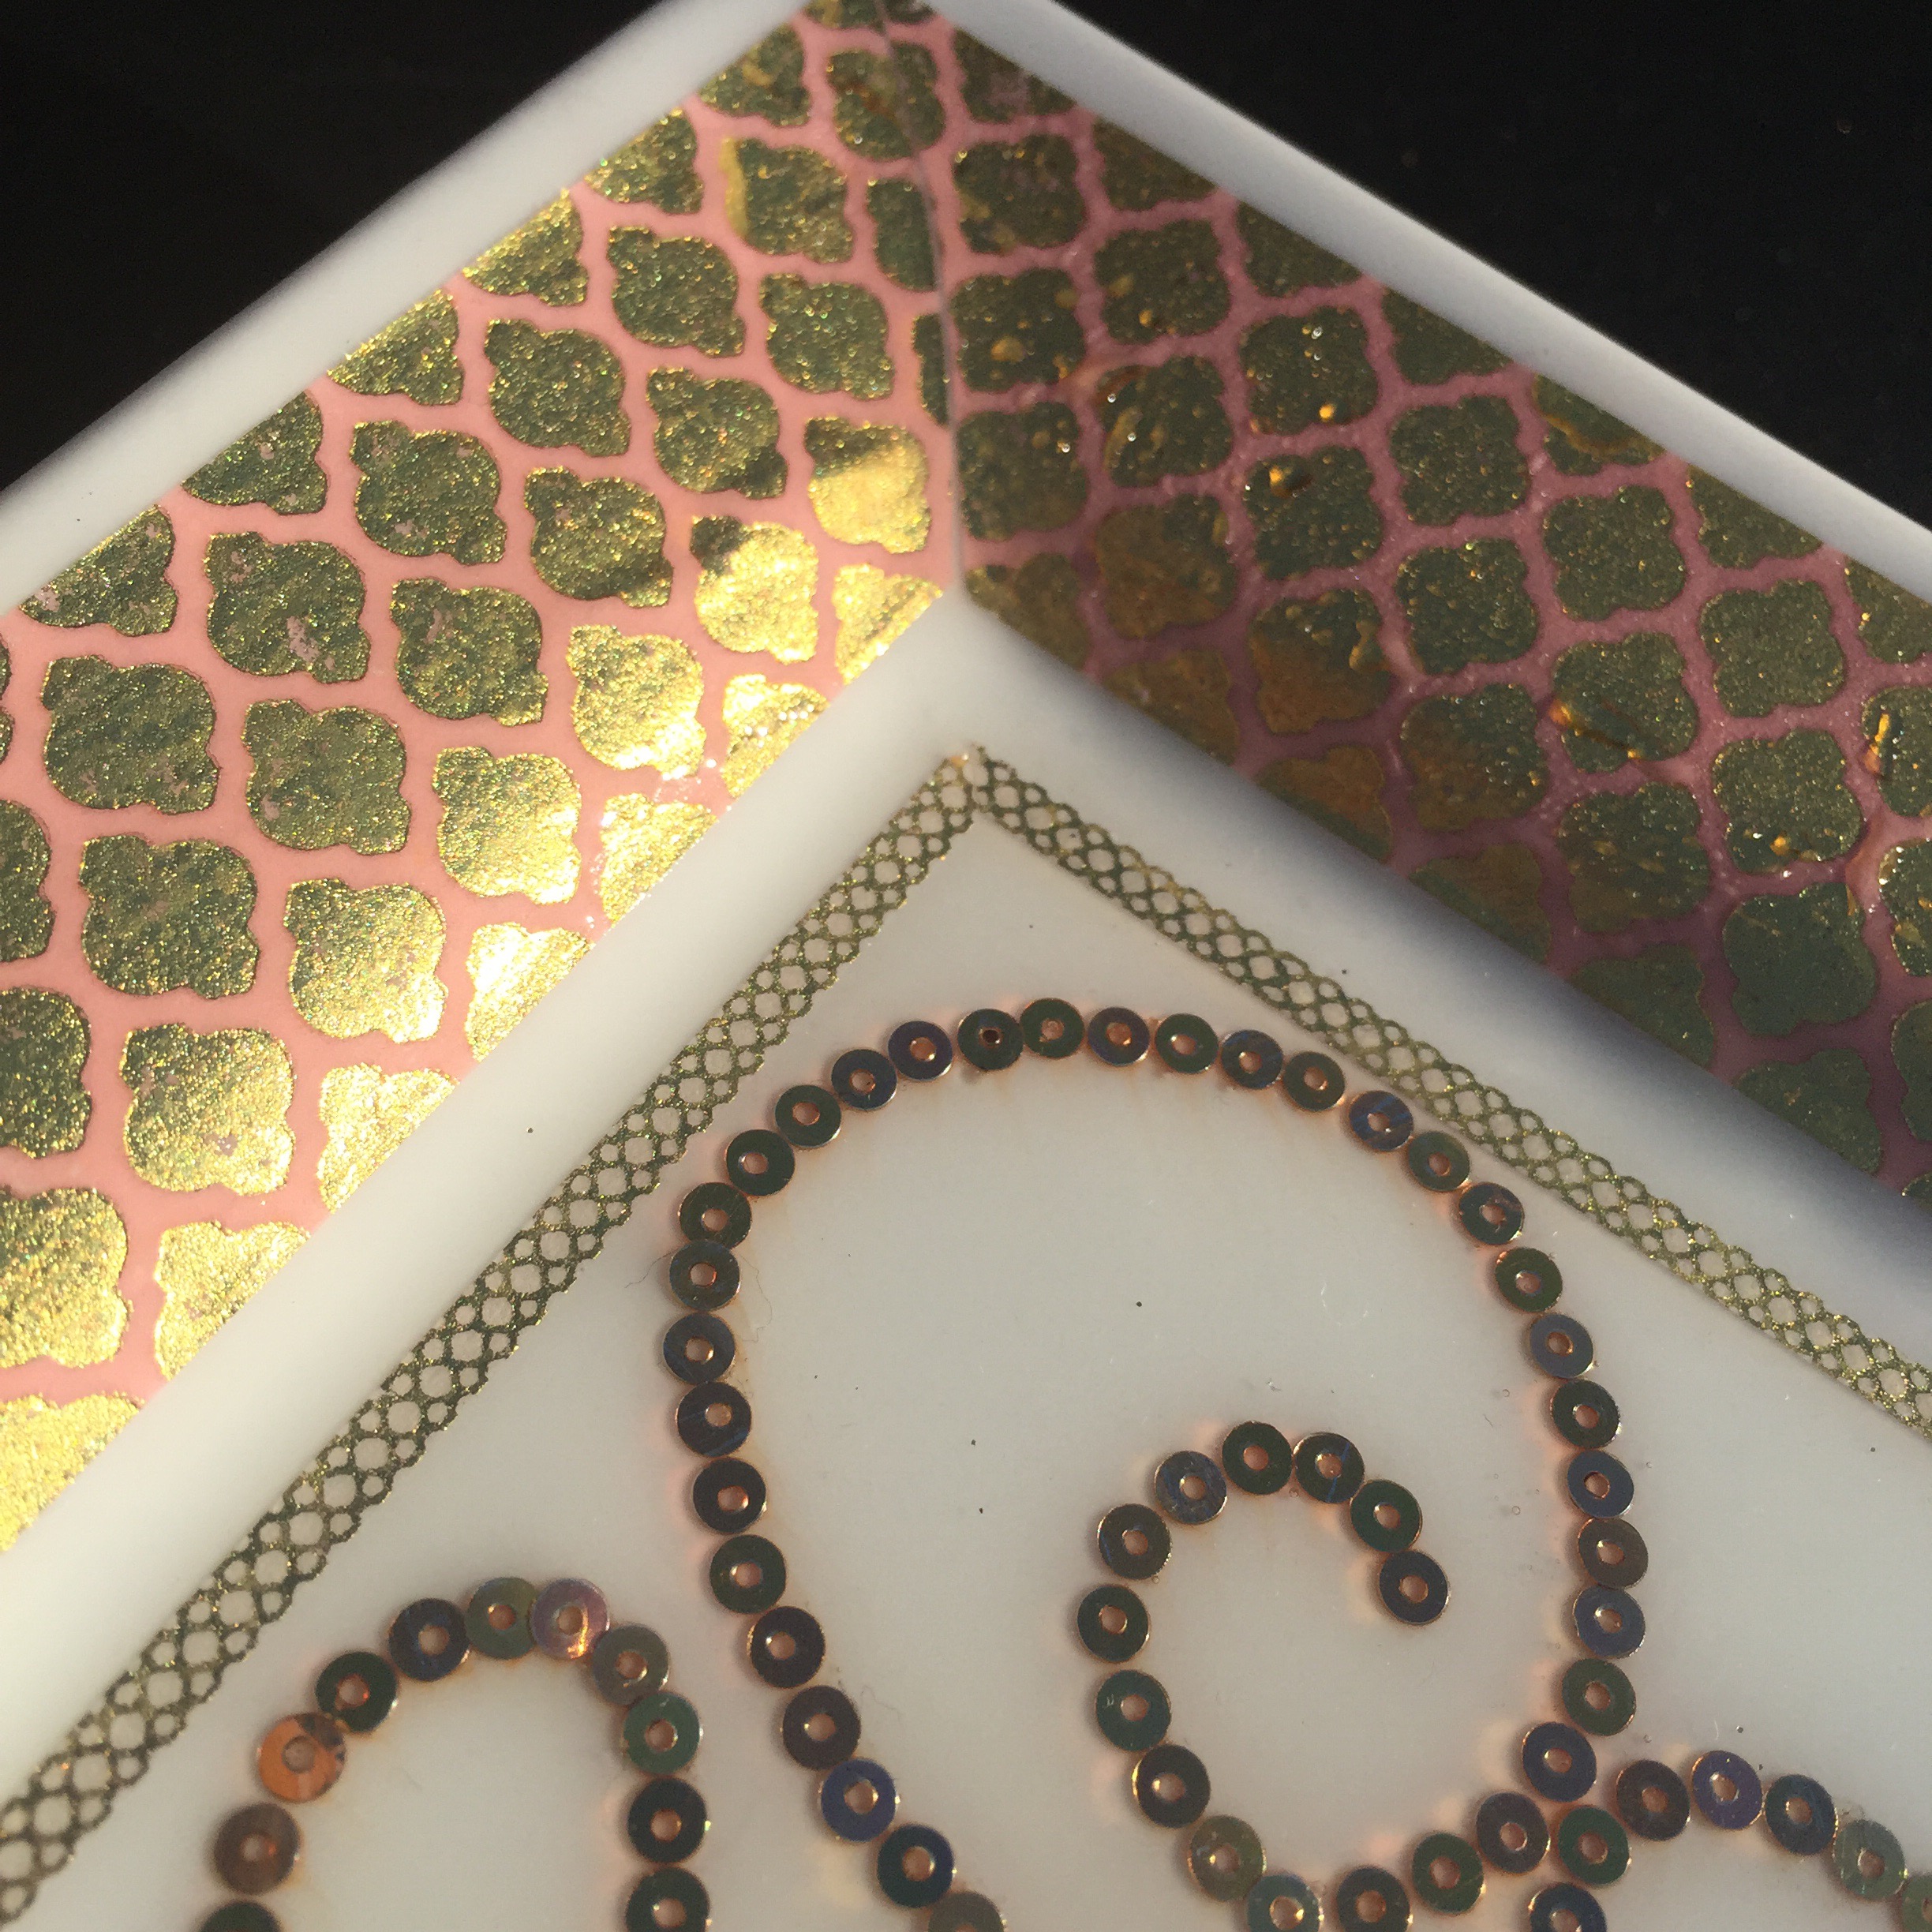
 Truthfully, I probably shoulda done that step before the sequins but I was impatient to start the sparkle. I just made sure not to get the glue on the sequins so it didn’t dull their shine. The glue goes on white but it dries clear. I also used a tweezer to pull up the edges of tape to glue underneath as the corners had started to pull away from the ceramic around the curves. You can sorta see it near the mitred corner in this pic:

  
When that was all good and dry I was ready for the last step- the most exciting step besides the glitterfication. The pour-on epoxy sealer! 

  
This stuff is the best thing ever- it makes everything it touches look like glass. It’s just brilliant and you can use it a bazzilion creative ways. 

Basically, it’s two liquid parts. You combine equal amounts of each and mix it up really well and then pour it on stuff and it’s like sealed under “glass” forever.  
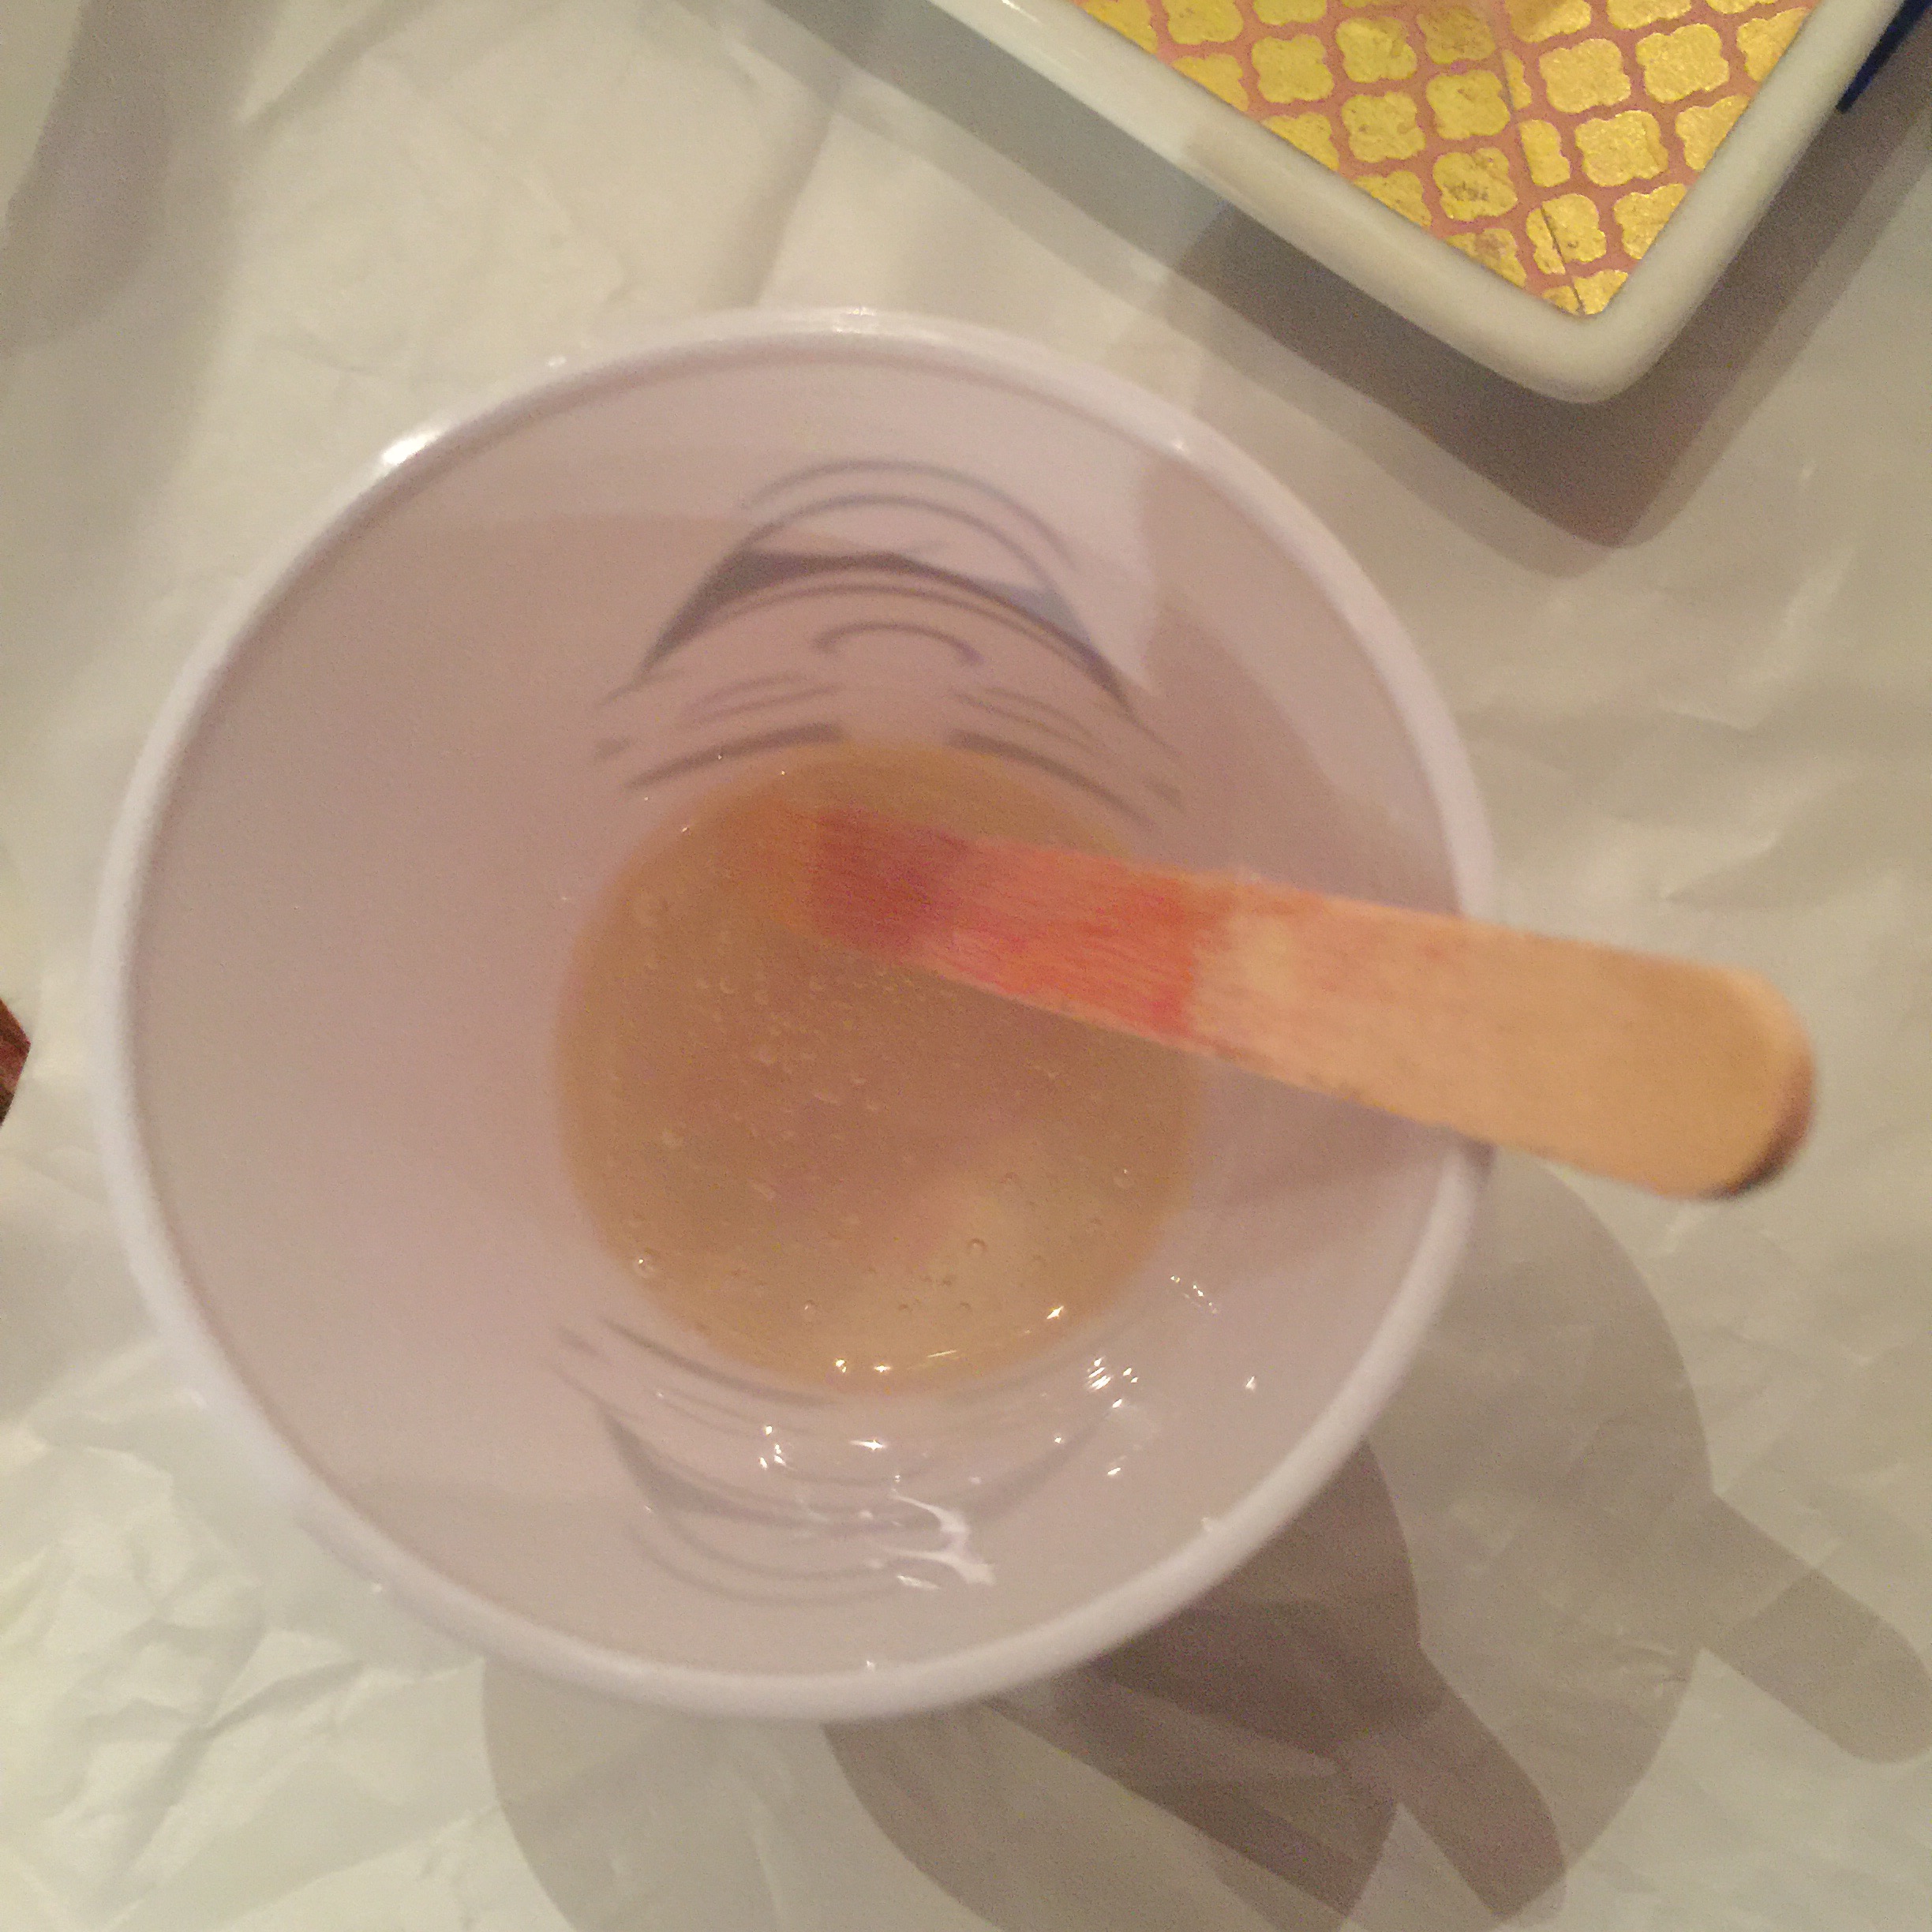
 
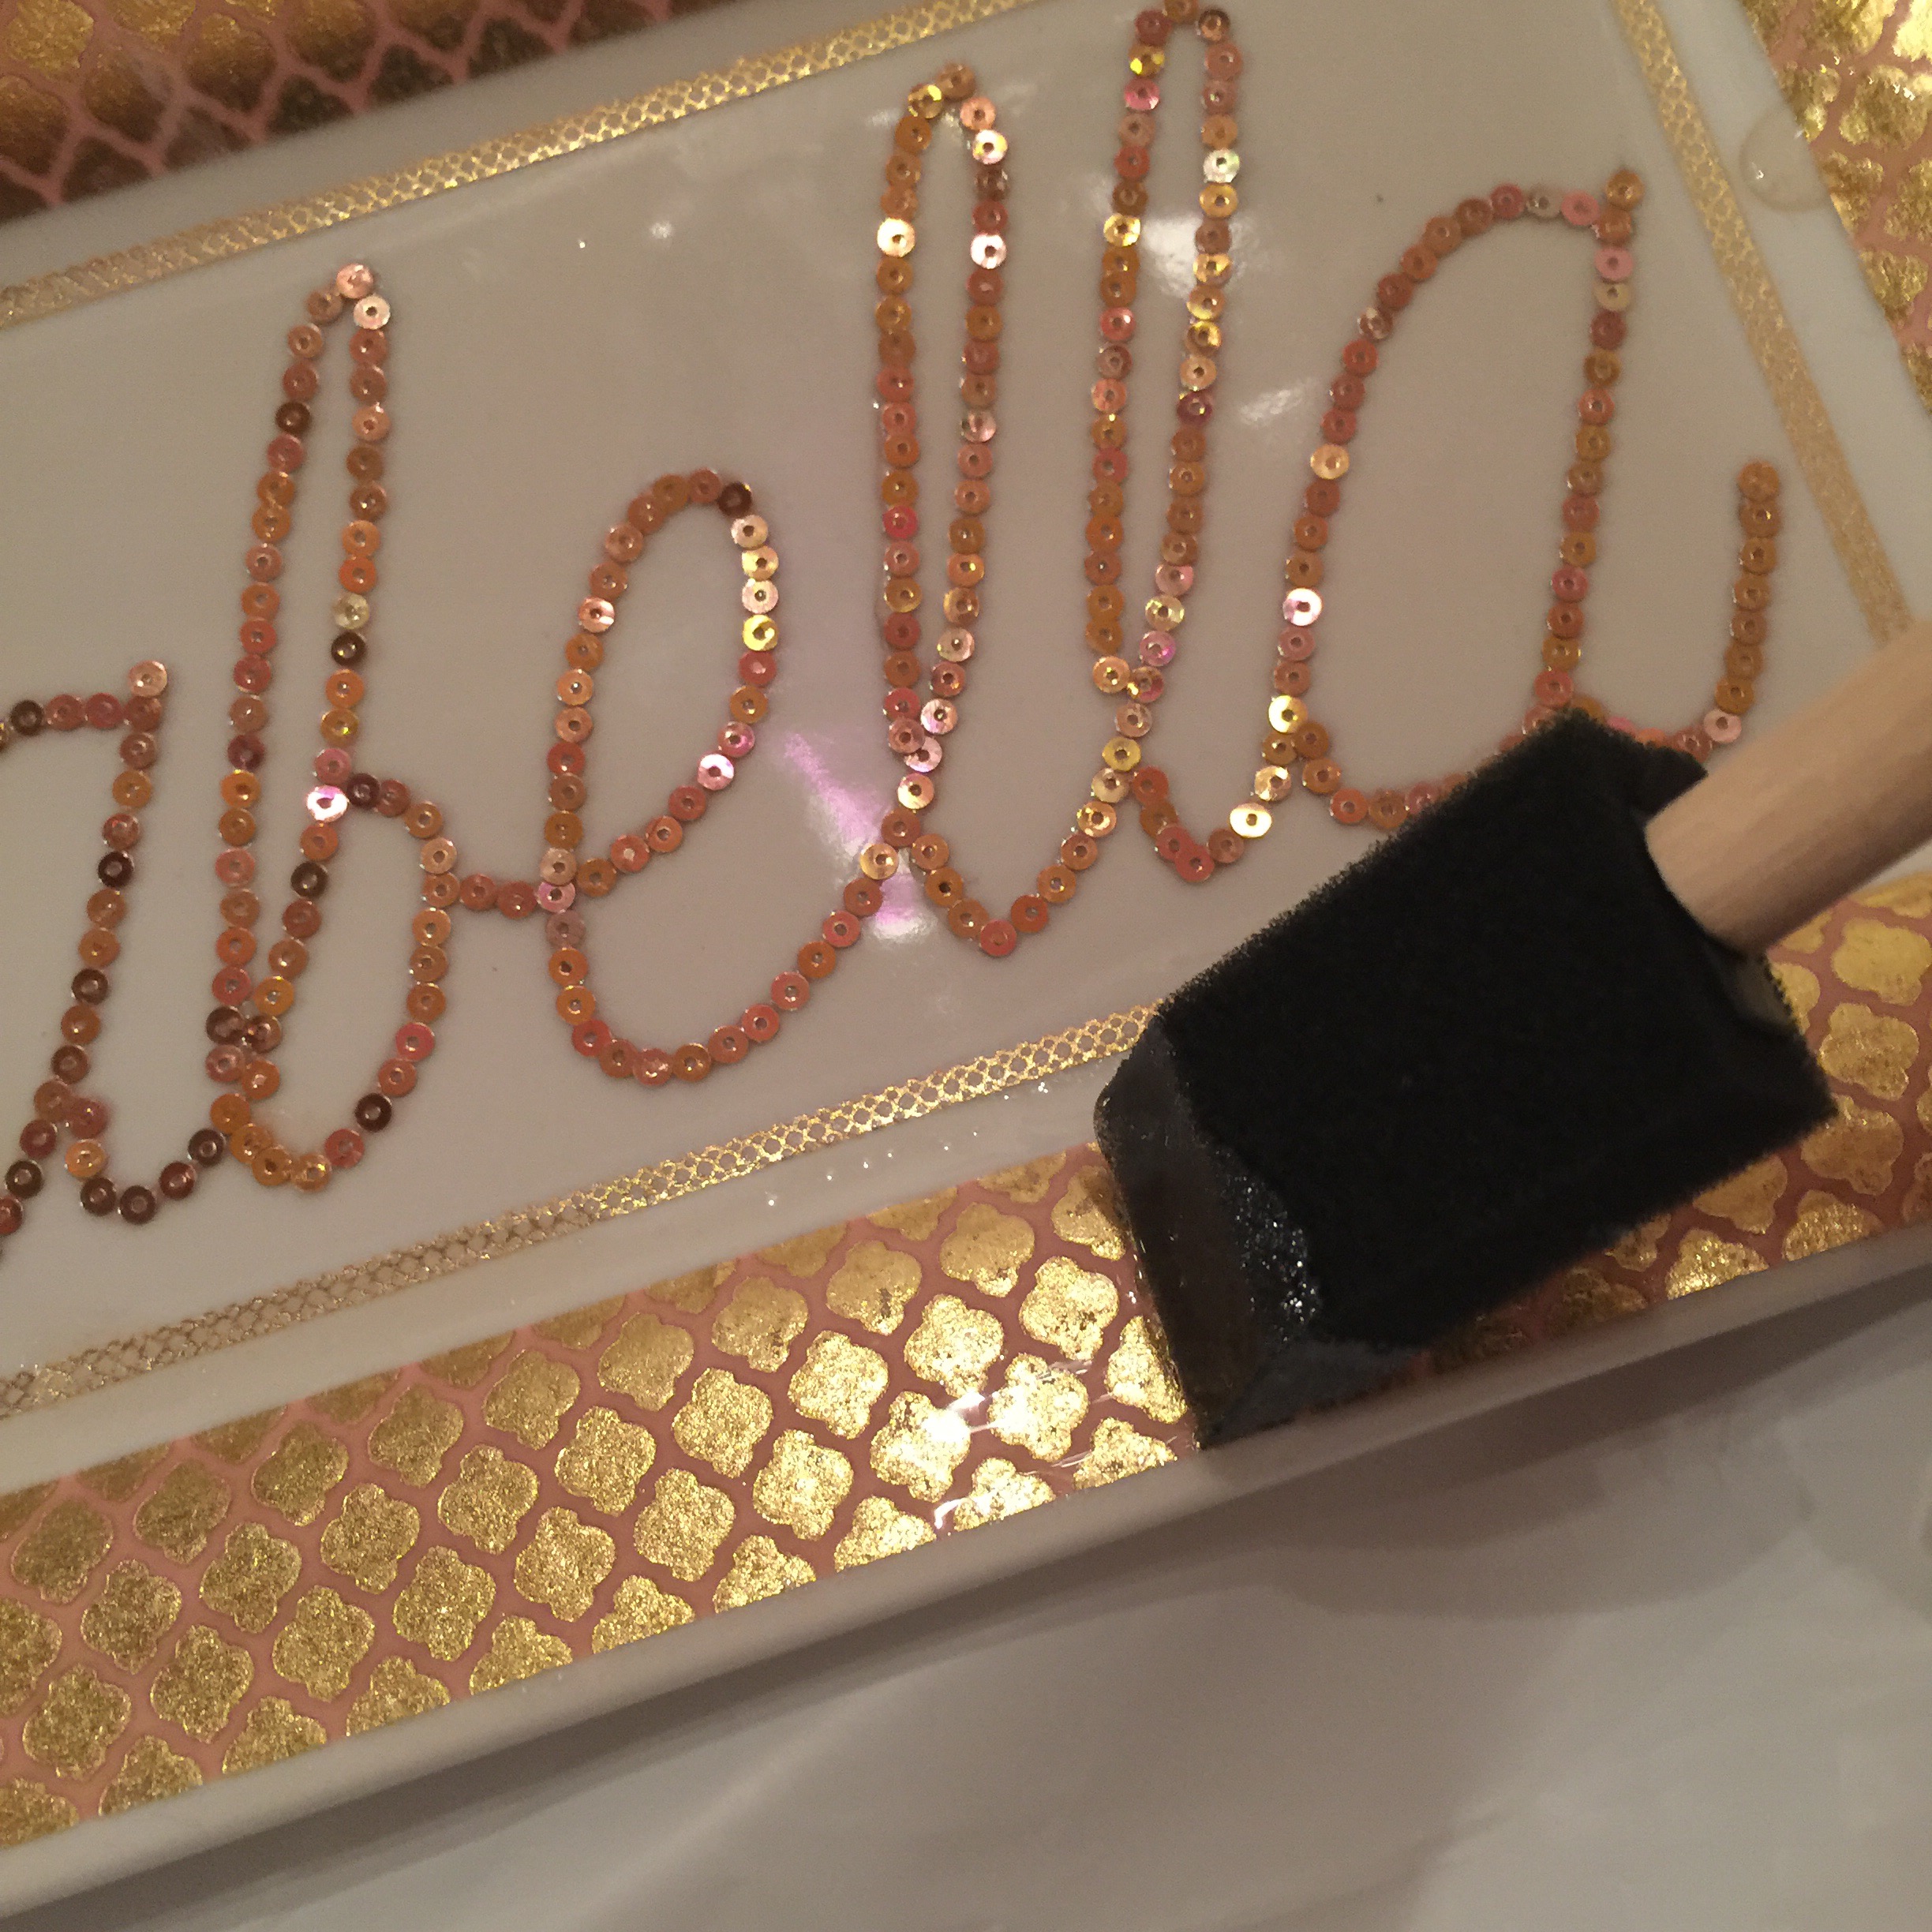
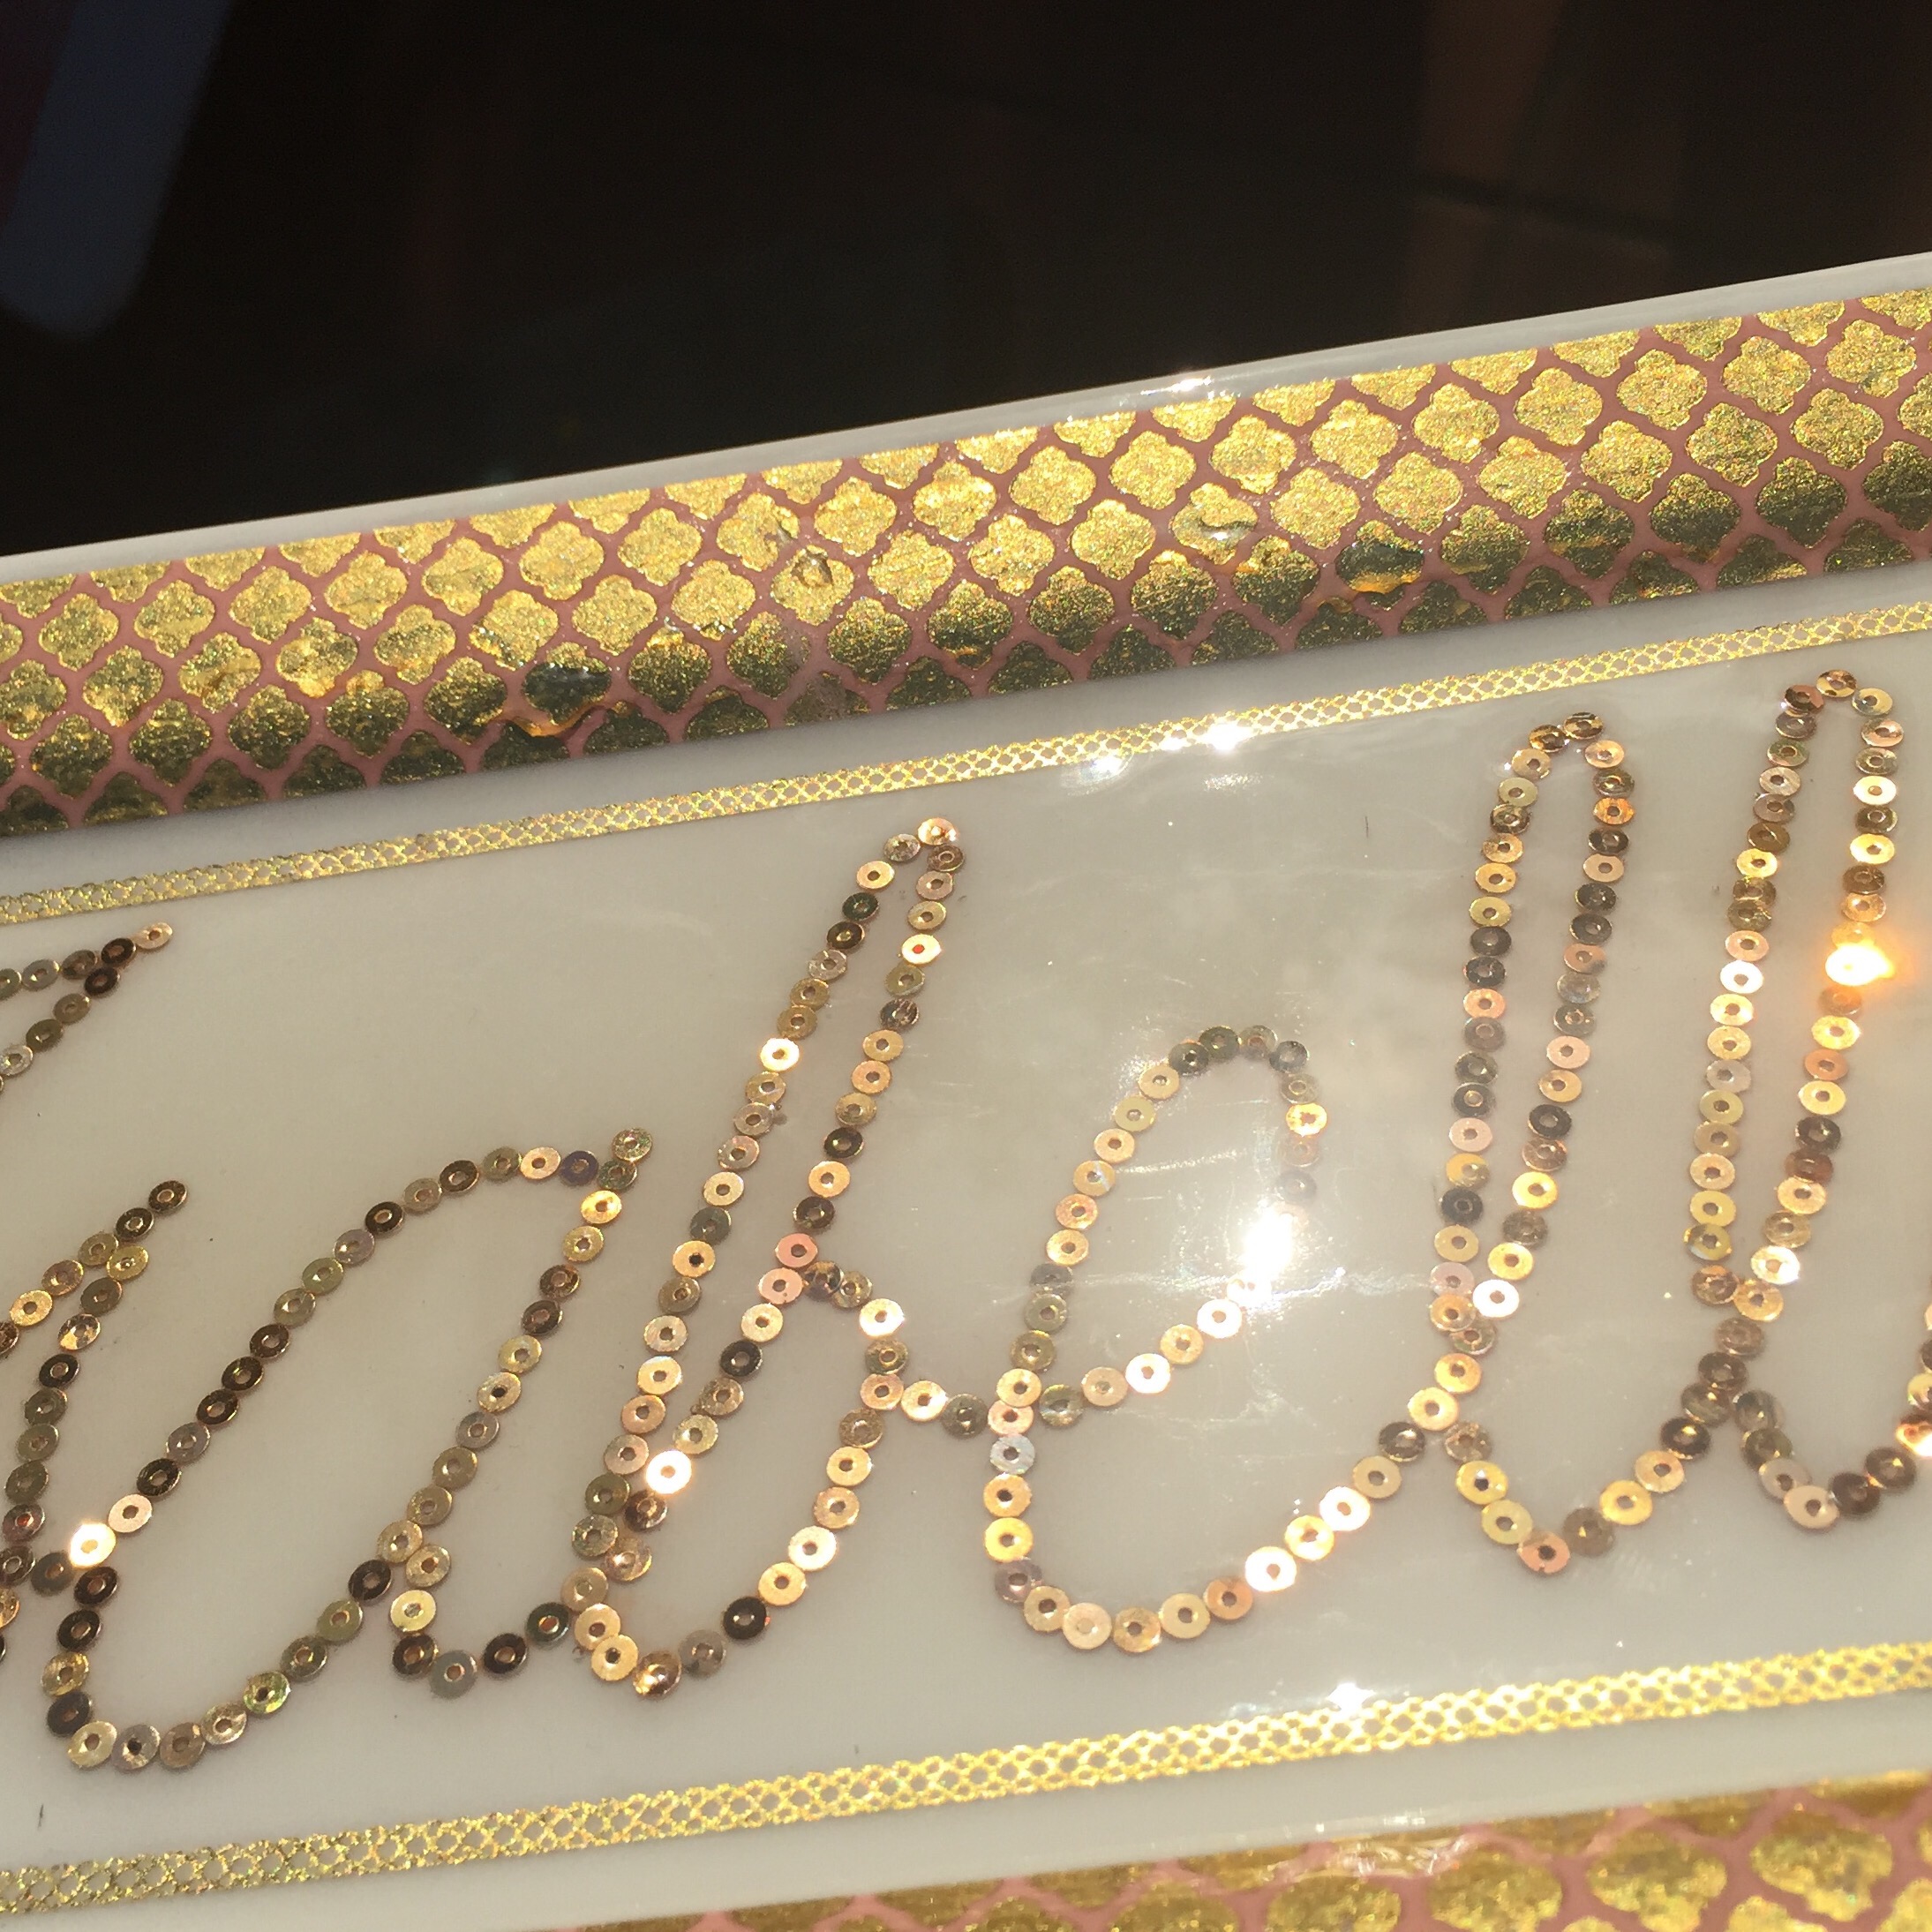
  I used a sponge on the tape areas, I didn’t need or want it super thick there, just enough to seal it in place. This also let me control its placement along the perimeter of the plate without it dripping off in the wrong direction. I started w the perimeter so the epoxy would fall into the cavity of the plate. You can see it there in the top corner of the picture dripping onto the cavity. 

I was a bit nervous to use it because when it’s poured over crystals the crystals just lose ALL their muchness, so I thought the sequins might too. But they didn’t. So then I just poured the rest over the sequins.  
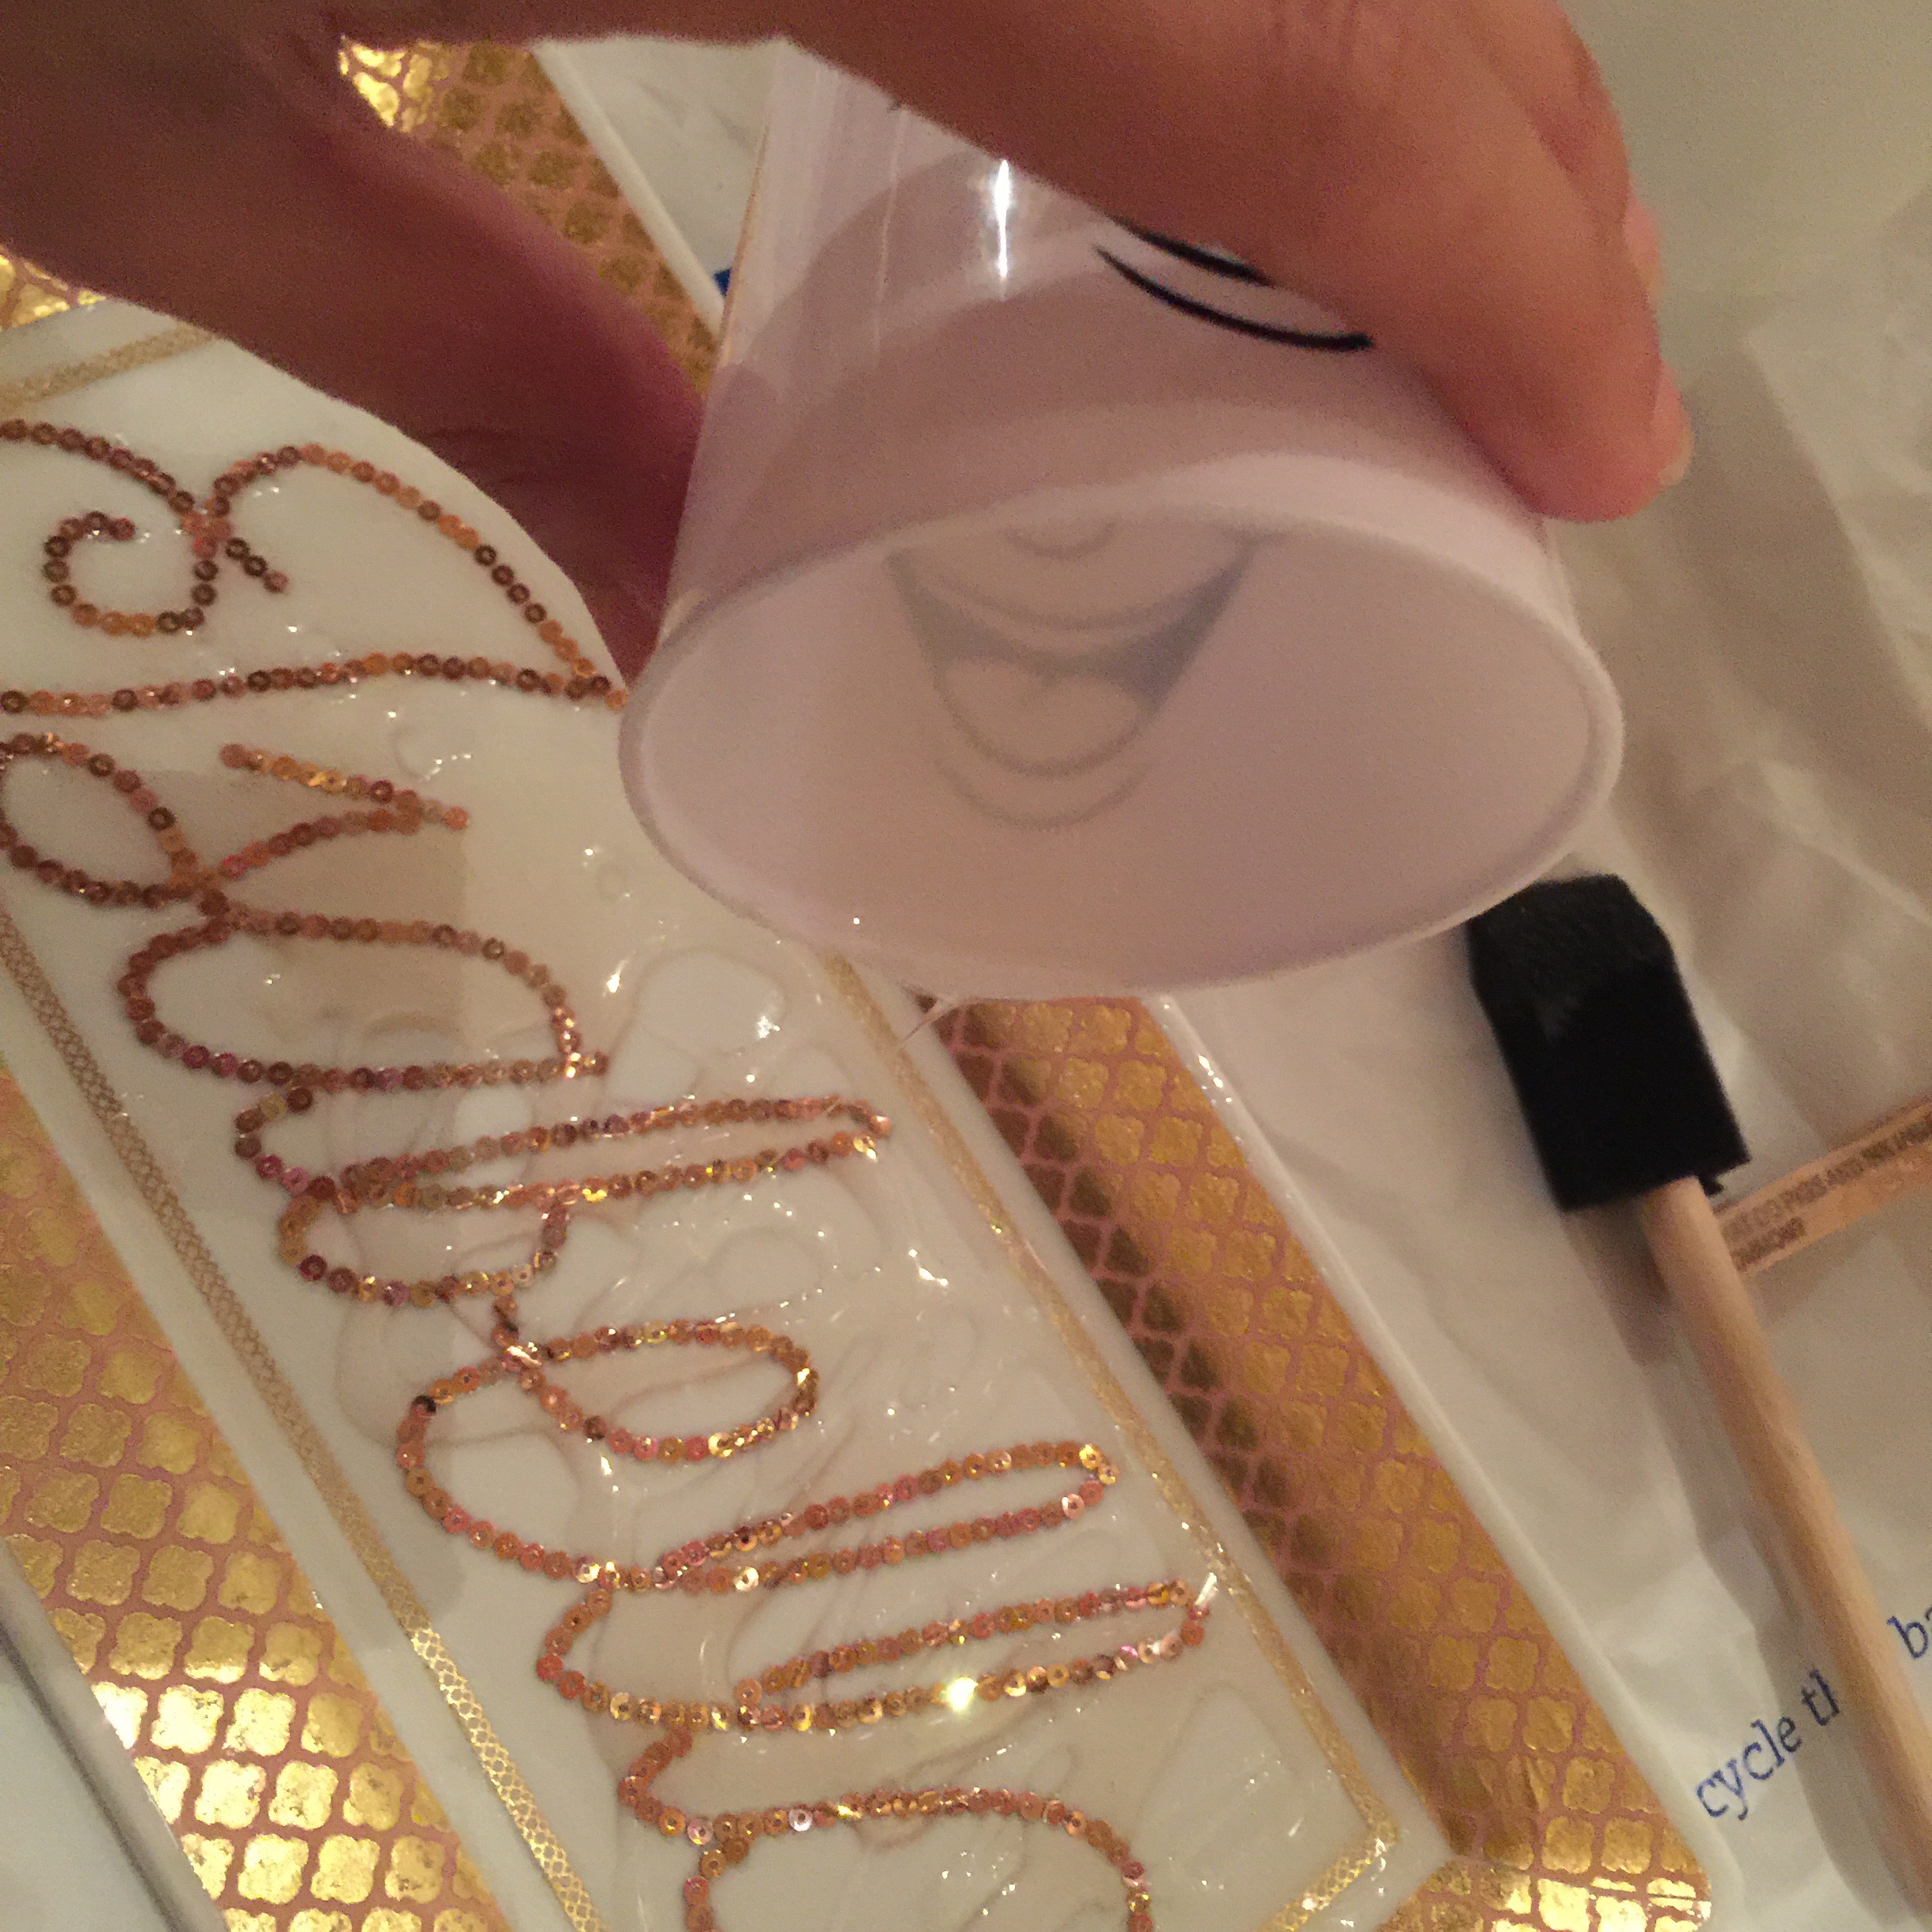
 
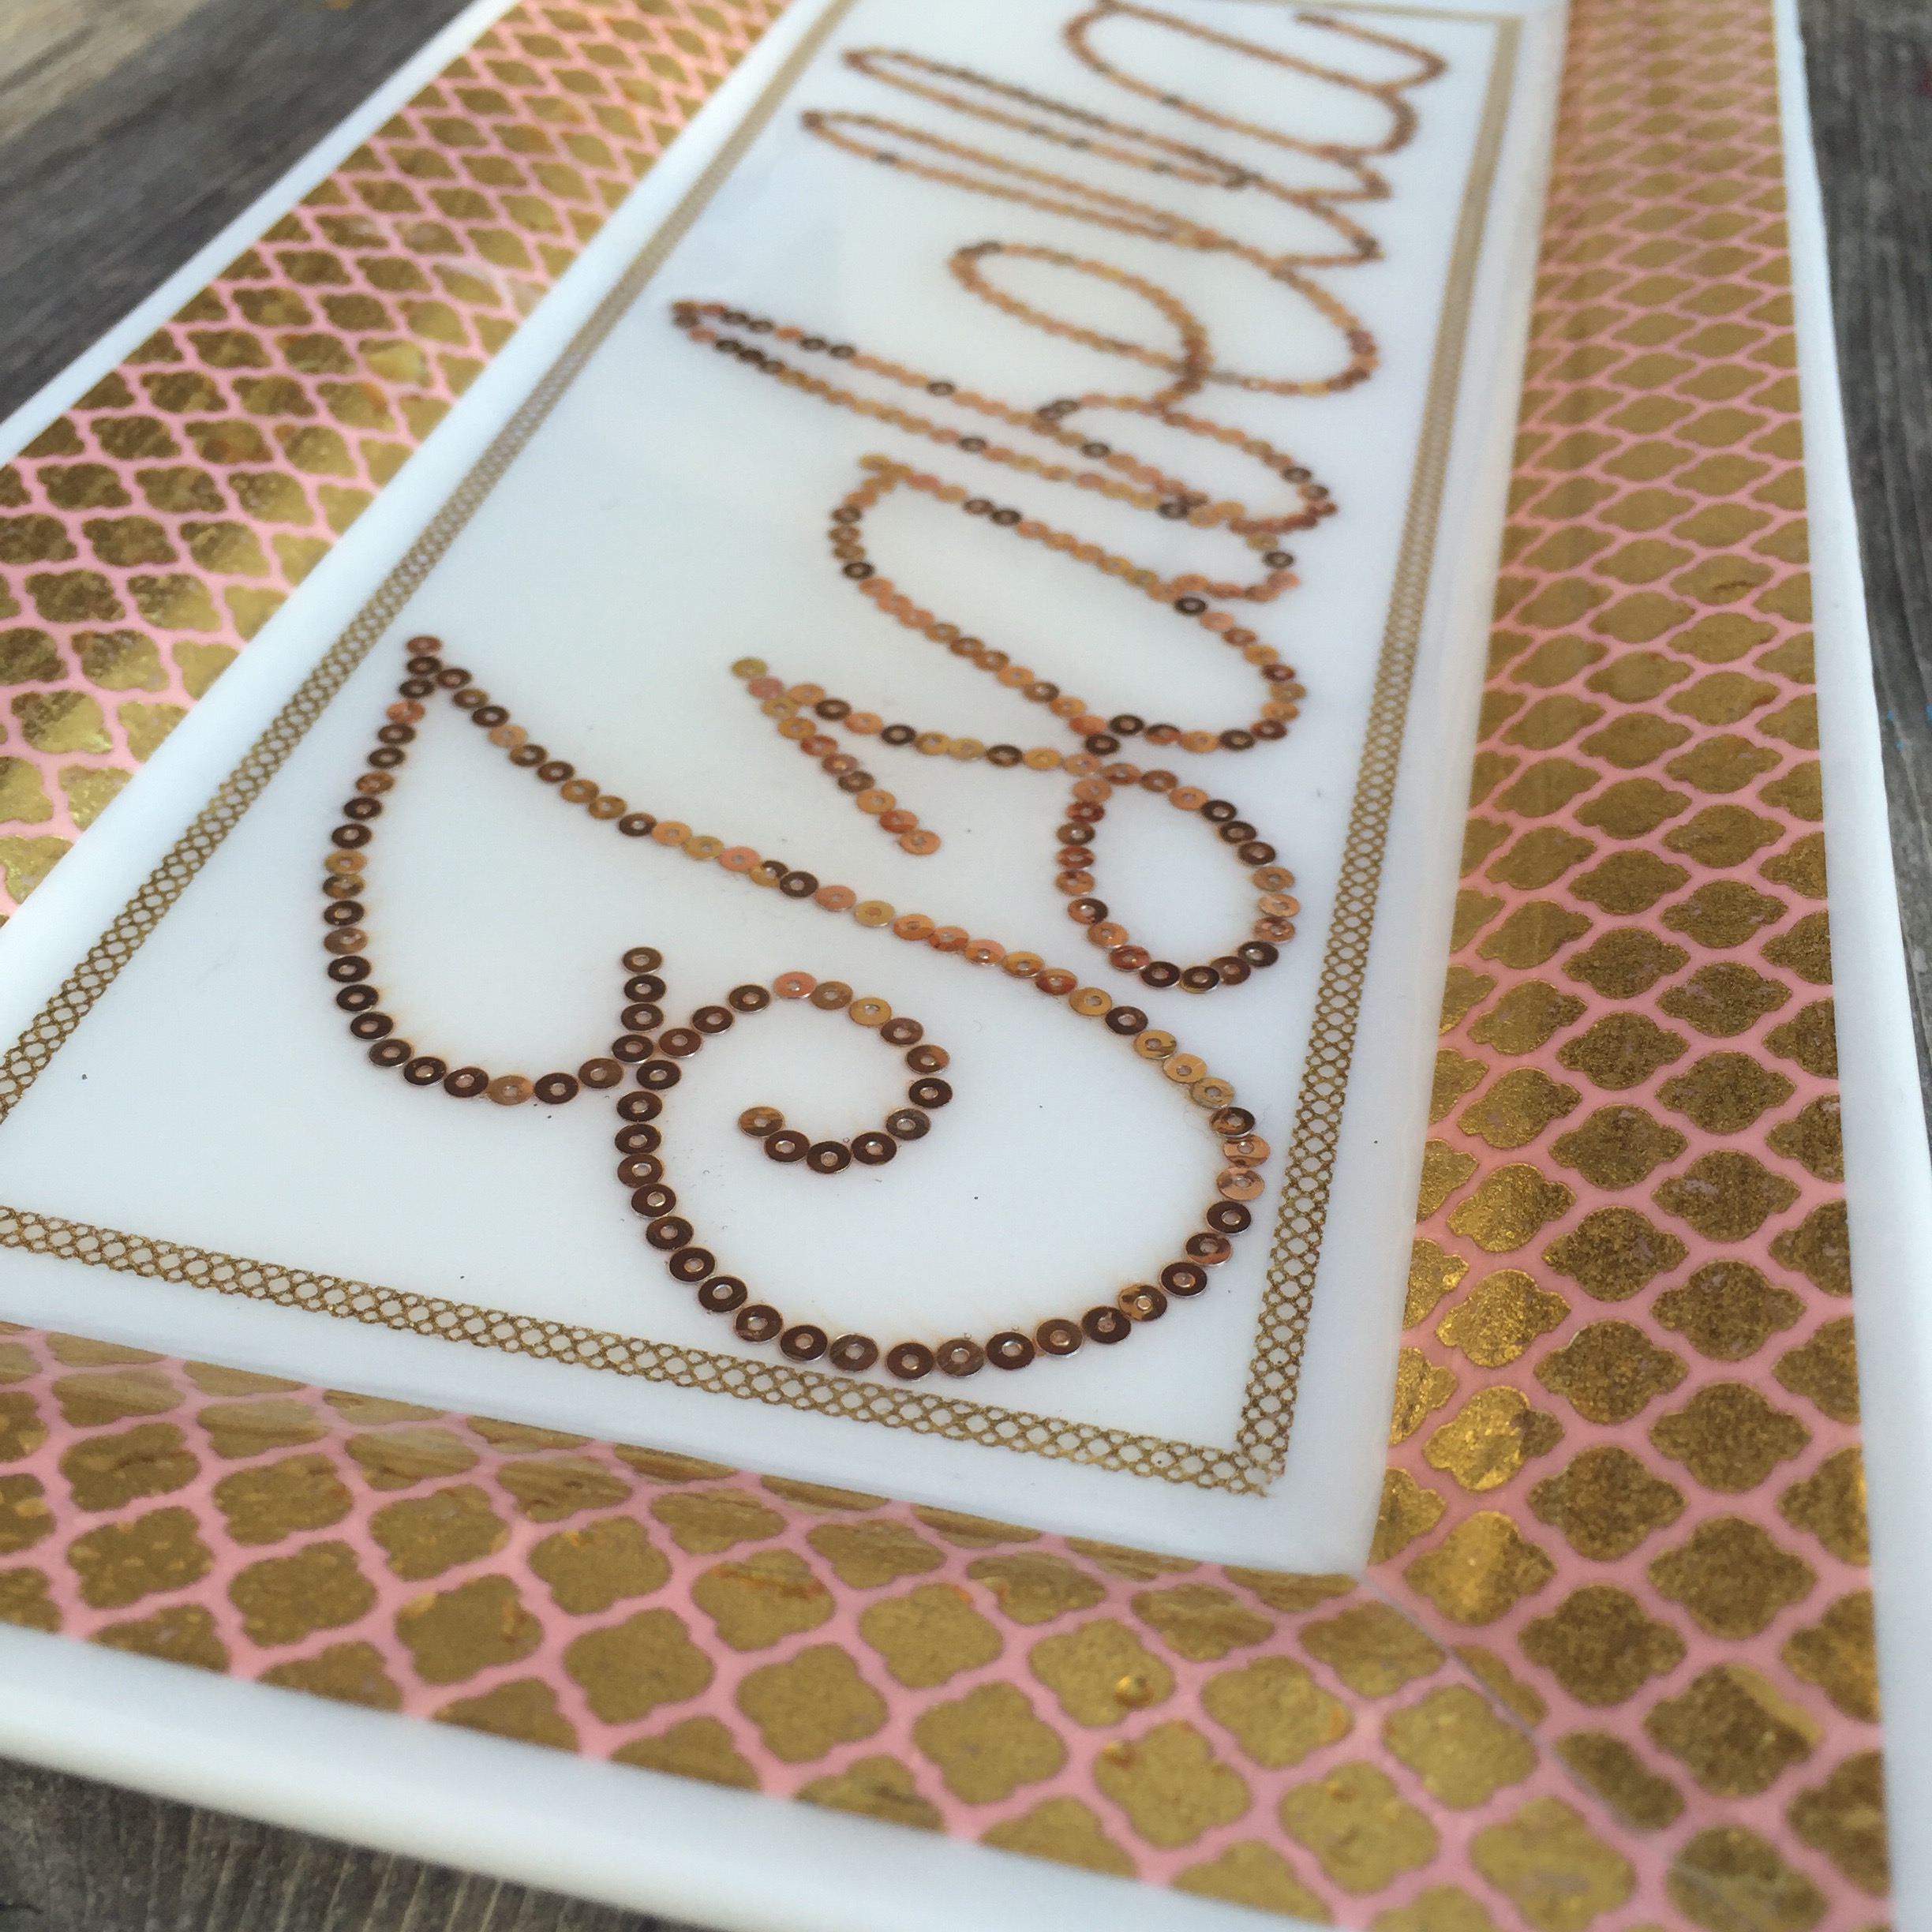
I spread and flattened it with the sponge. It was totally level and smooth, no sequins were protruding above the epoxy and the washi tape looks absolutely etched on there. 

As the epoxy dried it did roll down the edges into the plate but enough stayed put to act as a sealer and protector. The sequins look embedded in there. It’s really quite gorgeous, if I do say so myself. 

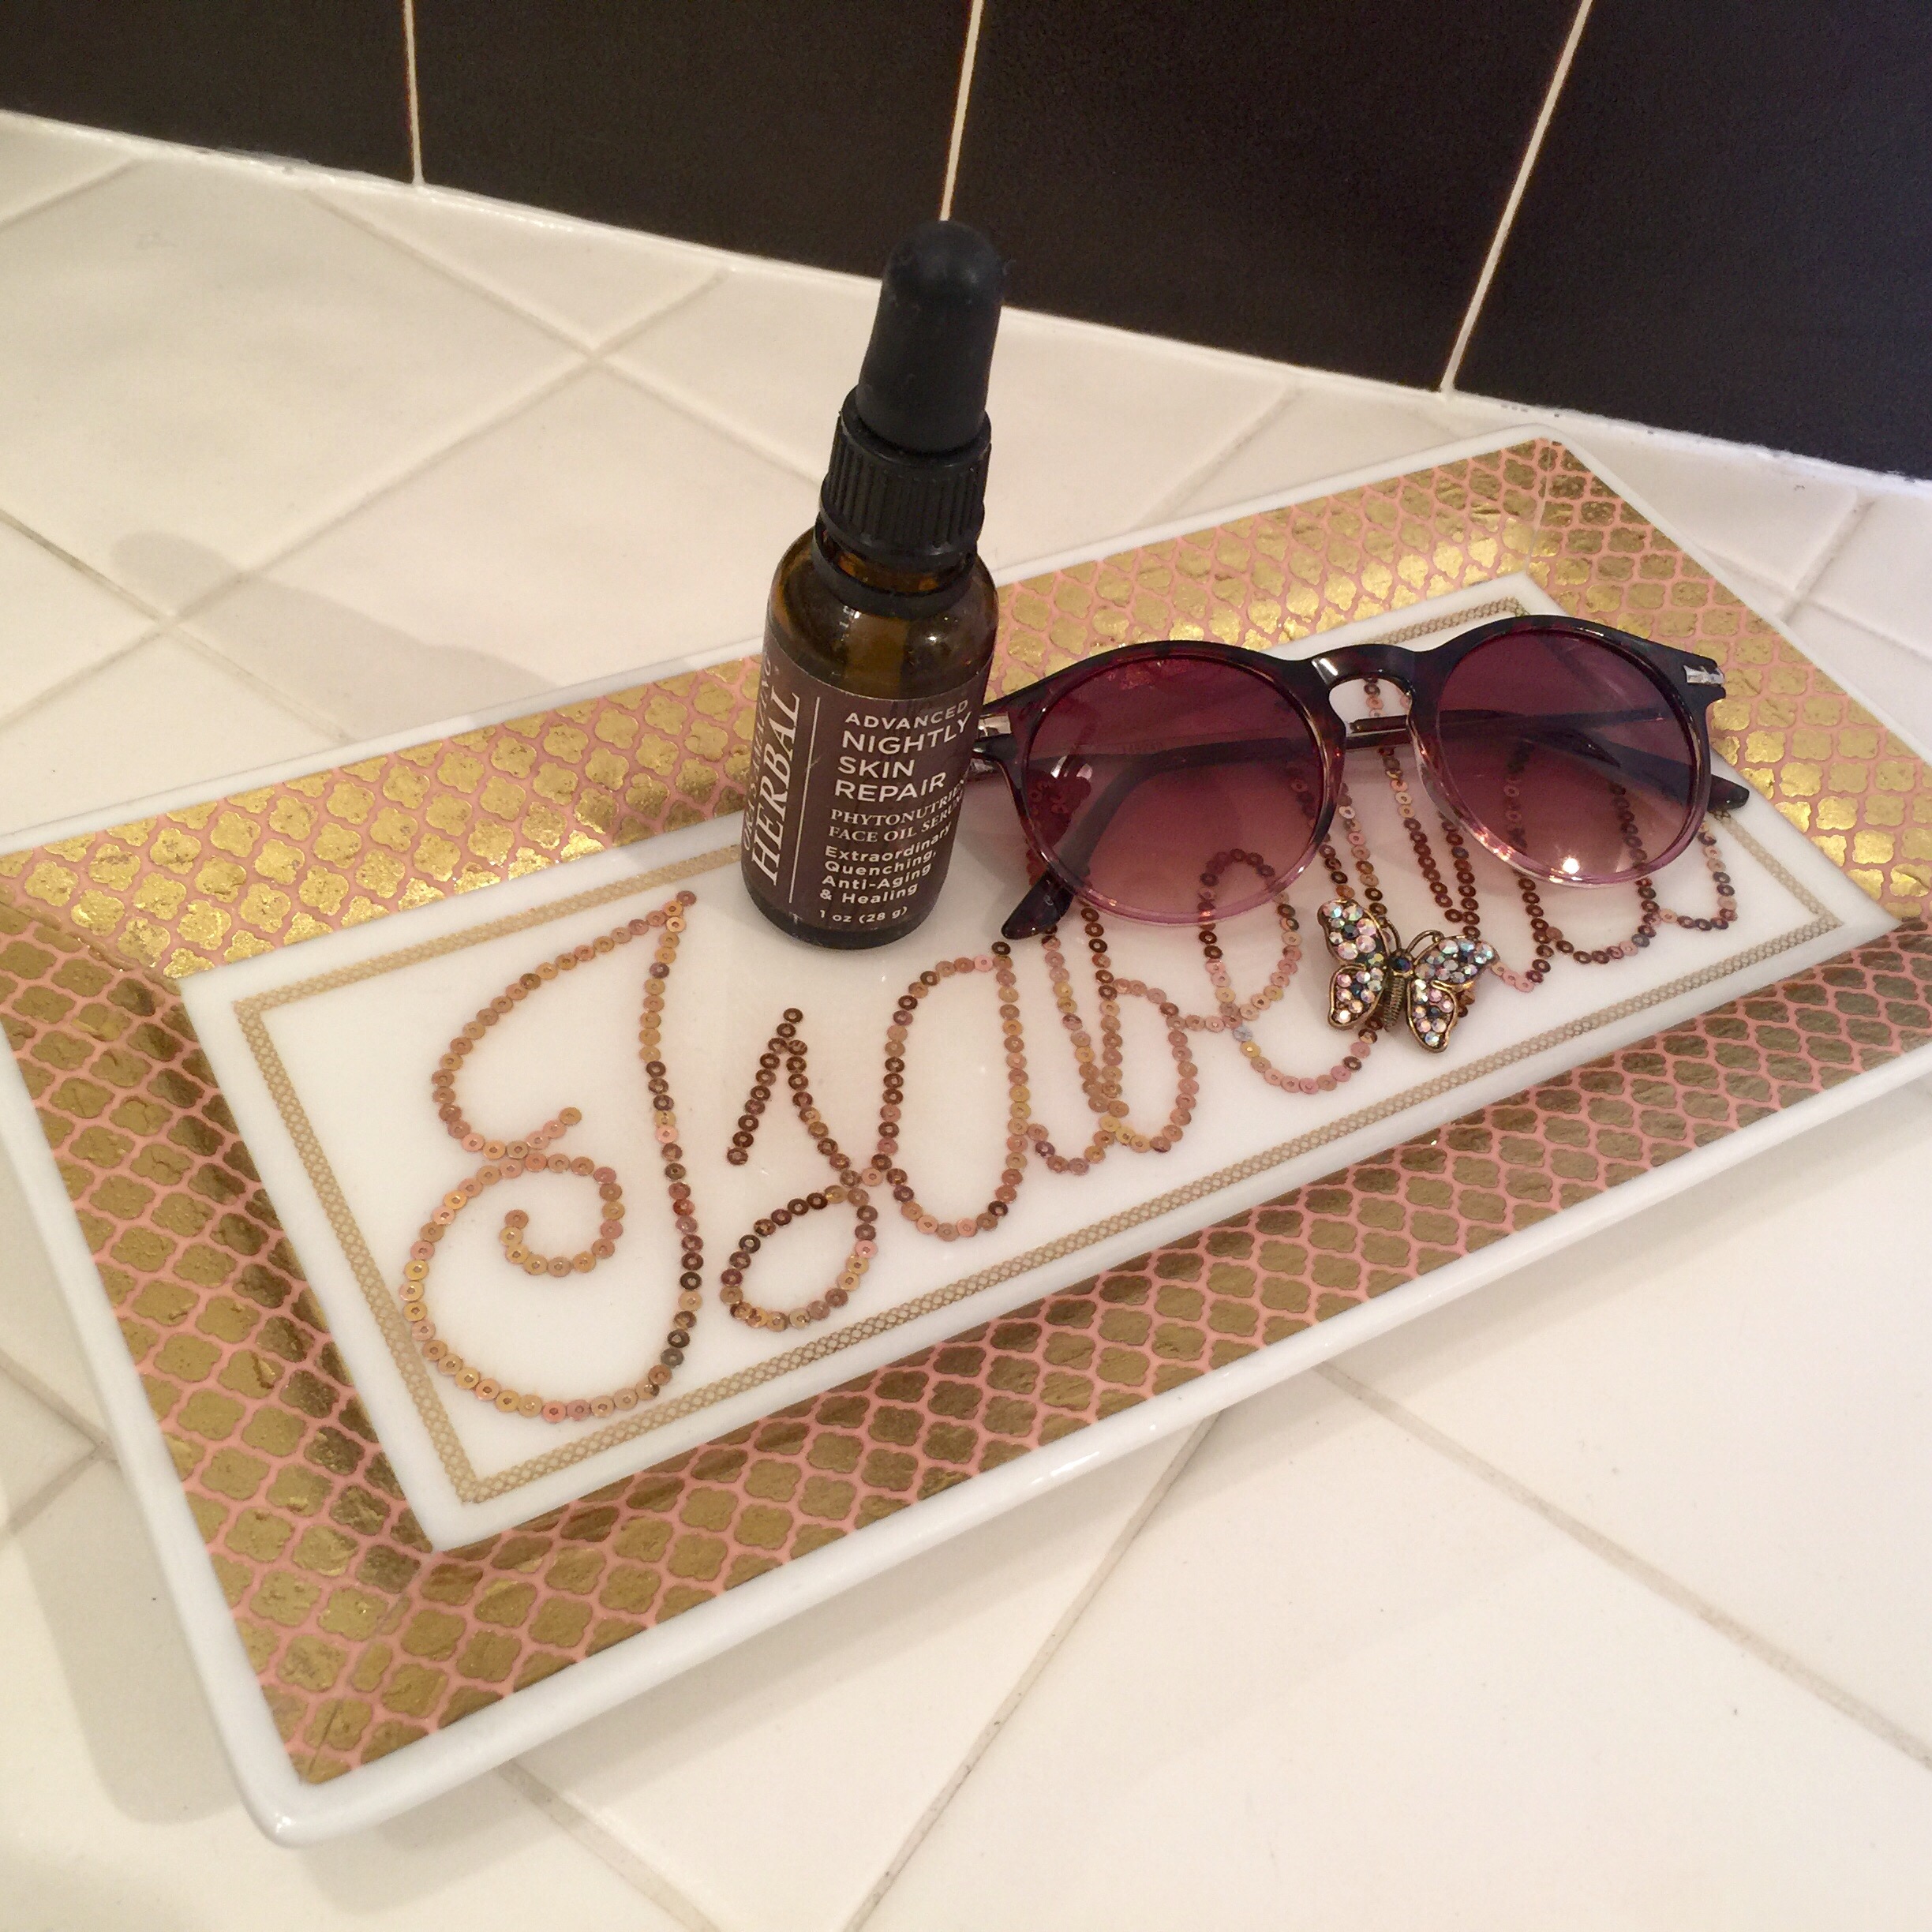
Here’s some more pics because they’re free. 
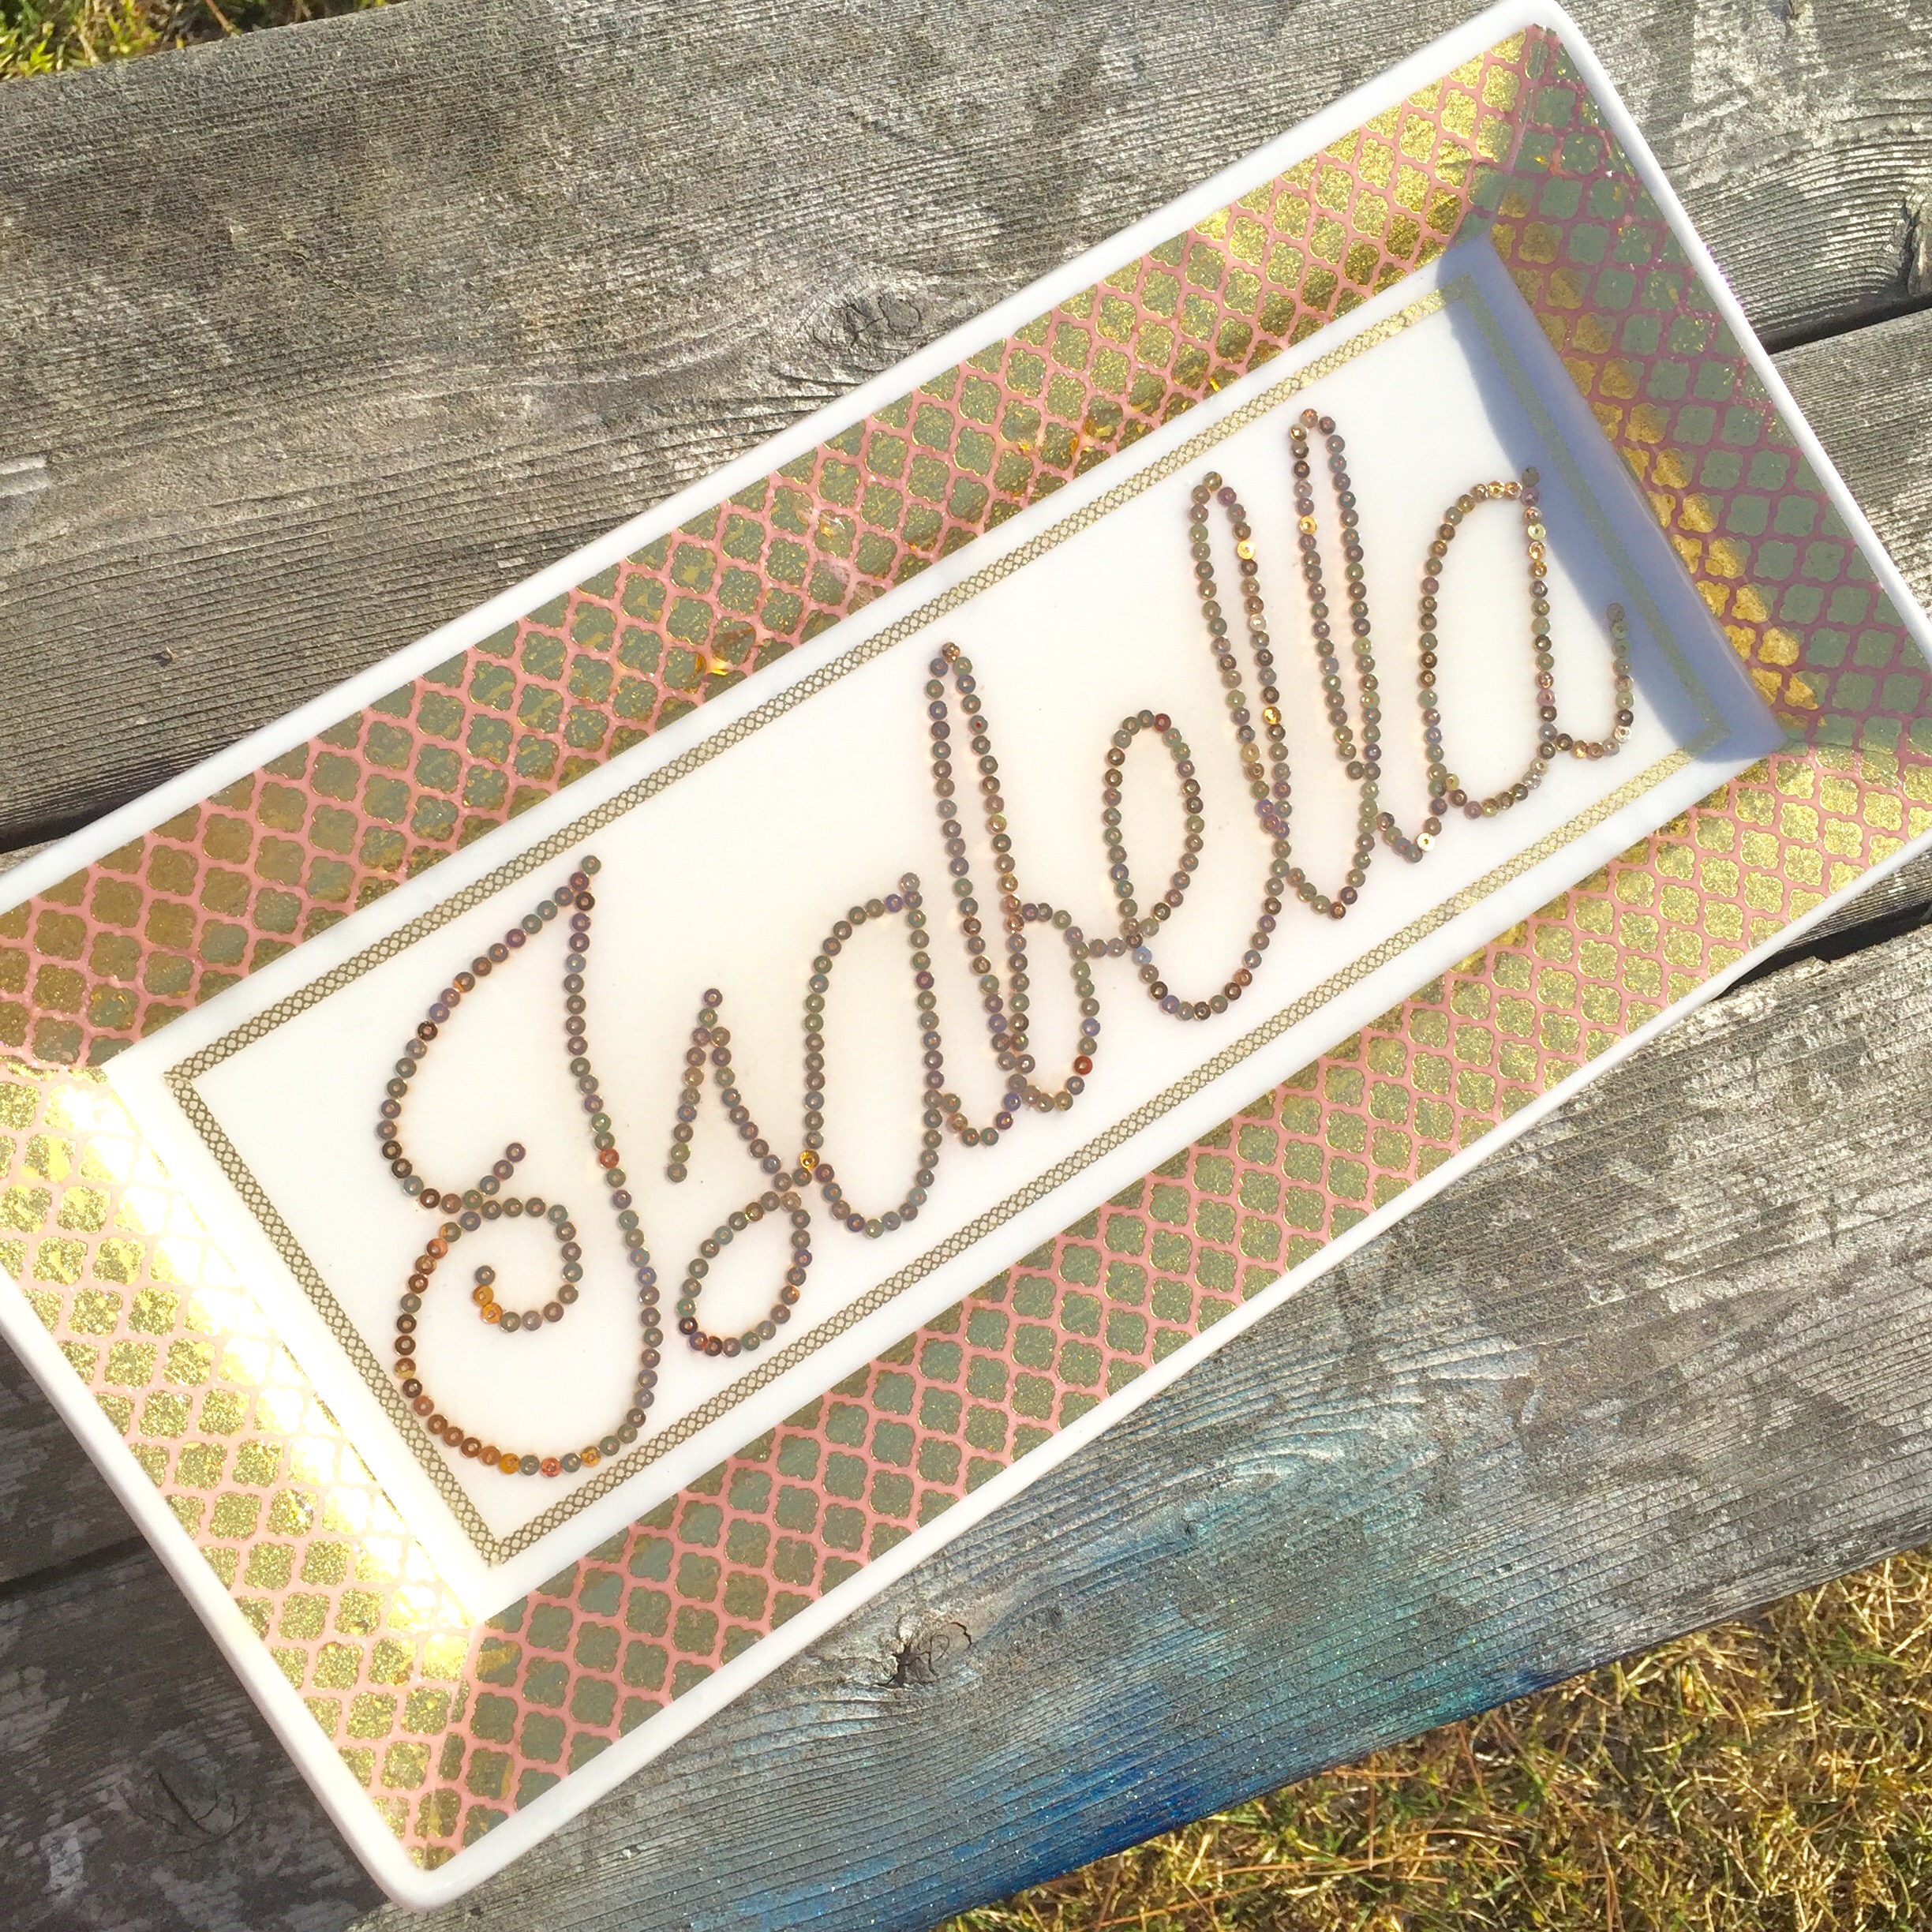
   
    
Reflecting the sunlight on the sequins and glass-coated finish. 

   The tape as etching up close. 


Meaningful wall art project

This past February was the 25th anniversary of the FIT Toy Design BFA program of which I am an alumni. The two years I spent in that program were easily two of the most profound years of my life with regards to self-discovery and learning to understand and apply my creativity. I was sad I couldn’t go to the reunion, now that I live across the country, but, those are the trade offs. 

Anyhow, the invitation, in typical Toy Design fashion, was fun and creative. It was a box of cards with inspiring quotes on the back about play and the magic of childhood. The back of the cards contained a “puzzle” that assembled into the actual invitation: 


Brilliant, right? 

You know I have a thing for inspiring quotes and so I decided they needed to be hung on the wall. 

  
I’ll be honest, I wasn’t in love with the card color choices, and wasn’t really sure how to find inspiration to fall in love with them so I sorta just taped them up there and framed them with some washi style tape. 

But they were hidden in the back of the house, by the laundry room… Waiting for inspiration to find me. 

  
And then it did. 

I started with a $20 IKEA frame and some very old tissue paper I found at the bottom of my craft closet. 

  
And so it began…


…and continued…  
…and continued…    
…and continued… 


…and continued… 
  
…until finally…


BOOM!!  
  

BAM! 

(It’s opposite a glass door, the glare is harsh in the pic but more natural in person.)

 
MUCHNESS! 

  
And it’s got a place of prominence in my kitchen above my art cart:

  
…as it should. 

 #MuchnessMakeover: Switch the switch

Last week I went to Home Depot to get spray paint for a project. But really I also just needed a break and nothing sparks my creativity like the hardware store, art supply store or dollar store. I could spend forever trolling those aisles.

But that day it was Home Depot. 

Something about being in a rental rather than a home I own means I have to work to make it feel like mine. This has totally sparked my creative muchnessness. Every nook and cranny has the potential make you smile!!

In a moment of inspiration I picked up some oversized light switch plate covers. They were 49 cents each, I think. 

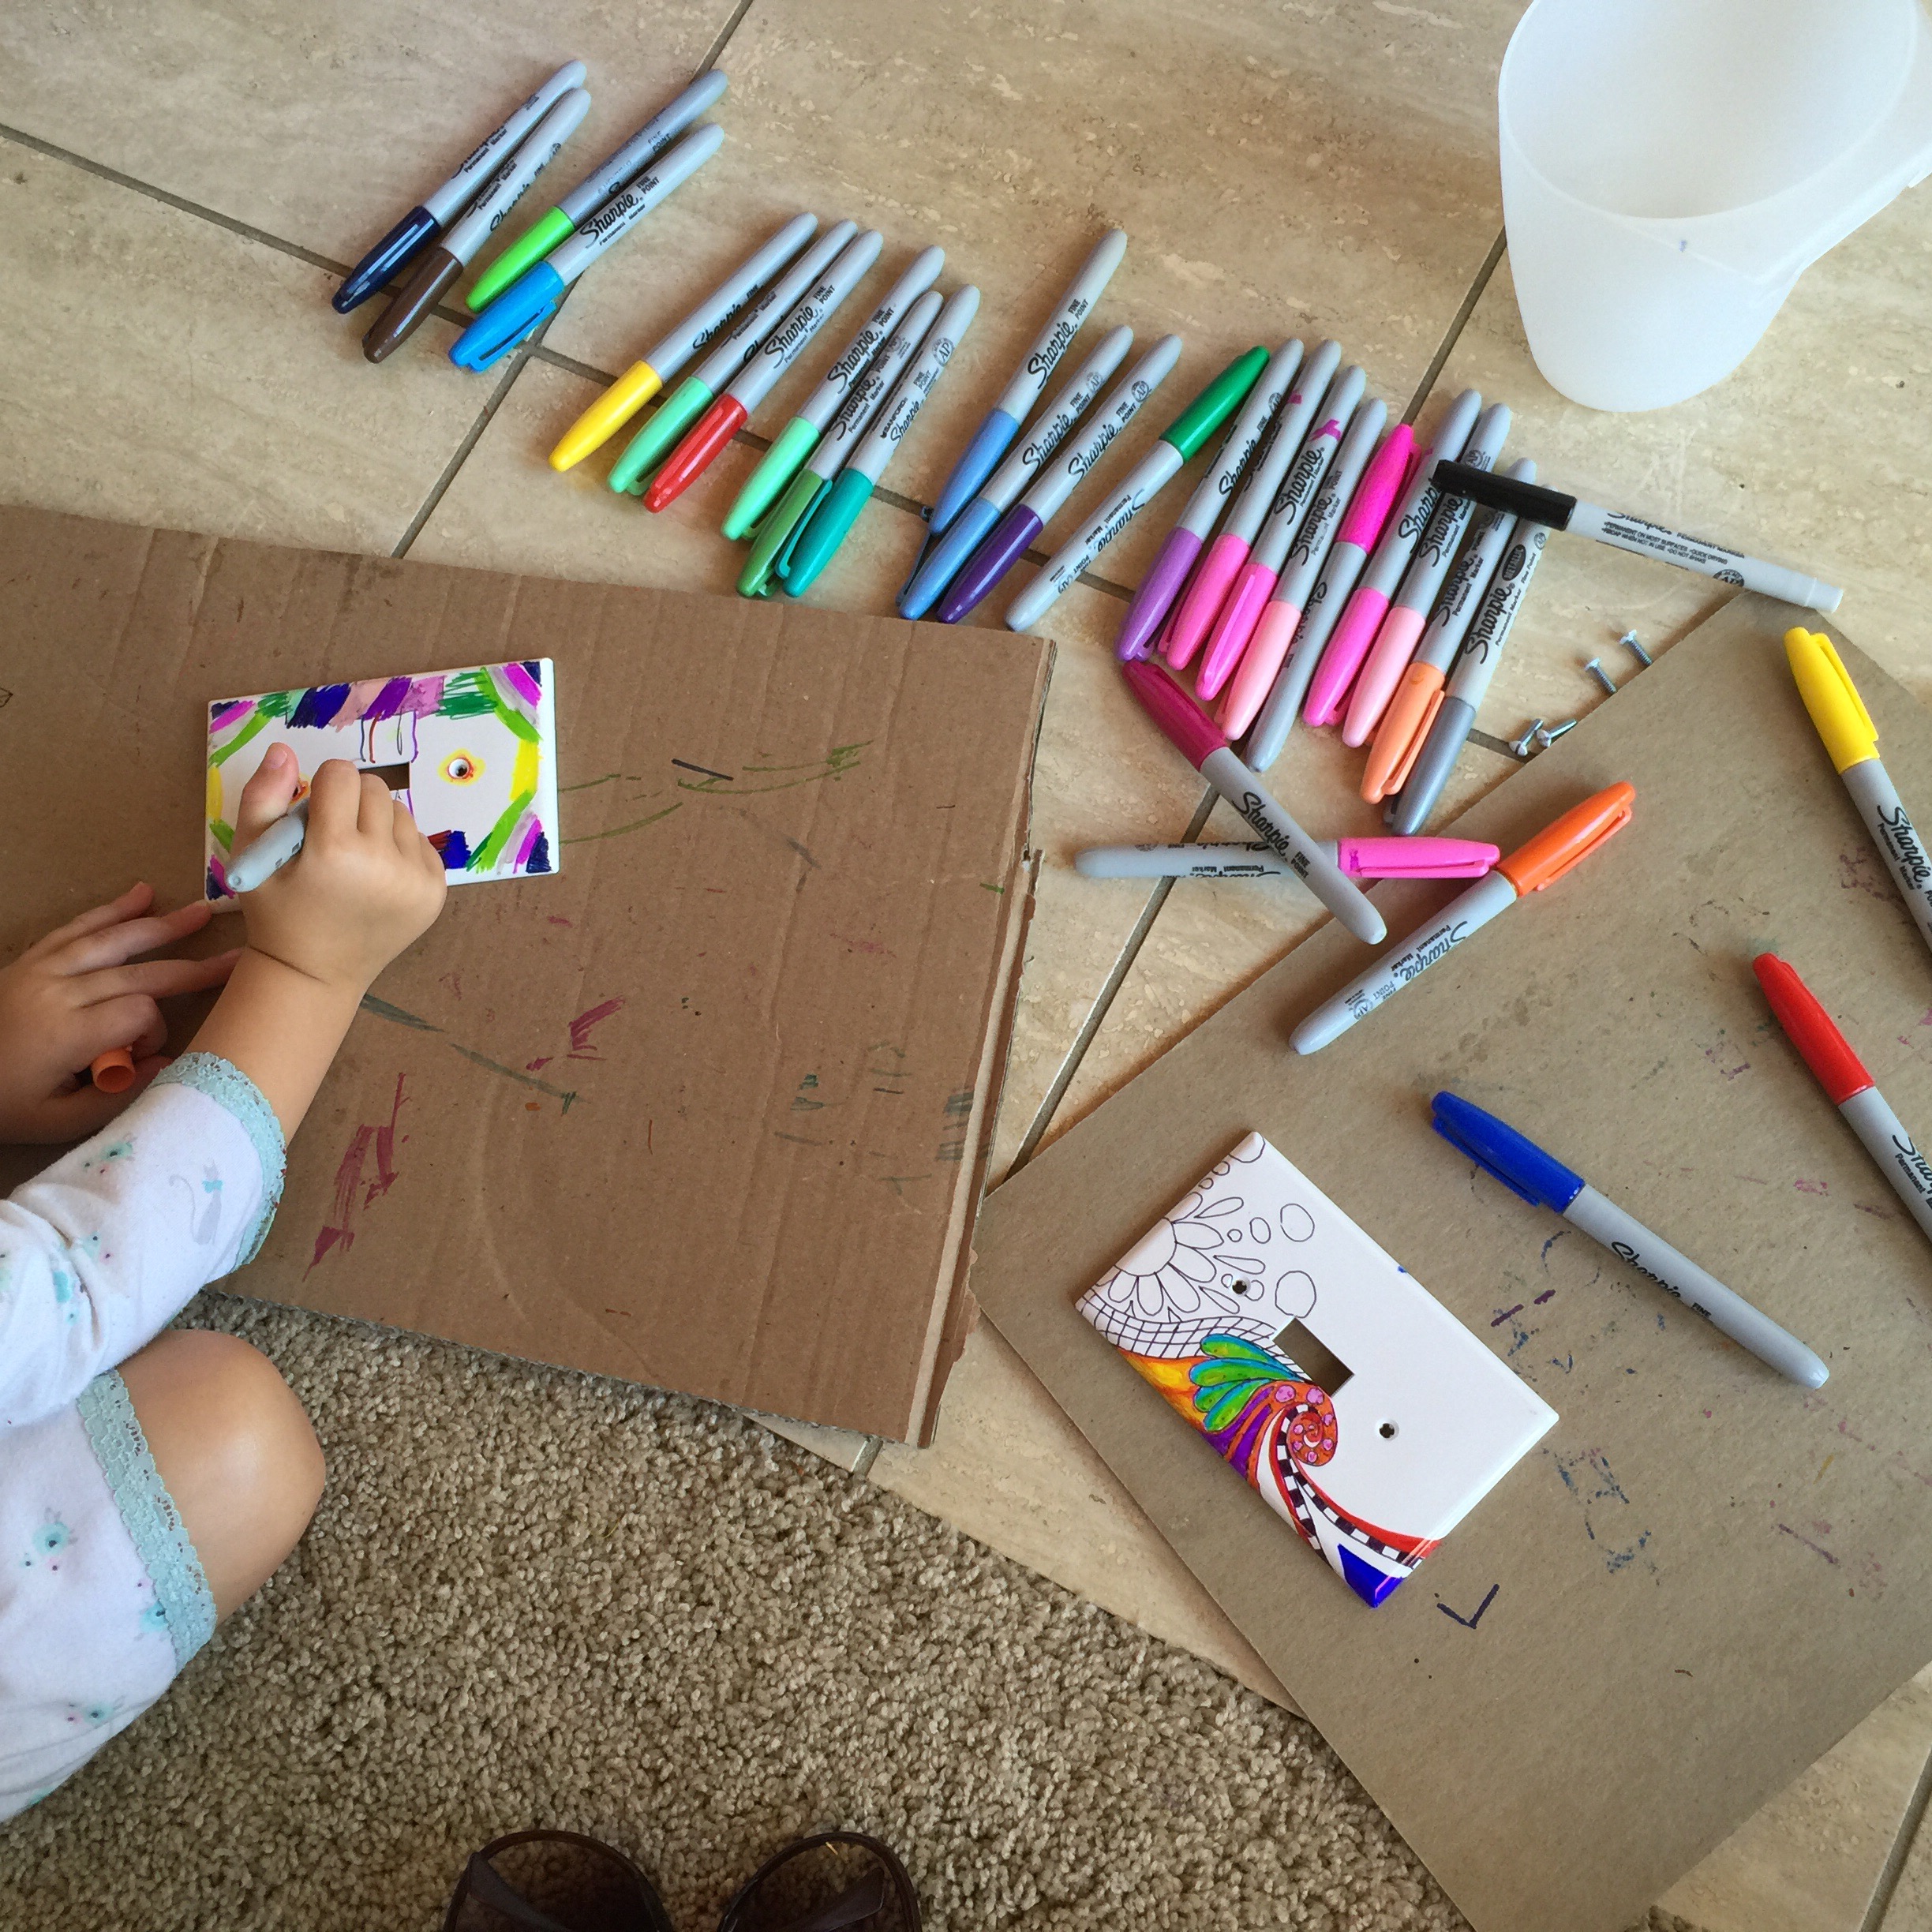
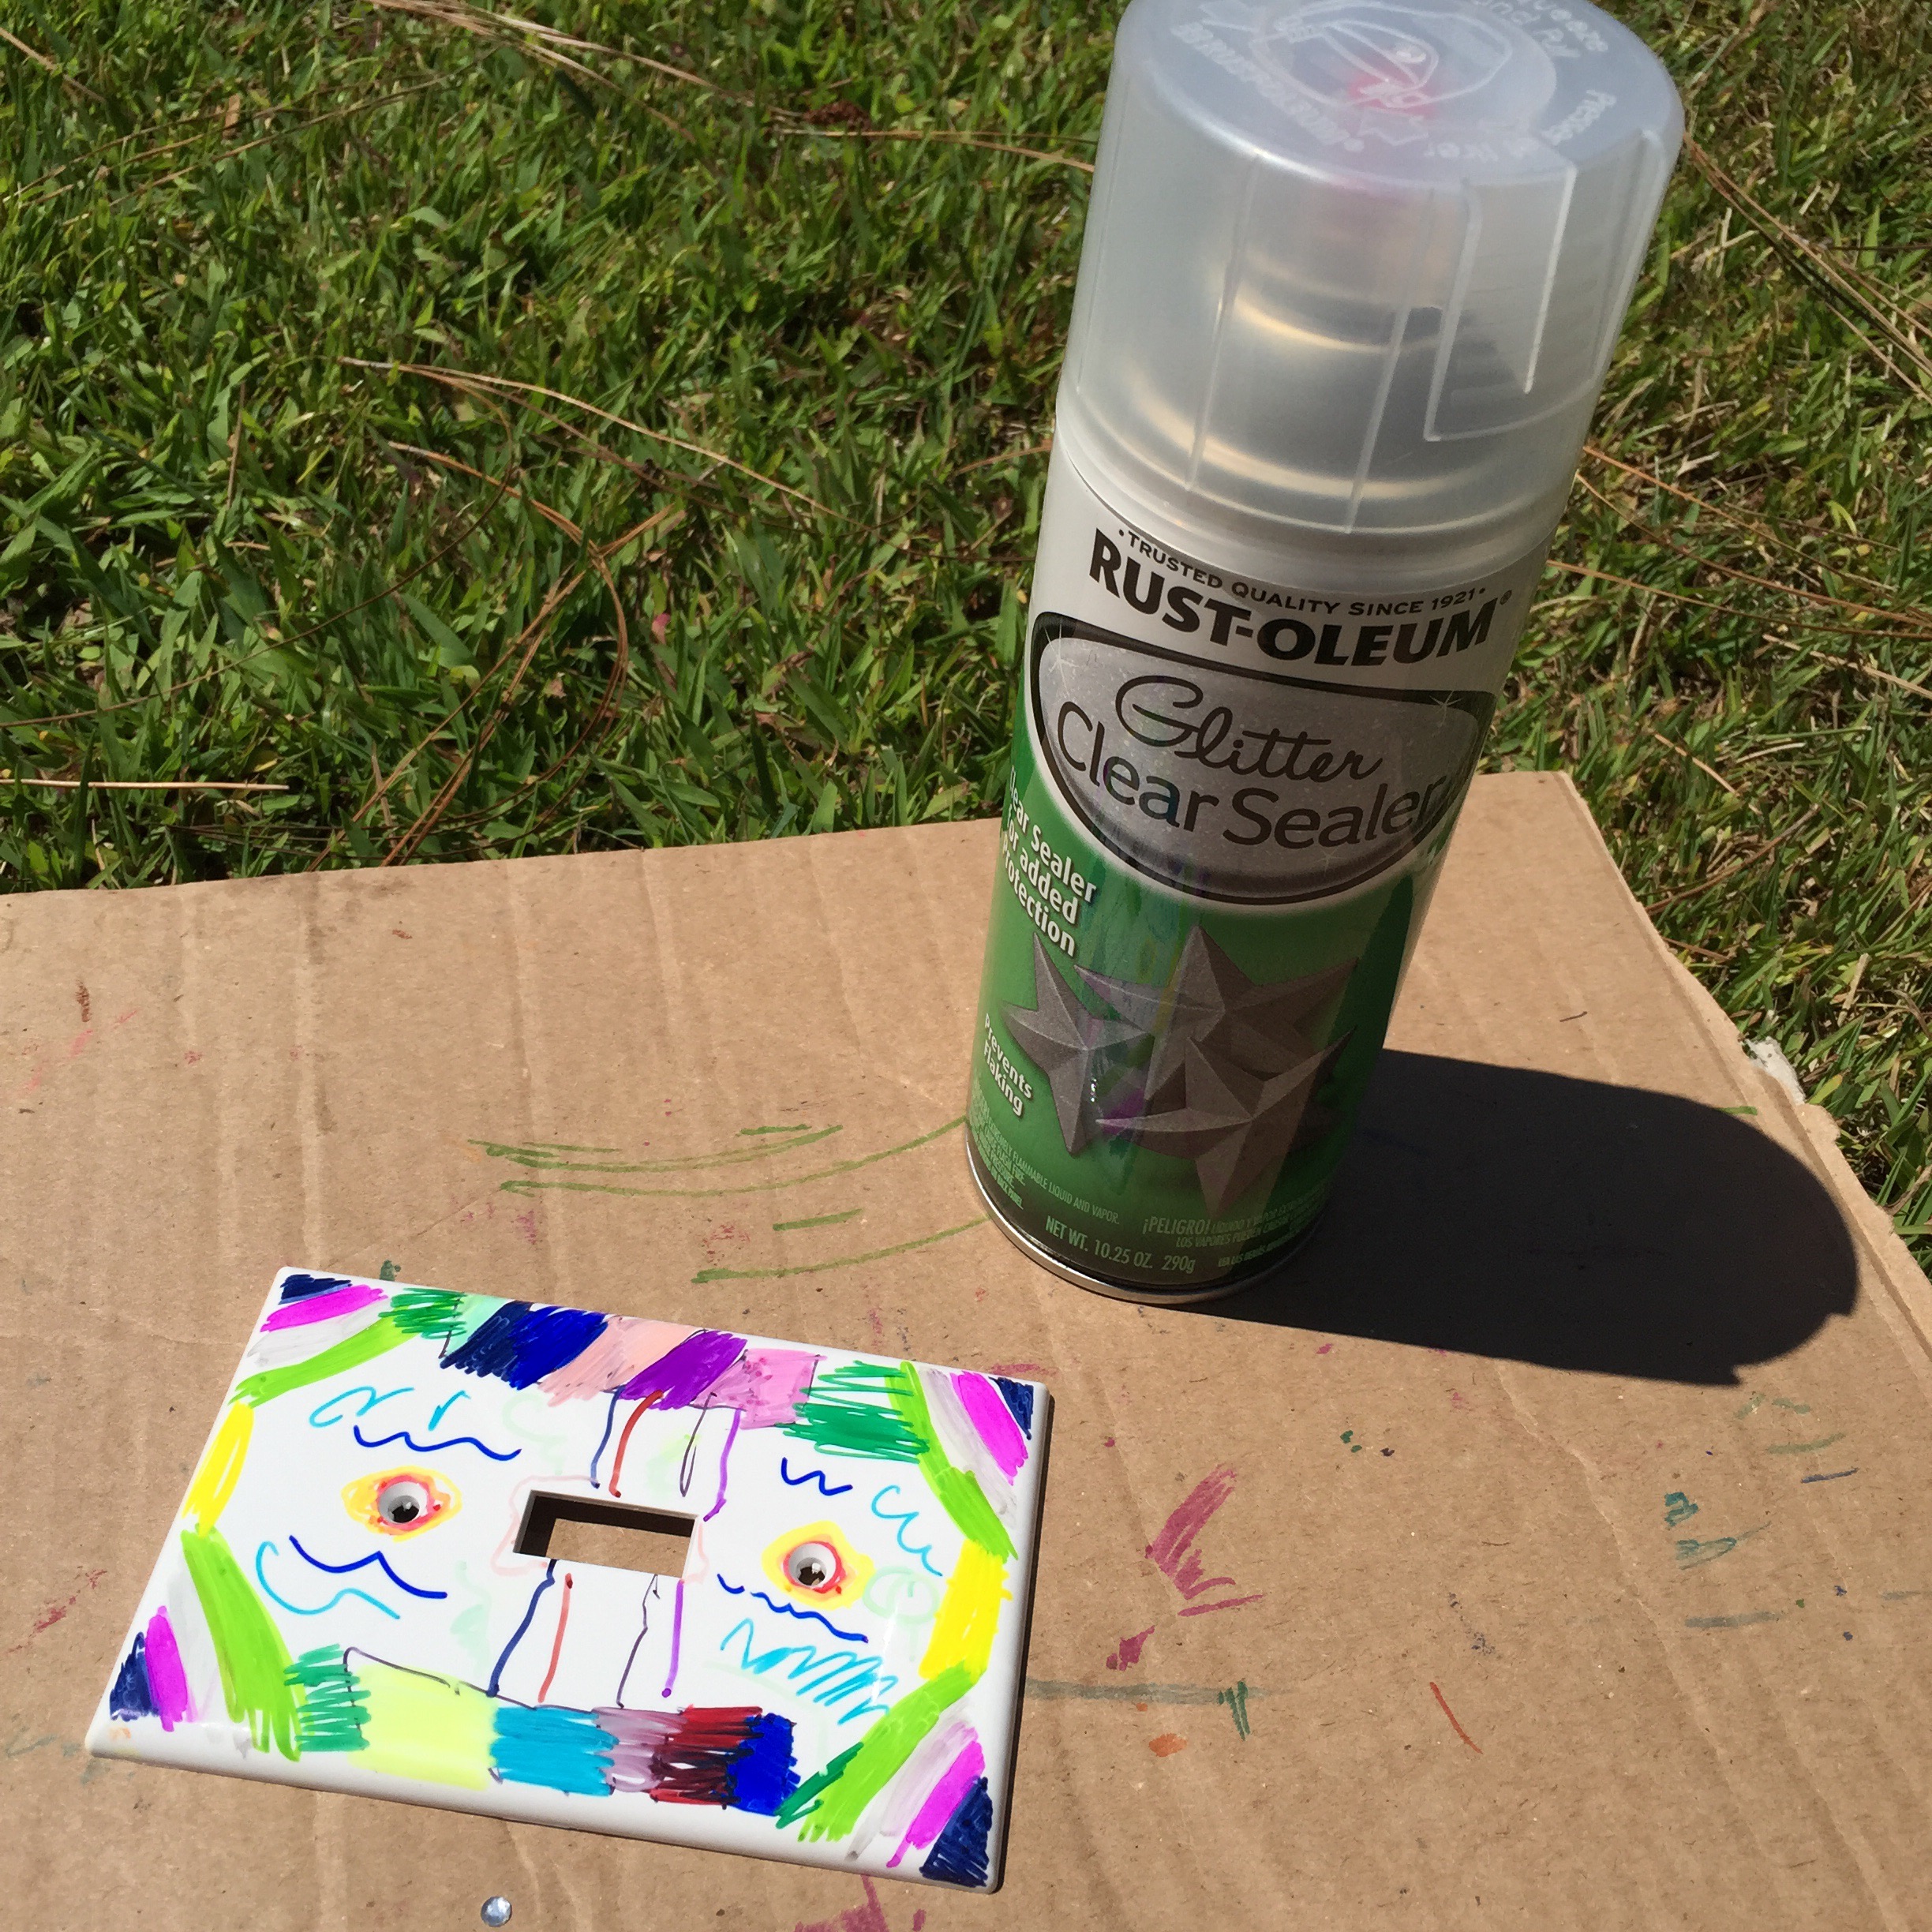
I gave one to my 4.5 year old. We colored them with sharpies. 

  
Then I sprayed them with a clear coat. 

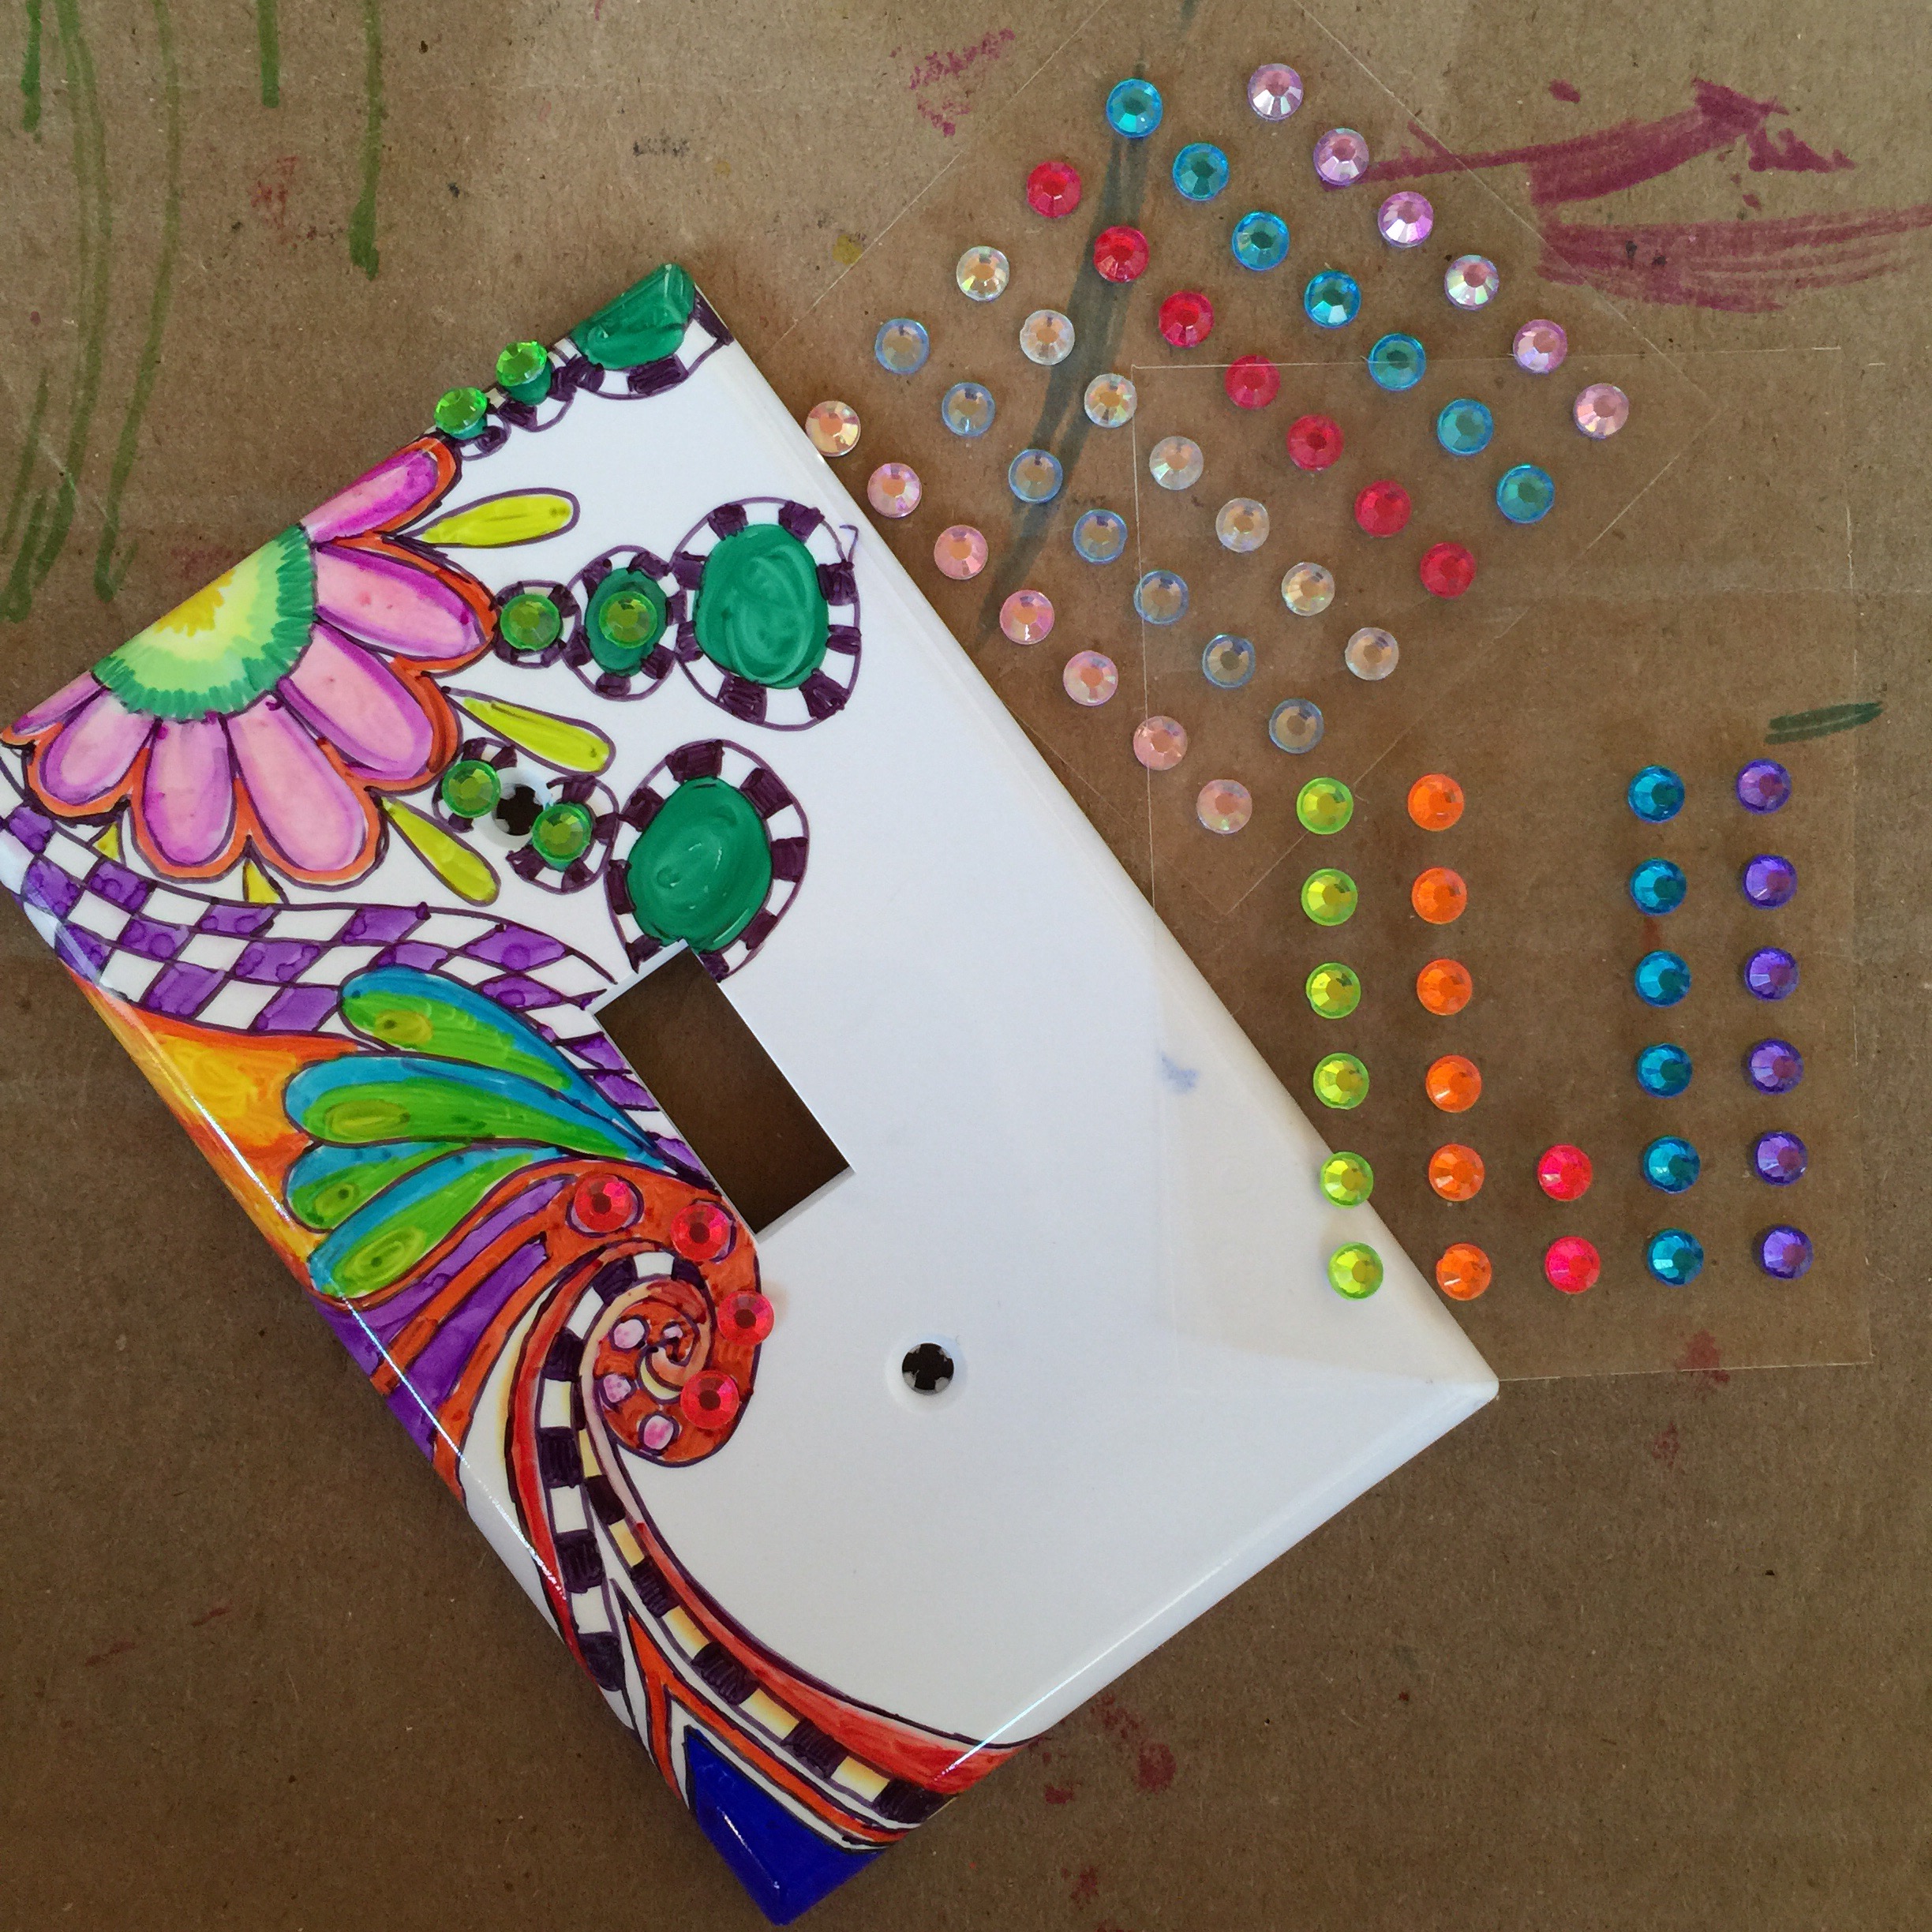
 It says glitter on it, and I’d assumed it was, but no glitter came out. ? No biggie though. Cuz I have rhinestones!! 
  
They were the kind pre-stuck with sticky on the backs. Super easy-peasy-lemon-squizie. 
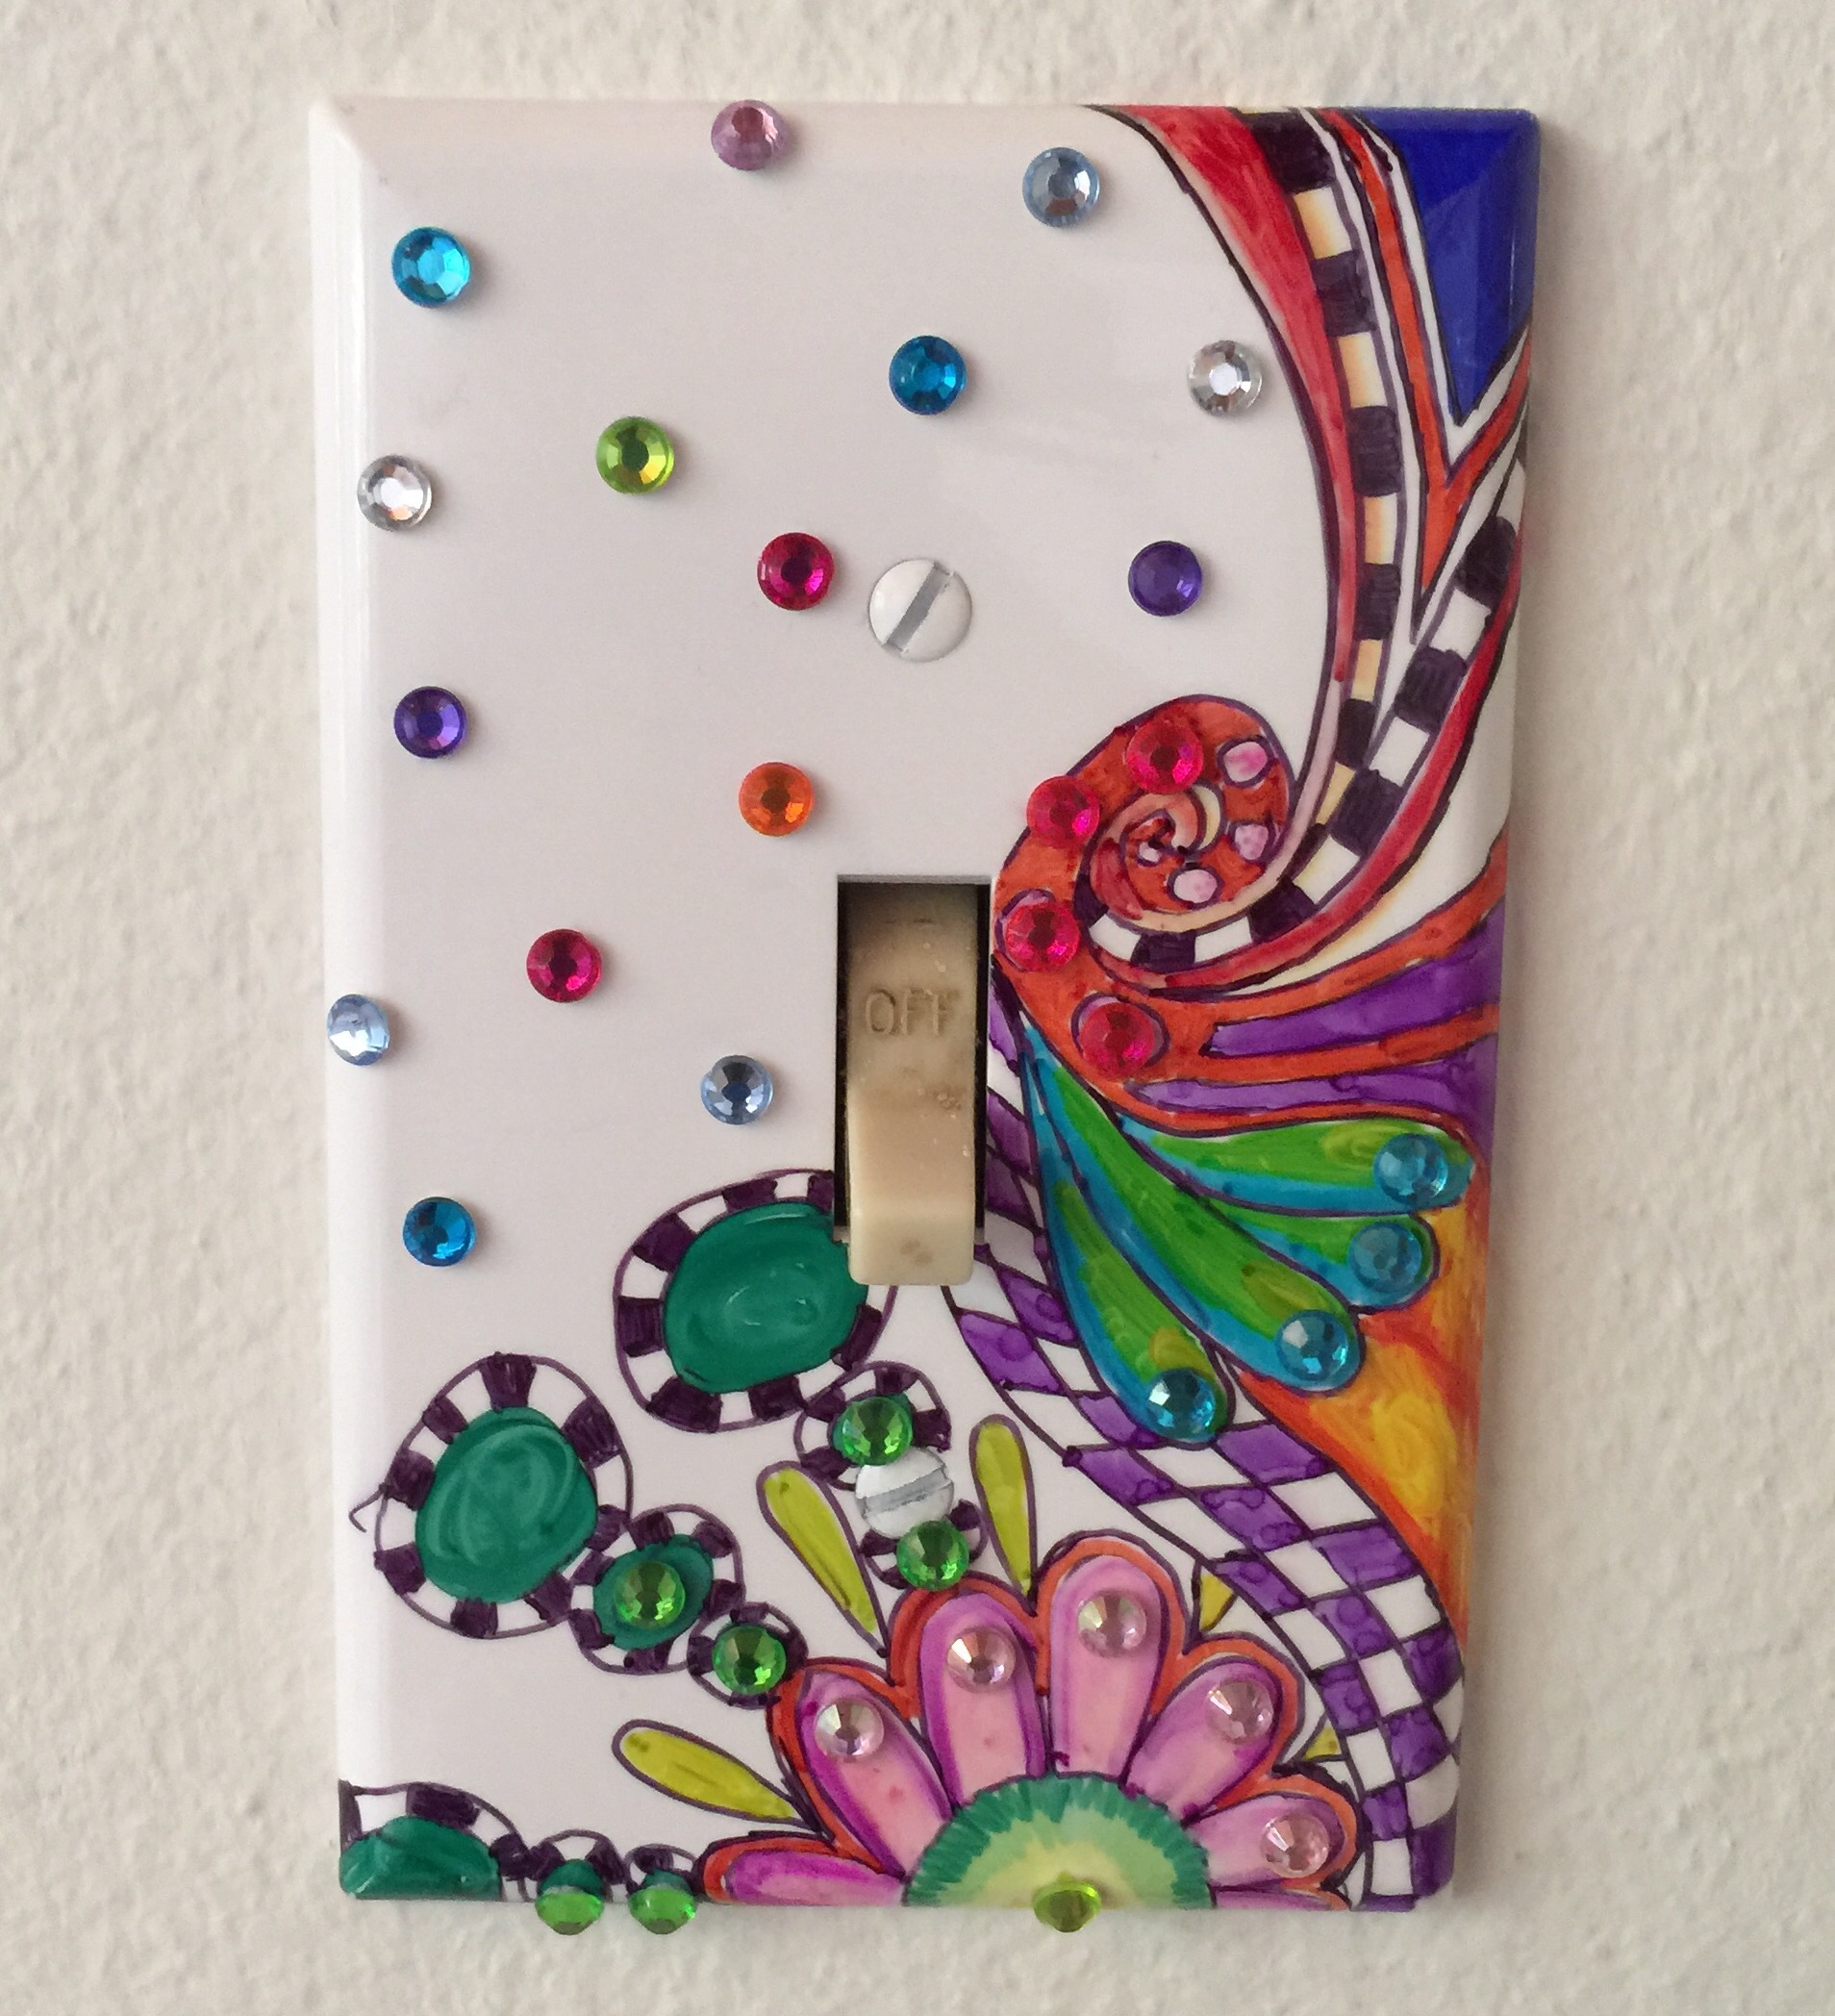
And behold:

Hers:  

 
Mine:

  
Still unsure whose is cooler. What’s your vote? 

Muchness Craft Time!

It has been SO long since I’ve shared a craft here. I’ll bet so many of you don’t even know I do crafts. I do. I totally do crafts. Sometimes, I even write horrible poetry about the crafts I do. Because, why not?

Before I share this craft with you I just want to say for the record that when Molly turned 4 I made her an awesome Disco themed party and totally planned to blog all about it and share the pictures of the disco balls the kids made. It was total Muchness. I never shared the pics. She’s six and a half.

OK. That’s been weighing on me. Now that I got it out of my system, maybe I’ll share it… eventually.

Moving right along….

I cleaned out my garage and basement! It started as part of the curriculum of my 8 week Finding Your Muchness After Babyloss program… sort of a “clearing the clutter” part of the program,  but quickly escalated to an all-out call-your-uncle-and-beg-him-to-help-you-get-the-shit-out-of-your-house event.

It culminated in this beautiful sight:

Nothing like the feeling of dumping 500 lbs. of trash in one fell swoop.

But during the clear out I found my stash of FIMO clay from back in my college days!

I loved that stuff. I used it to sculpt some masterpieces…. with which to smoke from.

photo 4

(Nicotine products only. What?!?!?!?  —seriously- everyone thought I was a pot head because I…well, I’m not sure why – any ideas? But I totally wasn’t. I thought it was stupid to use drugs in order to act “cool” or”weird”… I was totally those things already! Score! As an adult, I know better. )

Anyhoooo, Molly wanted to do a project and she and Liat were tired of totally ruining my patio while I recorded the horror in parental pride.

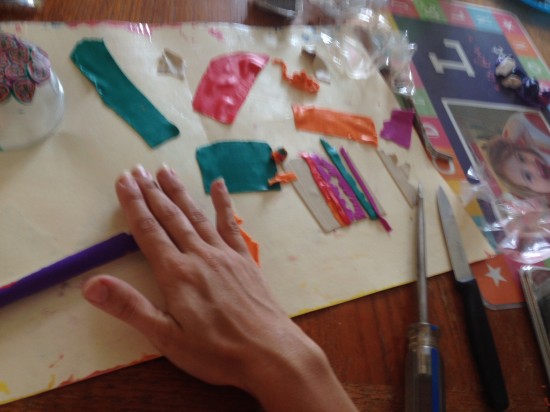
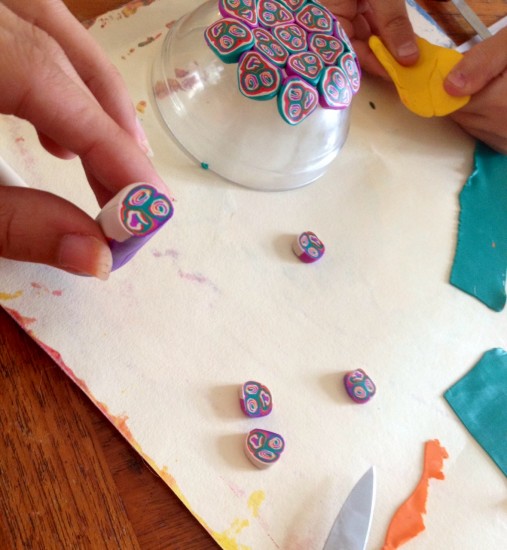
So I pulled out my fimo and the pasta maker that went with it and we got to work:

photo 3


photo copy

Then, Molly had the brilliant idea of filming us doing it! …but sadly, the mic on the camera wasn’t working… which in one way was good because it saved me the headache of having to edit the whole video for you. I just slapped it up on The YouTube as is, seeing as it was beyond repair anyway.

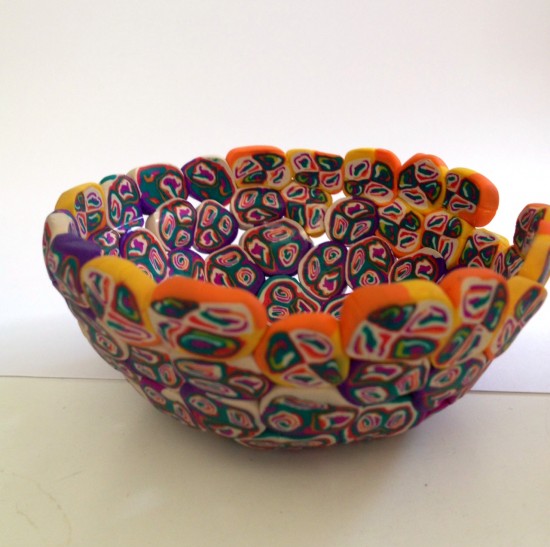
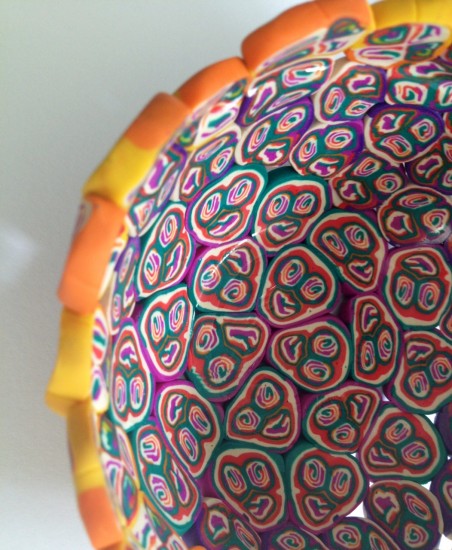
So, look at the pretty finished bowl!!

photo 1-1 photo 3-1

It’s missing a “tooth” at the top, but we think that just adds character.

Following this project, Molly asked me to use an entire $45 gift card she received for her birthday to buy an assortment of FIMO clay for her to make more stuff with.

I gladly obliged. So much better that than more Hello Kitty crap to fill my house. Though, she could probably make her own little Hello Kitty Figurine to match the little Kero Keroppi one I made sometime before the turn of the century. photo 5

Of course, hers won’t have smoking paraphernalia shoved up its butt.

DIY- Memorial candle for my grandfather + a story

Tonight is the 6th anniversary of my grandfathers passing. When I was pregnant with the twins, I would often think of my grandfather, who was a well known and very well respected Hassidic Rabbi, and I would think about his ancestors, which included some of the most famous rabbis in the last few hundred years of Jewish History, and I thought “No way my babies are going to die. He won’t let them.”

Well, I guess he had only so much say in the matter.

He died a year before Molly was born. He’d met Elie once. Actually, twice, but he could only communicate the first time. Elie and I had been dating for 5 months when he came with my family to Florida to celebrate passover. My grandfather called Elie to his house and told him to propose to me. Like, that day. Elie, who’d not yet even met my dad yet, assured him it was going to happen, but not that day.

The truth is, in some way, my grandfather was maybe responsible for me meeting Elie. I’d been dating a guy for almost 5 years and inside I knew it was a dead end but couldn’t admit it to myself just yet. My grandfather took it upon himself to call my boyfriend and tell him, basically, shit or get off the pot. It was that action that basically let me know, internally, I didn’t care if he shat or got off the pot. I wasn’t supposed to be there. So I left.

Two weeks later I met Elie.

11 months later, we were married. My grandfather, too sick to travel, listened to the ceremony via cell phone. He passed away 5 months later.

Anyway, I guess I just feel like he’s still looking out for me. Tonight my mother texted me that it is the anniversary of his passing – his yartzeit, in yiddish, and we should light a candle if we have one.

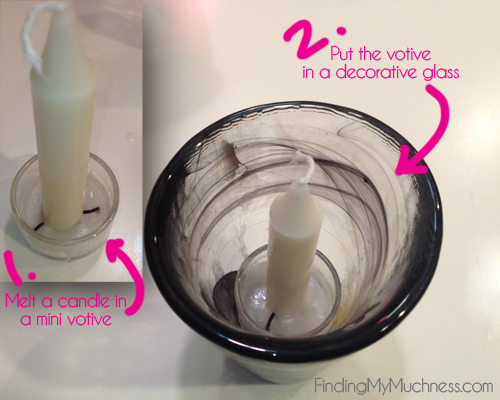
They make special memorial candles, but most of them are effing ugly. And I don’t have one anyway. So I decided to make one myself. I remembered my mom made one herself for my stepdad when I was a teenager. She used a really pretty cut crystal goblet and it reflected beautiful dancing shapes of light on a white tablecloth. But I also remember when the candle got down to the bottom of the glass, it got too hot and the goblet shattered into a million glass shards, and that was really kinda sad, on many levels. So I added a votive holder at the bottom. and used something less delicate.

Here’s what I did:

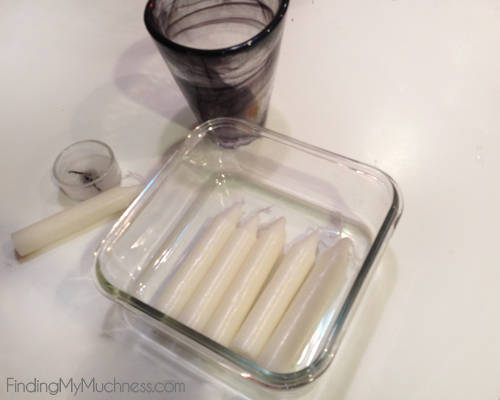
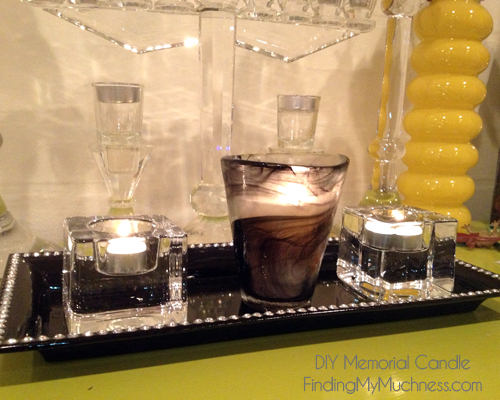
What I Used: Pretty durable Glass + 6 White unscented (shabbat) candles + Microwave safe dish + Glass Votive holder. Not Shown: Wooden shish kabob skewers

memorialcandleDIY1

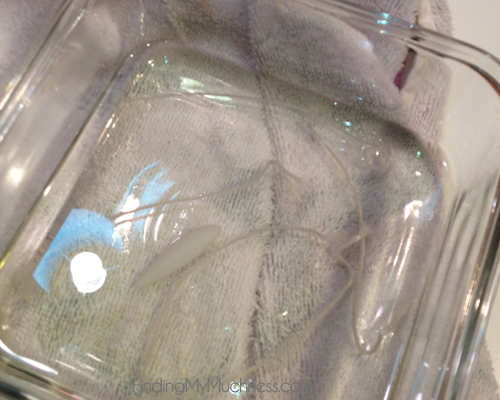
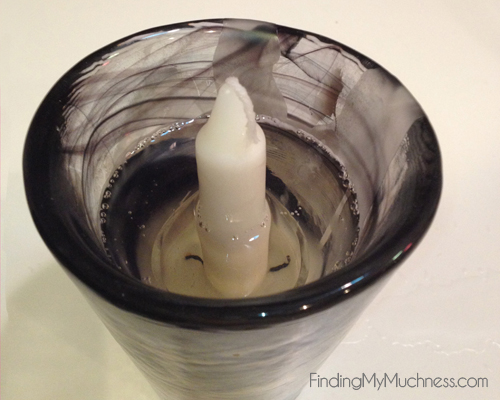
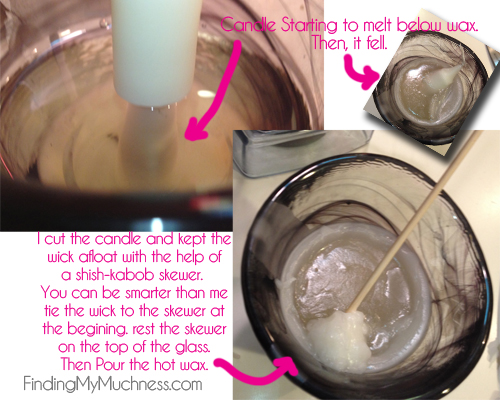
I microwaved 5 of the candles for about 5 minutes. Then I fished out the wicks with the skewer.

***edited to add: The candle didn’t burn well. It was very dense and kept going out. I made another one and mixed about 2 tablespoons of olive oil into the melted wax. That made it the perfect texture an it burned beautifully.

memorialcandleDIY3

While it melted I prepared the center candle.

memorialcandleDIY2

Then I poured.

memorialcandleDIY4

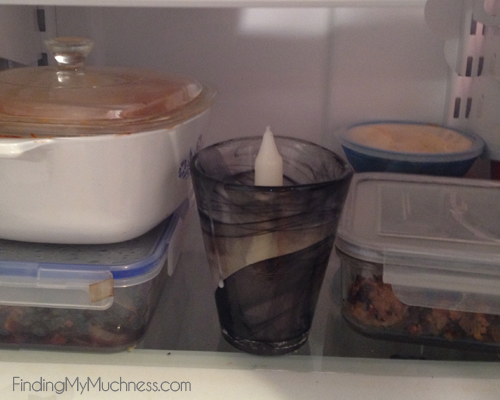
I should have then put it in the freezer but I didn’t. I put it in the fridge.

memorialcandleDIY5

Then I ran into some trouble.


memorialcandleDIY6

Then, I ultimately did put it n the freezer.

***edited to add: on the second version I just melted the wick to the skewer at the outset by dripping a candle onto the wick before I poured the hot wax.

After it was solid, I took it out and lit it. BEHOLD:

memorialcandleDIY7

I decided to light Sunshine and Daisy’s candles too. It just seemed like the thing to do.

It was really so simple and quick and I LOVE the idea of making custom memorial candles in meaningful glasses or cups that are etched or even just painted with names and dates…

As an aside, I need to share that while writing this blog post I heard Elie sneeze downstairs so I grabbed my phone to text him a “bless you” (yes, you read that correctly) and while checking an email that arrived just then from Still Standing Magazine, this popped up on my phone.

IMG_3119

I really can’t begin to get into the meaning of this… I’m really just sharing it for my cousin L’via, and because I feel like I’m just supposed to be sharing it.

A Muchness Coincidence… and also maybe a bit creepy…

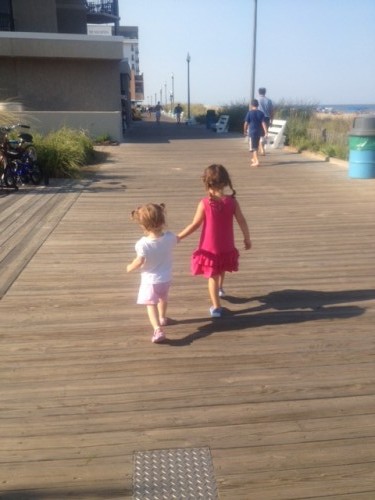
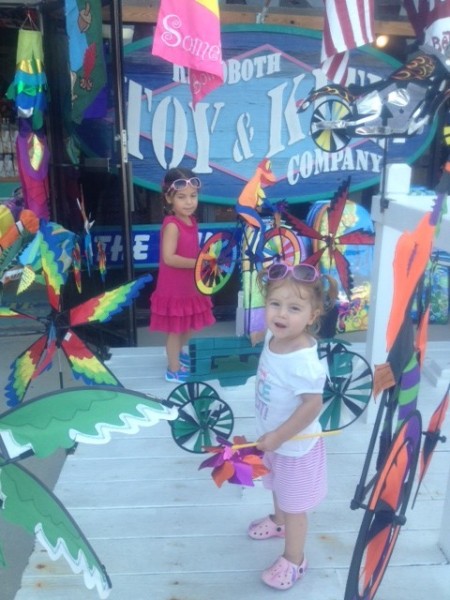
Last week on vacation the whole family went to a shop on the boardwalk to buy a pinwheel. The girls were really excited.
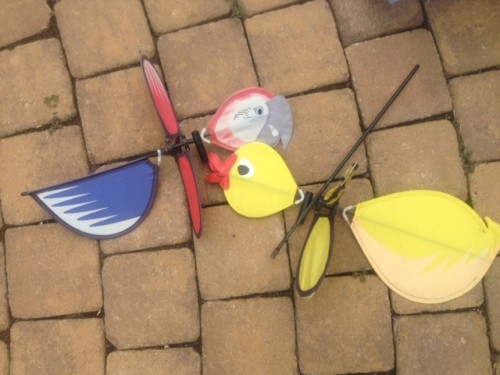
We’d gone to the same spot last year and Molly picked out a little ducky and parrot.
Last Year:
They were in the backyard all year and got the crap kicked out of them by the winter weather.
I Molly was excited to go buy a new one. This year the girls got to pick one together.
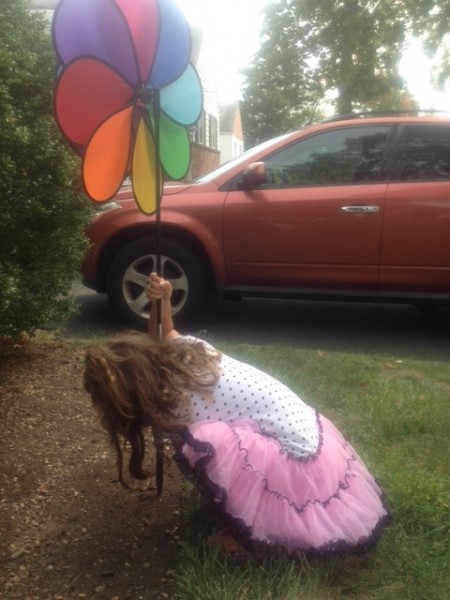
As soon as we got home, Molly got to work installing it in the front lawn.
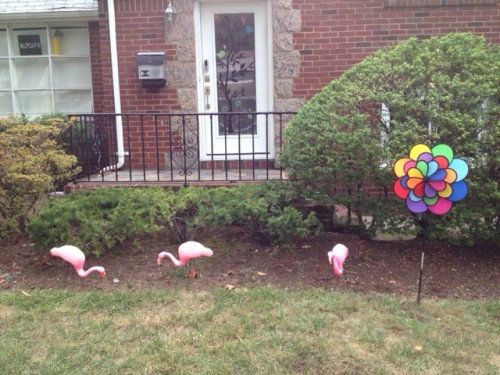
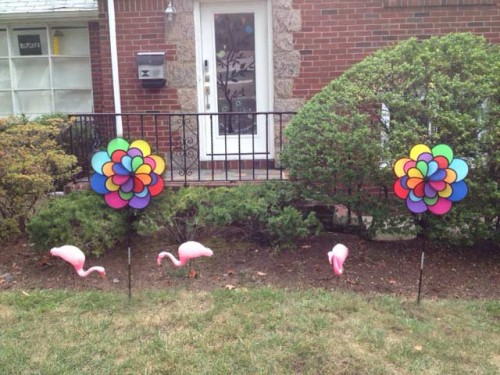
It looked really fun and pretty… Maybe a little lonely in our less than exciting front yard but those fading flamingos are (temporarily) keeping it company:
If I’m honest,  I kinda was wishing I had something else there too, just to balance it a bit. But I don’t. So be it.
Anyway, today I went to work. My coworker, who’d also been on vacation clear across the country, told me she saw something on her trip that made her think of me, so she bought it! How nice is that? I assumed it was some sparkly doodad that’s easy to travel with and screamed “Look at me!! I’m Muchy!!”
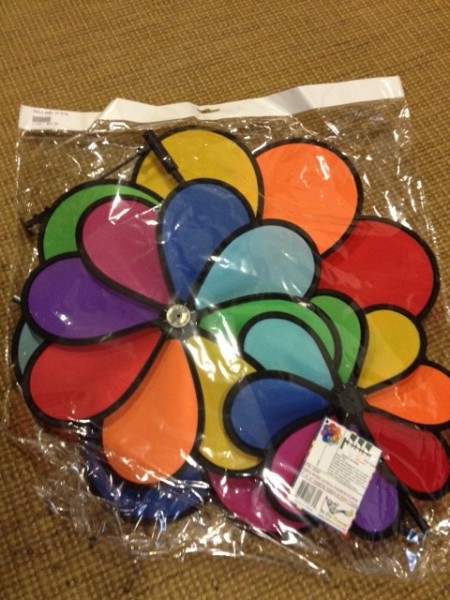
So she went into her office and returned with an oversized bag. Inside?
I nearly fell to the the floor. I mean, REALLY? Folks- she didn’t know about our pinwheels. We have NEVER had a conversation EVER about the fact that last year we bought pinwheels on our vacation. I hadn’t posted any pictures or comments or ANYTHING that would have made her brain say “Pinwheel? Tova!” And that is it the IDENTICAL pinwheel…
I don’t know… it’s all just a  bit TOO MUCH for me. 🙂
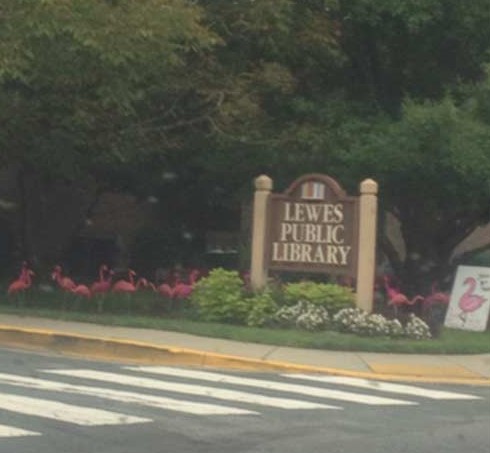
Seriously, the only thing I need to do now is yank out those sad bushes that attract too many bugs and install a flamingo garden like the one I saw in front of the Lewes Public Library.
Could you imagine? My neighbors would absolutely LOVE me!!!! 😀
hahahahahahahahahahah