Gilded trinket tray

I’ve been doing a lot of crafty stuff lately. 

On my long to do list is sharing them with you because frankly, they’re cool and original and they make me happy to make so they’ll increase my happy to share. So here’s one:

A few posts back I mentioned how I was painting on my front lawn and one of my oldest friends in the world whom I’d lost touch with randomly walked by. 

She invited me to her daughters upcoming bat mitzvah. When we met her daughter was wearing a t-shirt that said “sparkle is my favorite color”, so ya know, my people. 

I thought about what’s a good thing to give a 12 year old girl that she’ll really appreciate (besides cash) and decided that something sophisticated and unique and personalized would be what I’d want and since I basically have the same tastes as a 12 year old, I got to work. 

Since I don’t know her kid at all, I based my idea on the small bit of knowledge I did know about her, and that came from the design of the invitation:   

Shockingly enough, I already owned washi tape in similar colors and with a similar pattern to match her invitation. 

I also happened to have a lovely yet simple white ceramic candle/trinket tray, still wrapped from a gift I’d rec’d but didn’t really have a great spot for. 

Excellent. Let’s get started. 

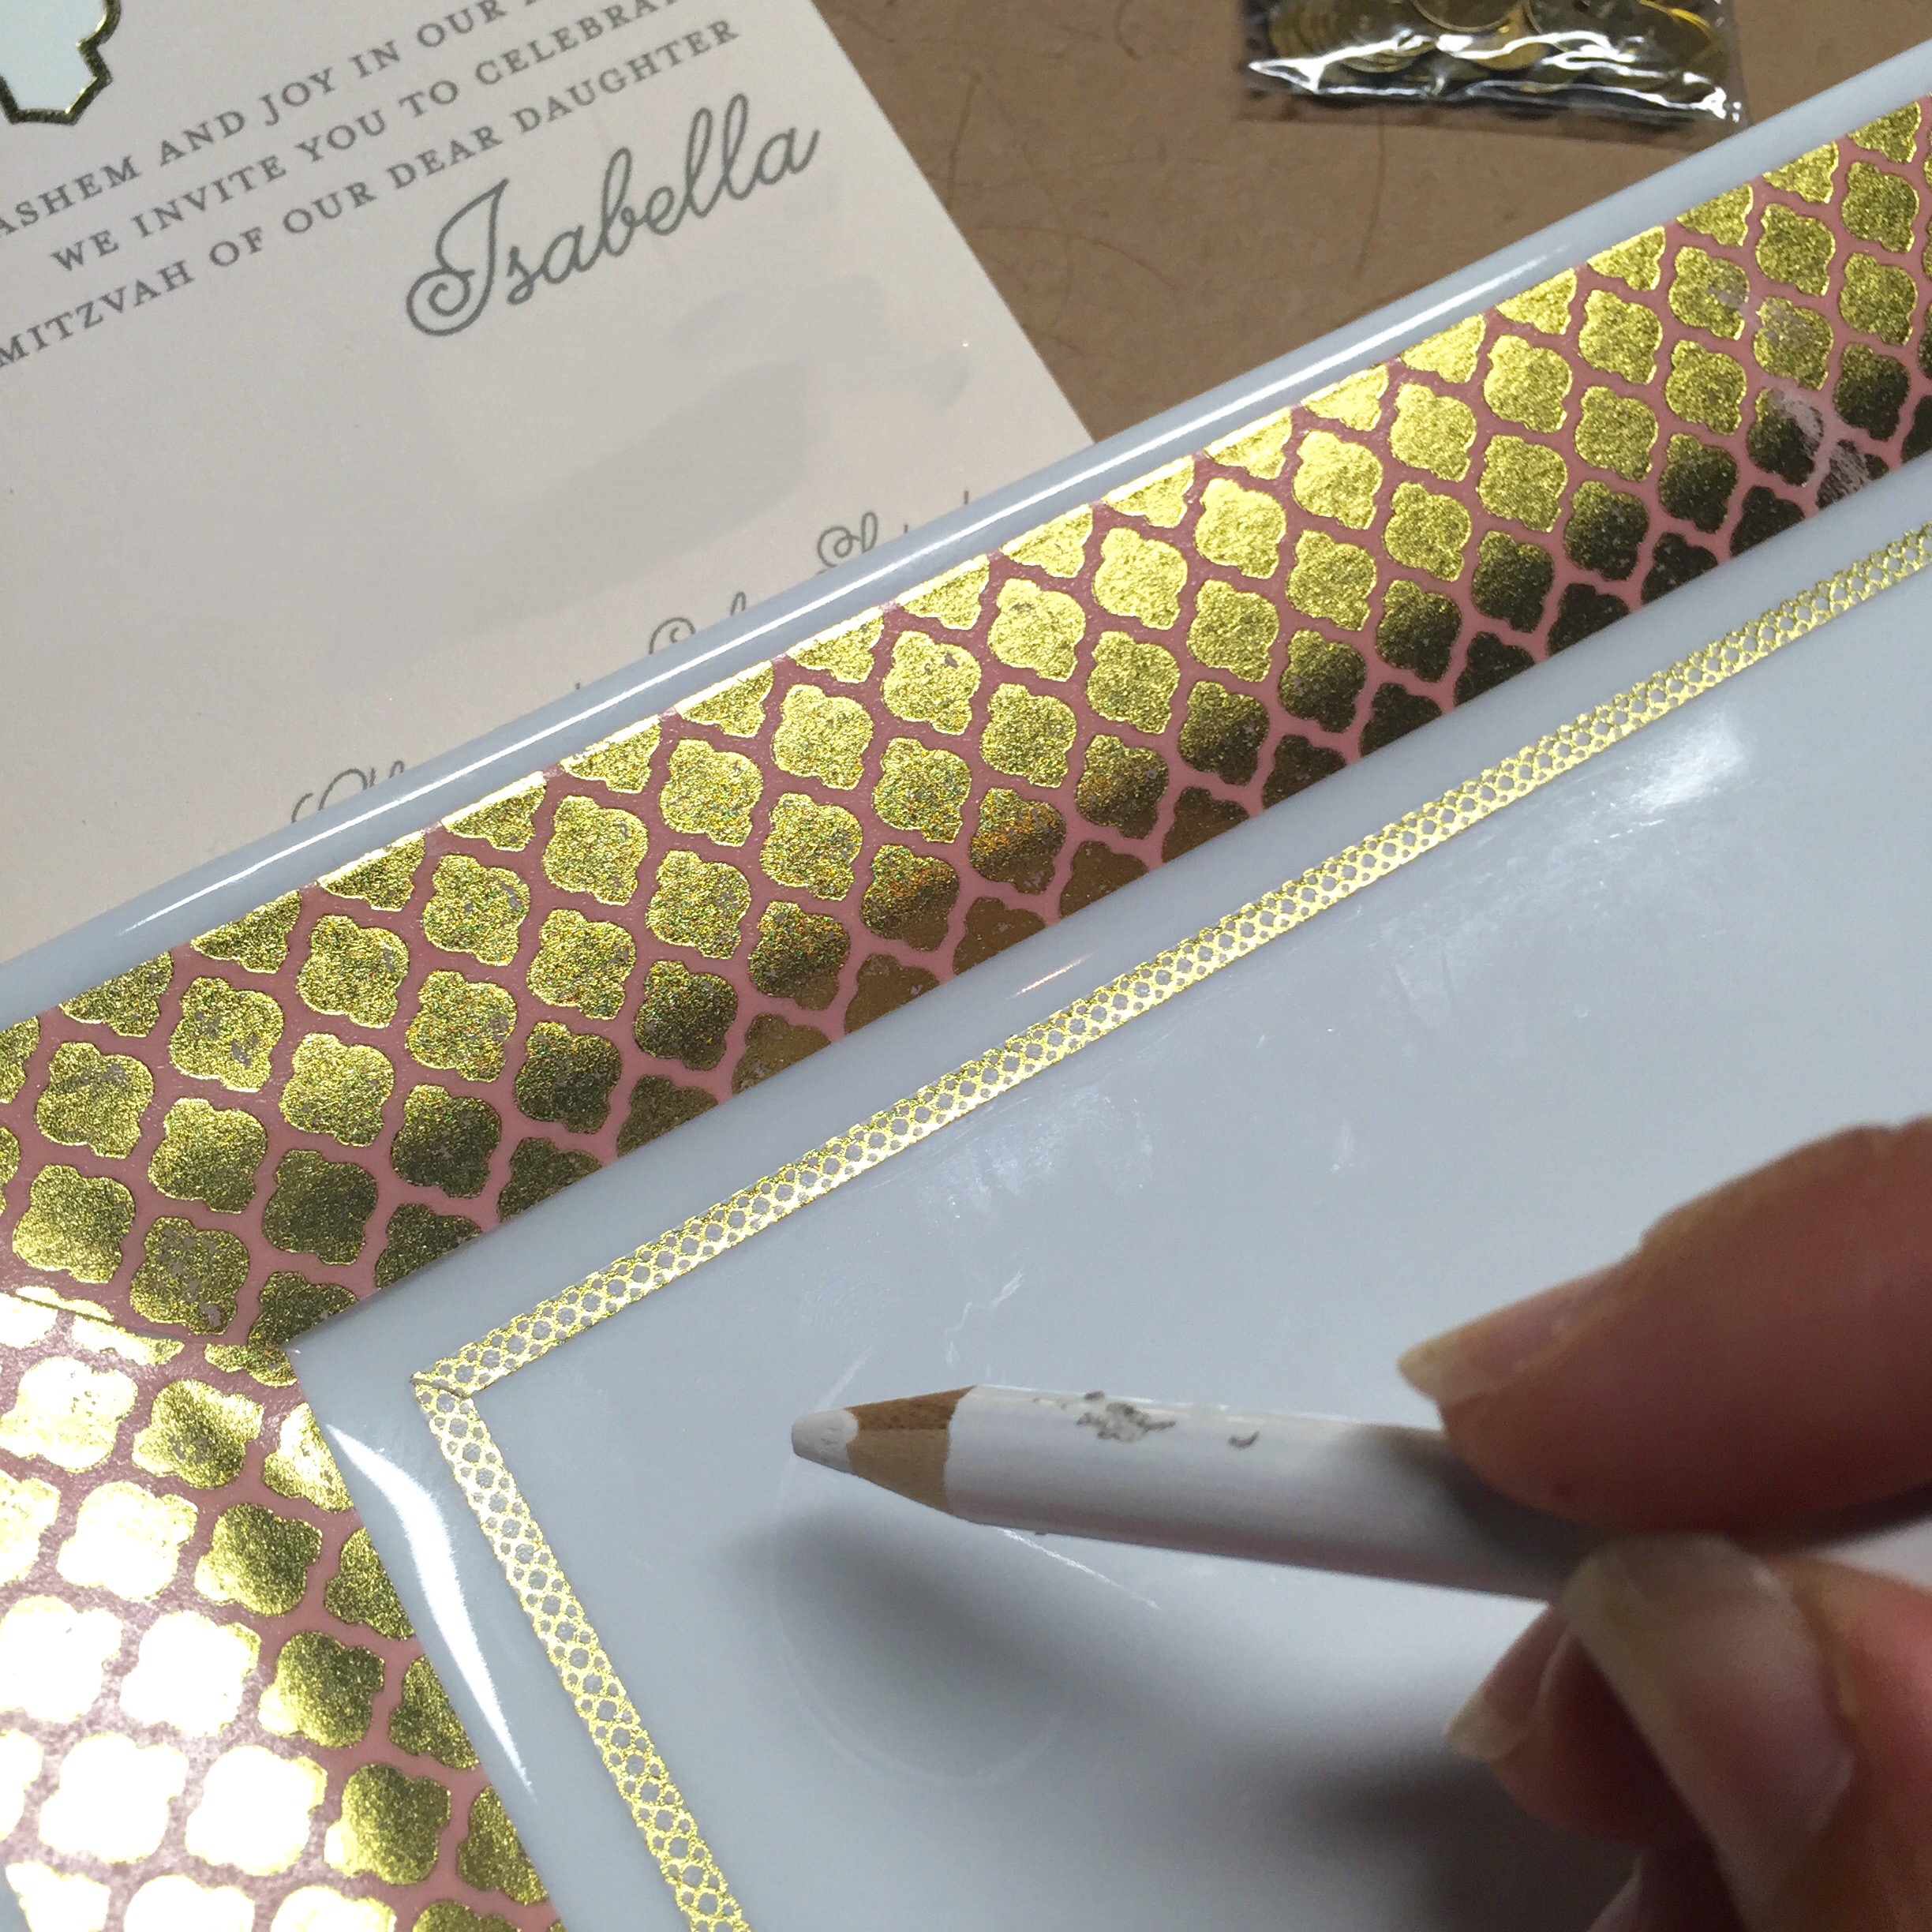
First, I laid the wide washi tape around the four sides.  After that I laid the skinny washi tape about 1/4 in from the first washi tape. Sorta a layered look. 

 
Some technical notes: 

I made sure to leave a reasonable sized border of plate on the outside edge of the wide tape. This helped the the tape conform to the curves of the plate without having to work too hard. 

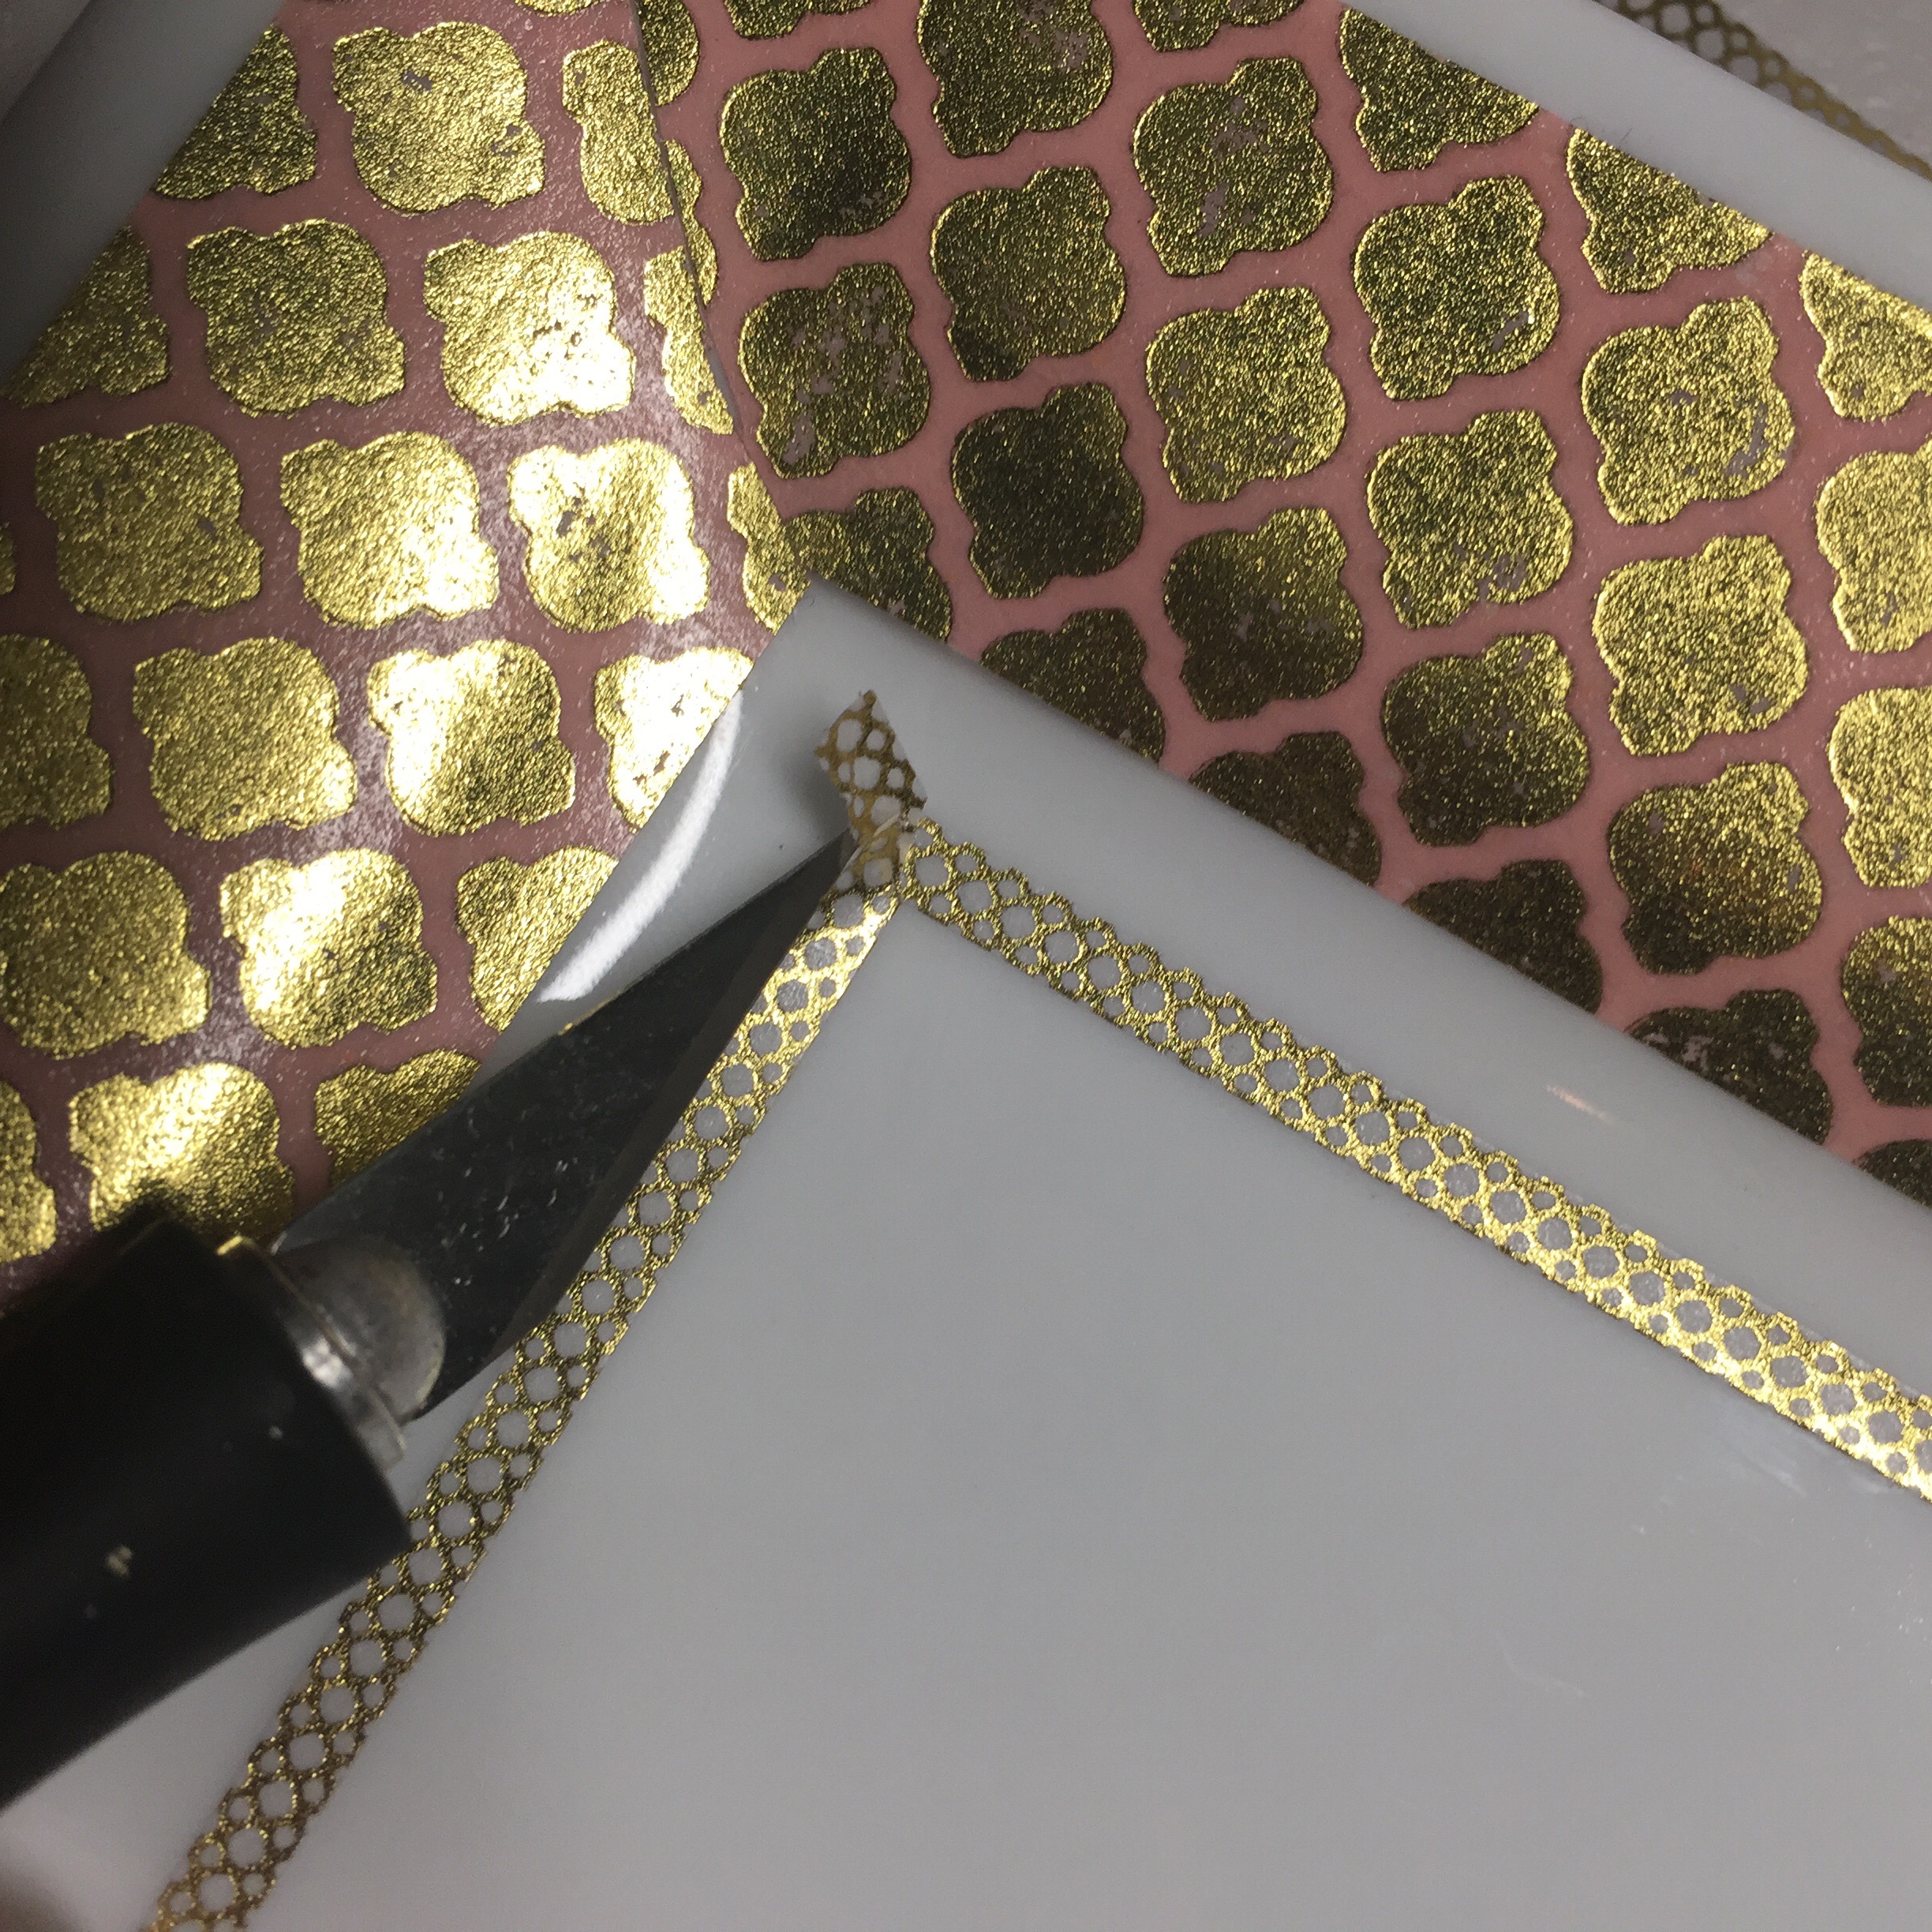
I created those mitred corners really easily. I laid the tape edge to edge in each direction and then just sliced through both layers from corner to corner. 

Here’s a pic of me doing it w the skinny tape:  


What was unexpectedly cool was how much the tape looked like it was part of the ceramic, especially the tape with the white background. 

Ok. After getting my washi frame in place I got to work on the name. 

At first I’d wanted to use Swarovski crystals to write it but I also knew I wanted to seal the whole thing for durability and sealer on top of swarovskis is a disaster. 

I was going through my “muchification drawer” (a real thing) looking for gold glitter paper. I was gonna print her name backwards, glue it to the back of the paper and then carefully exacto out the name and glue it in place. But, as luck would have it, while rifling through the muchification drawer I came upon the perfect solution: itty bitty little gold sequins with subtle pink accents.  

Because seriously, who doesn’t have that just hanging out at the bottom of a drawer somewhere, right?  

So, I got to work. 

I used a white pickup pencil because I had it within arms reach and i could rub it off. I free-handed her name in the same style font as it’s written on the invitation.  
 
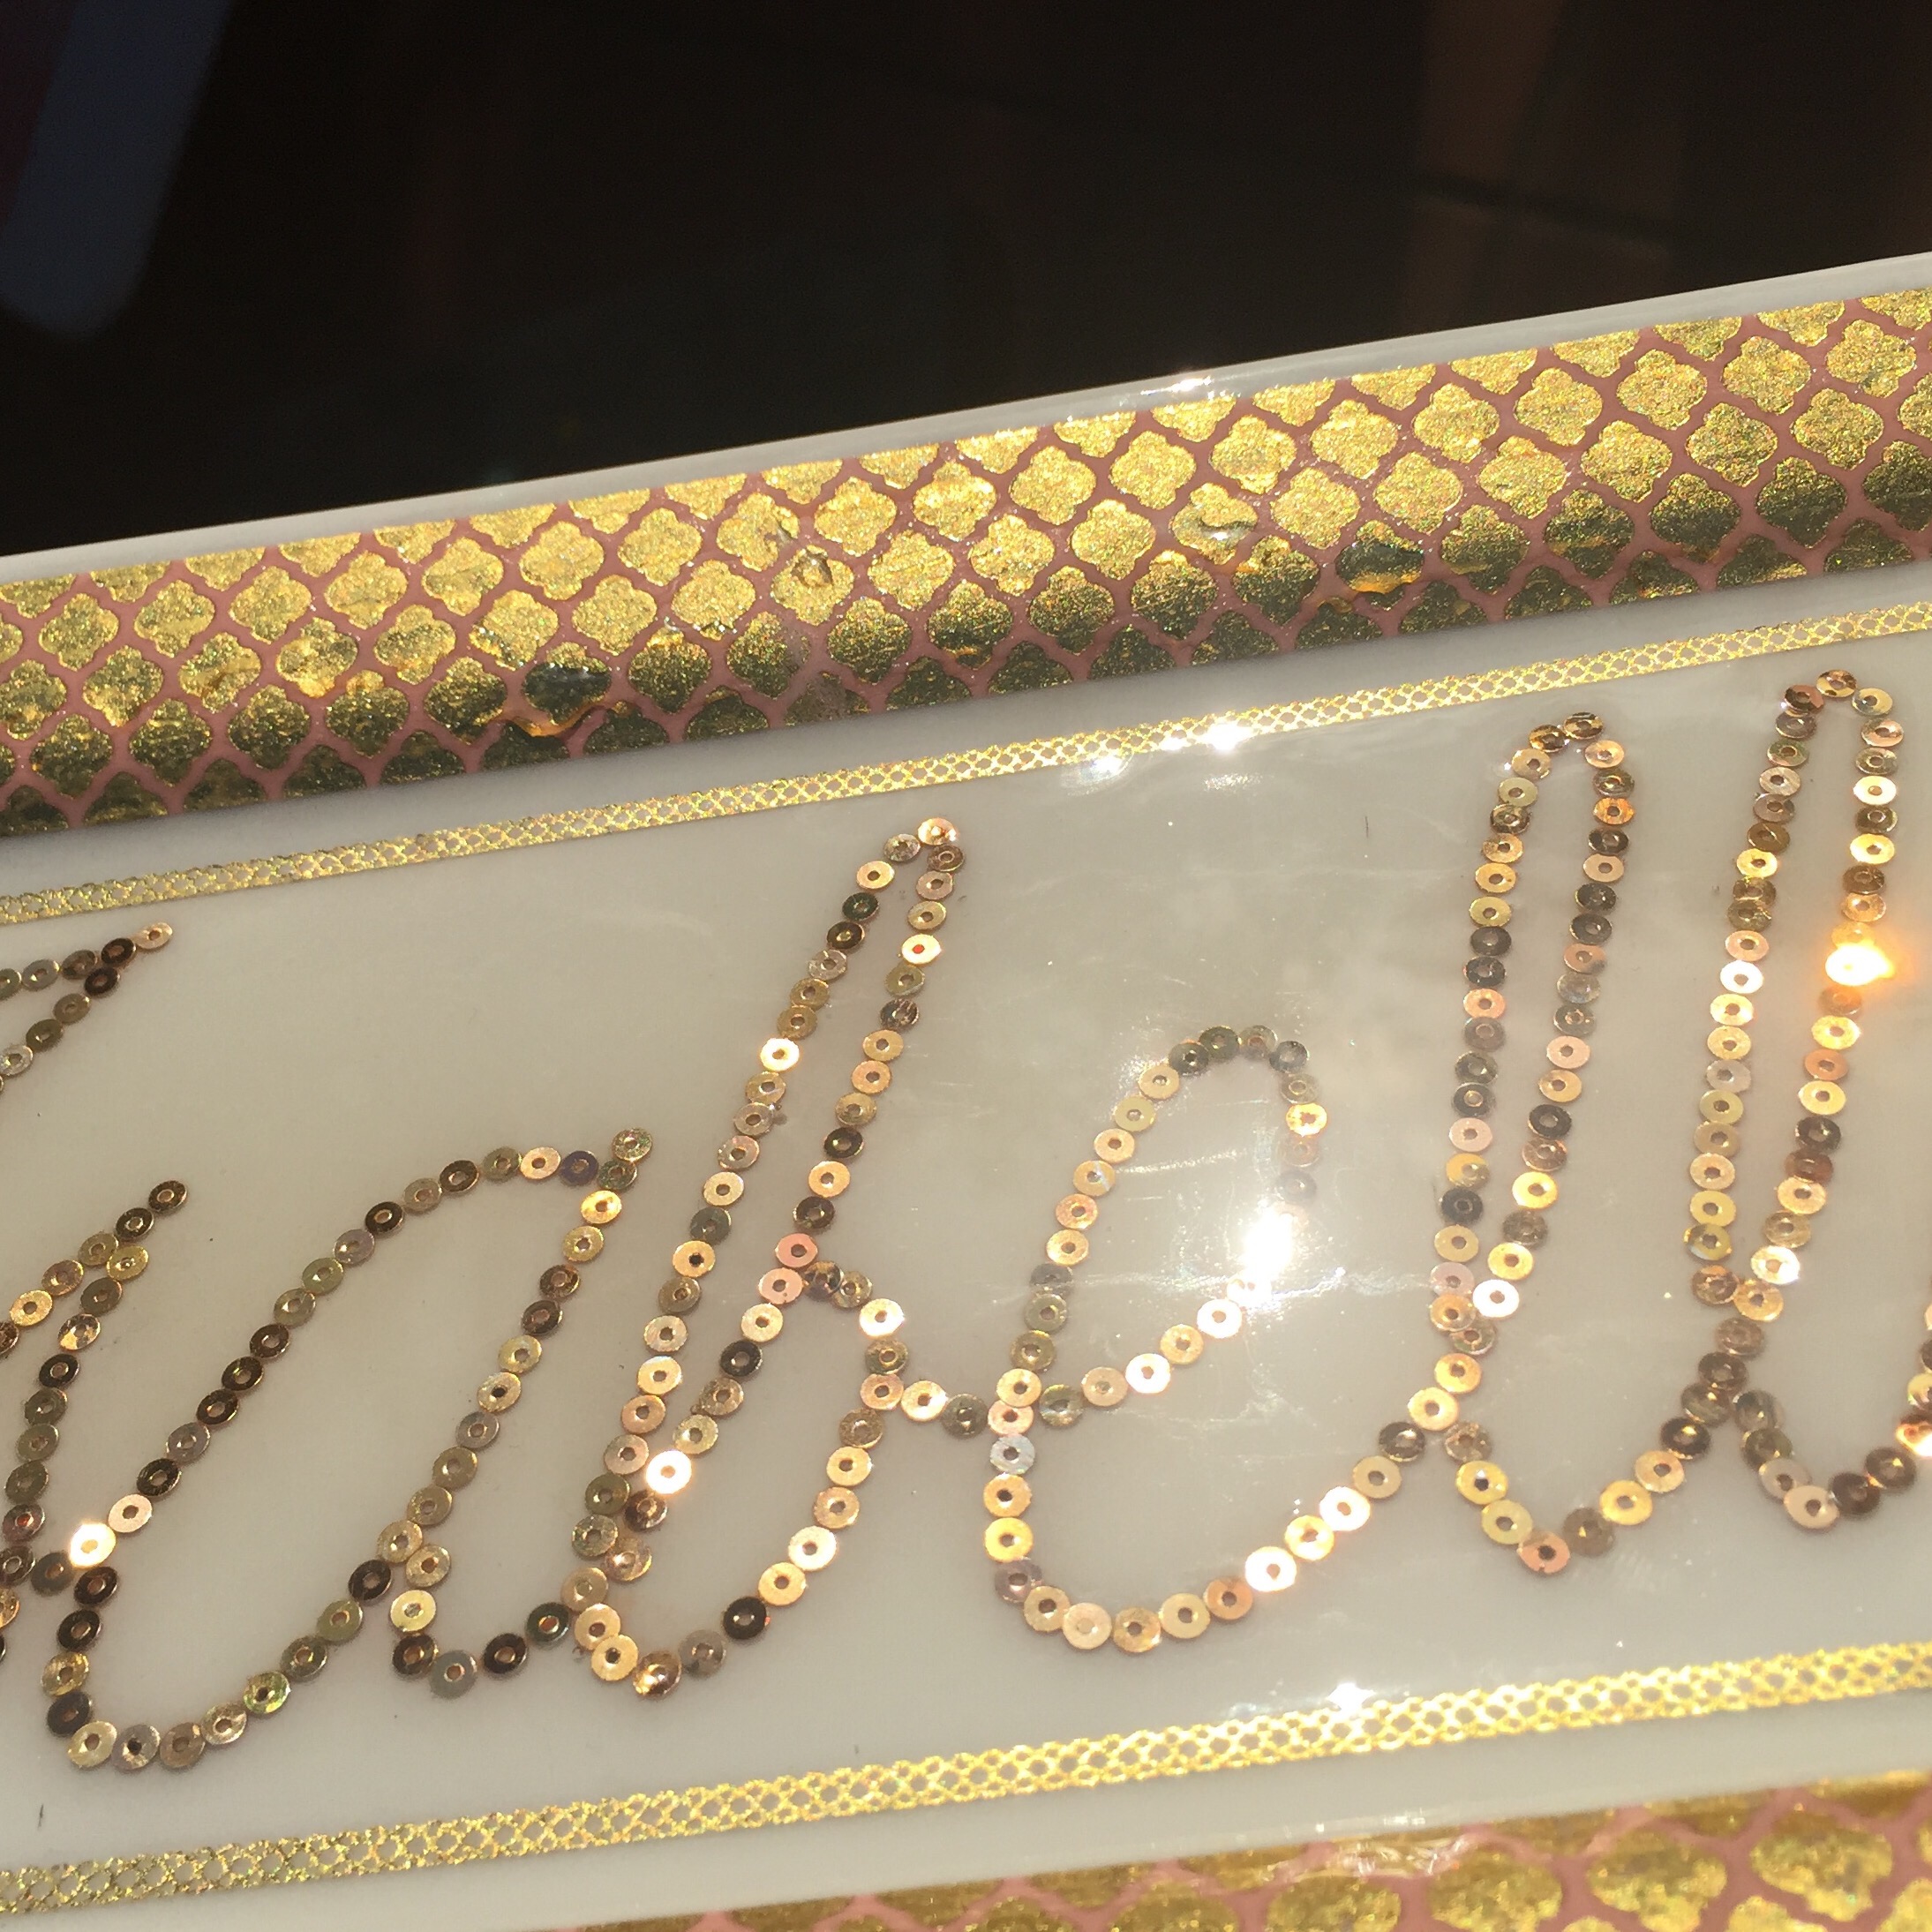
Then I used jewelry epoxy to carefully glue the sequins in place.  
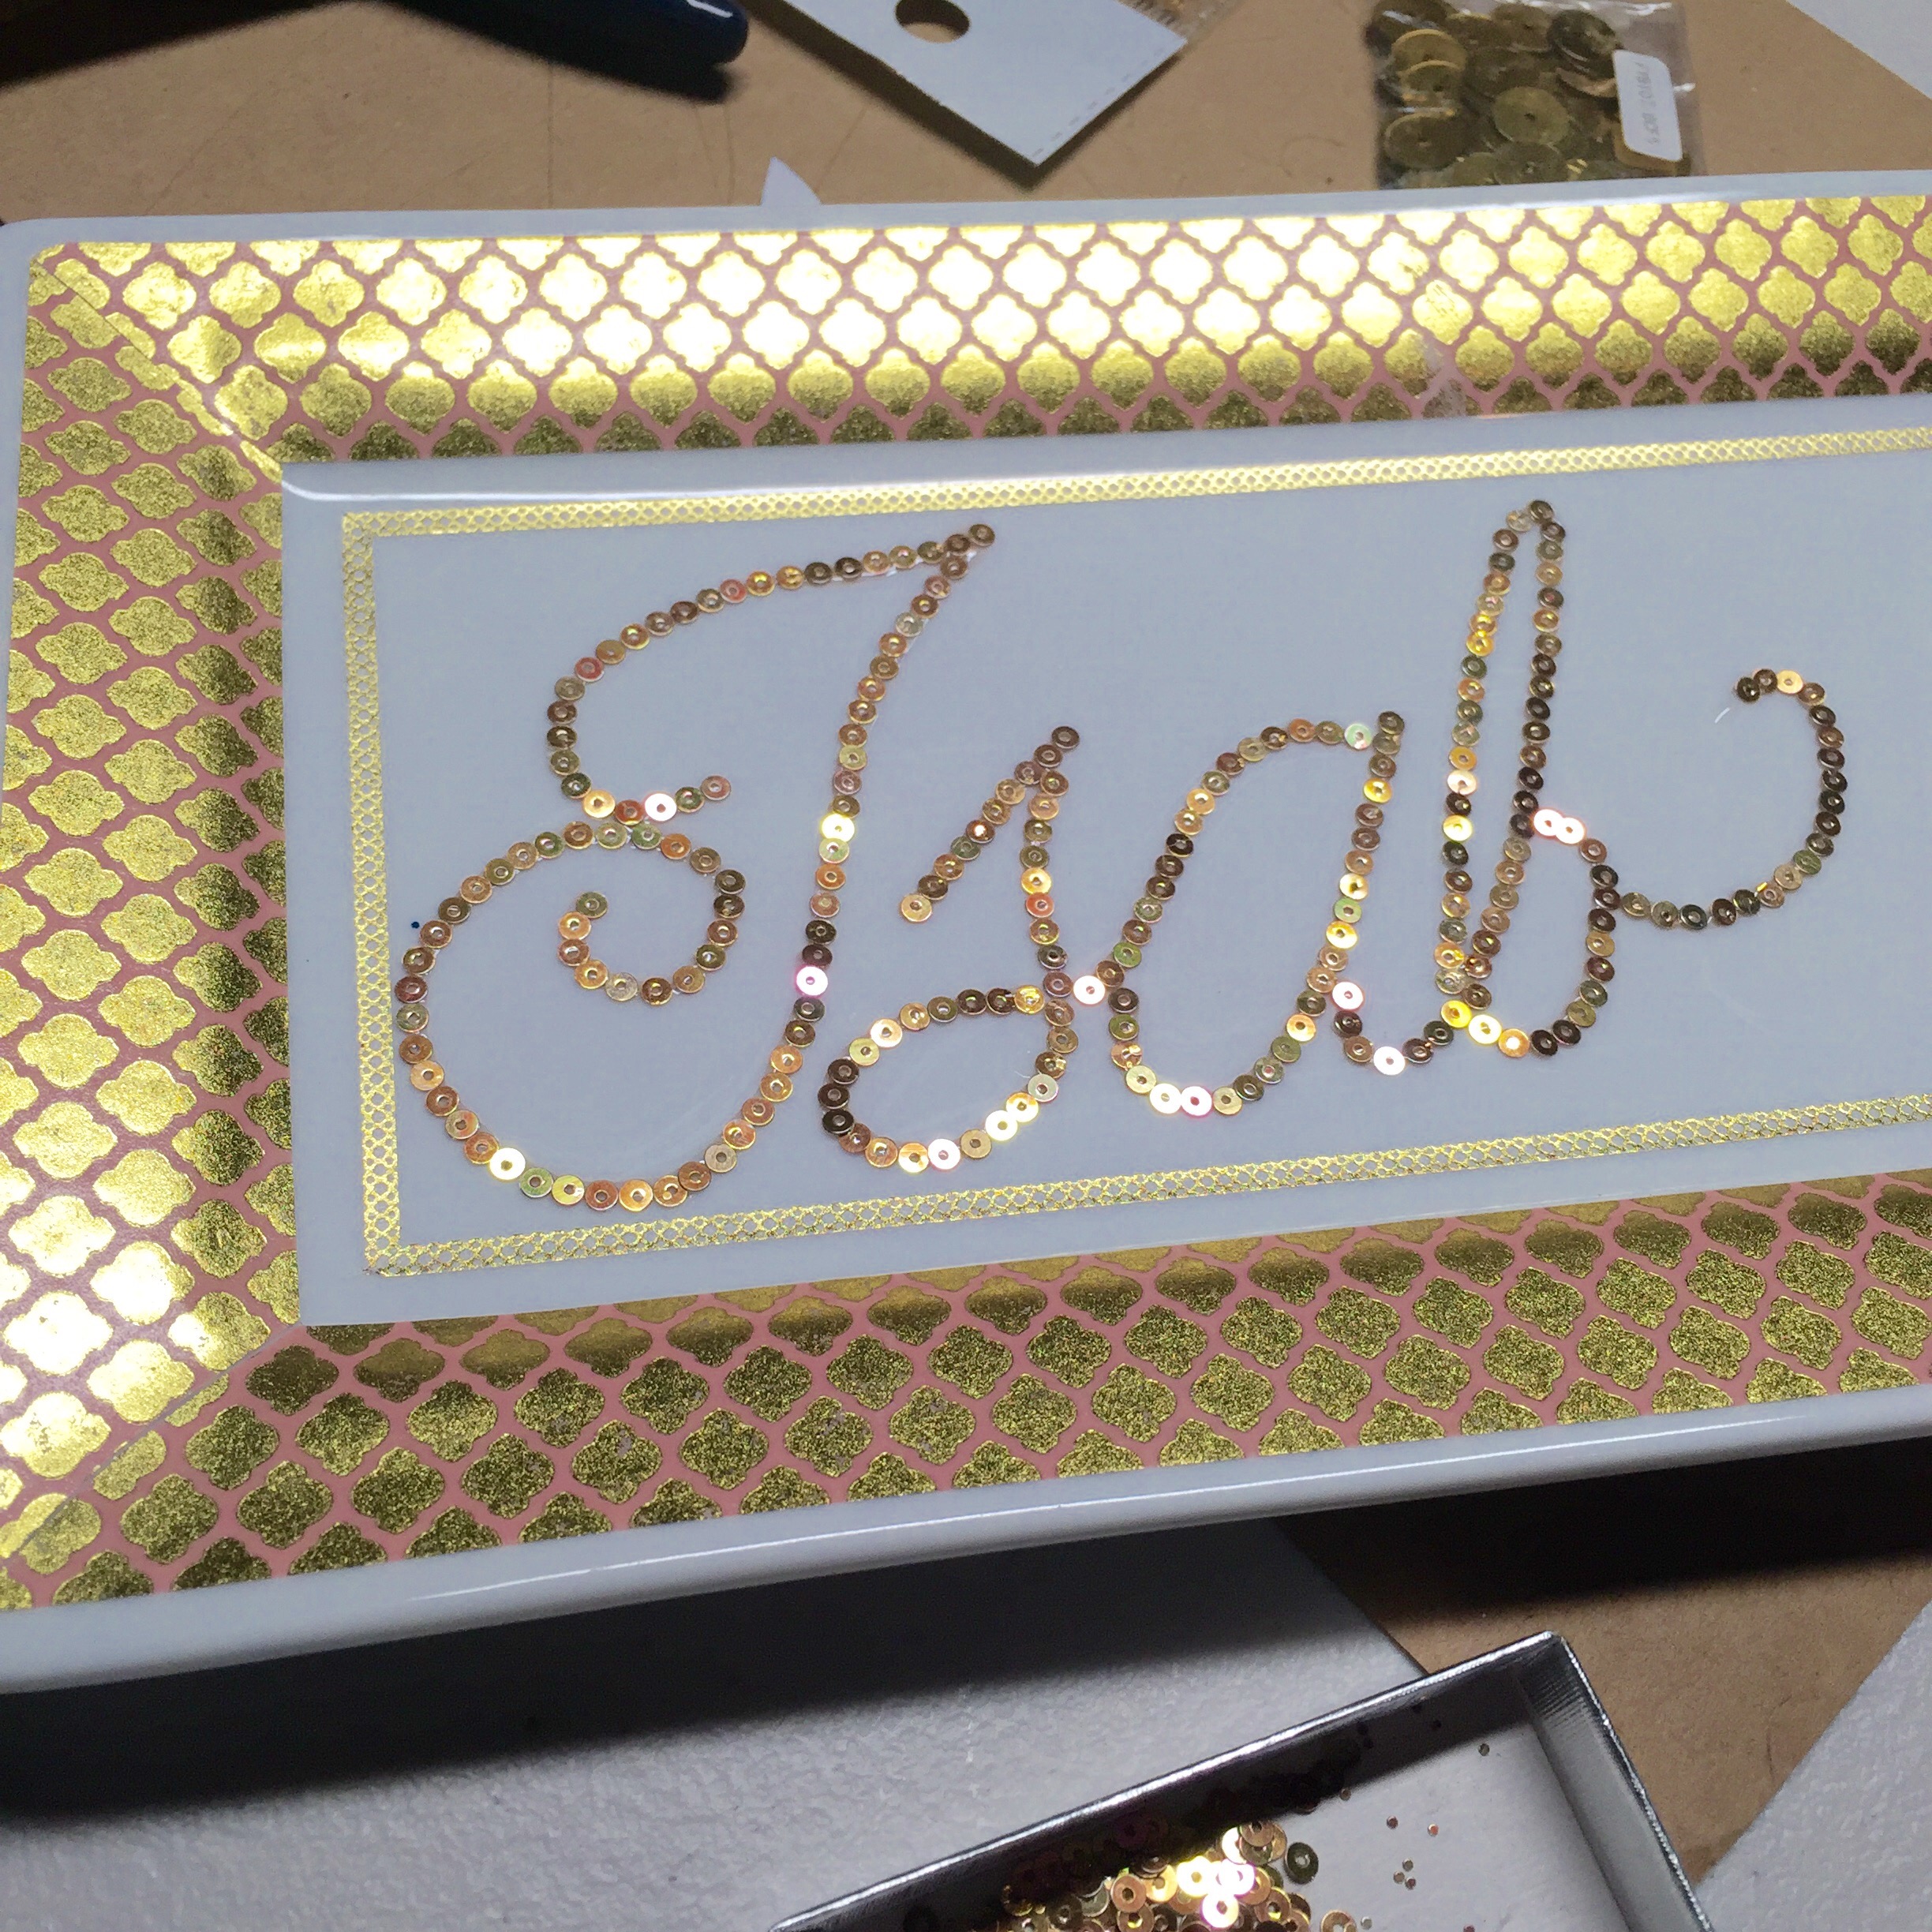
 
That thing was sparkleriffic, let me tell you! 

After the sequin glue dried I pulled out the elmers glue and a foam brush to reinforce and seal the washi tape to the plate.  

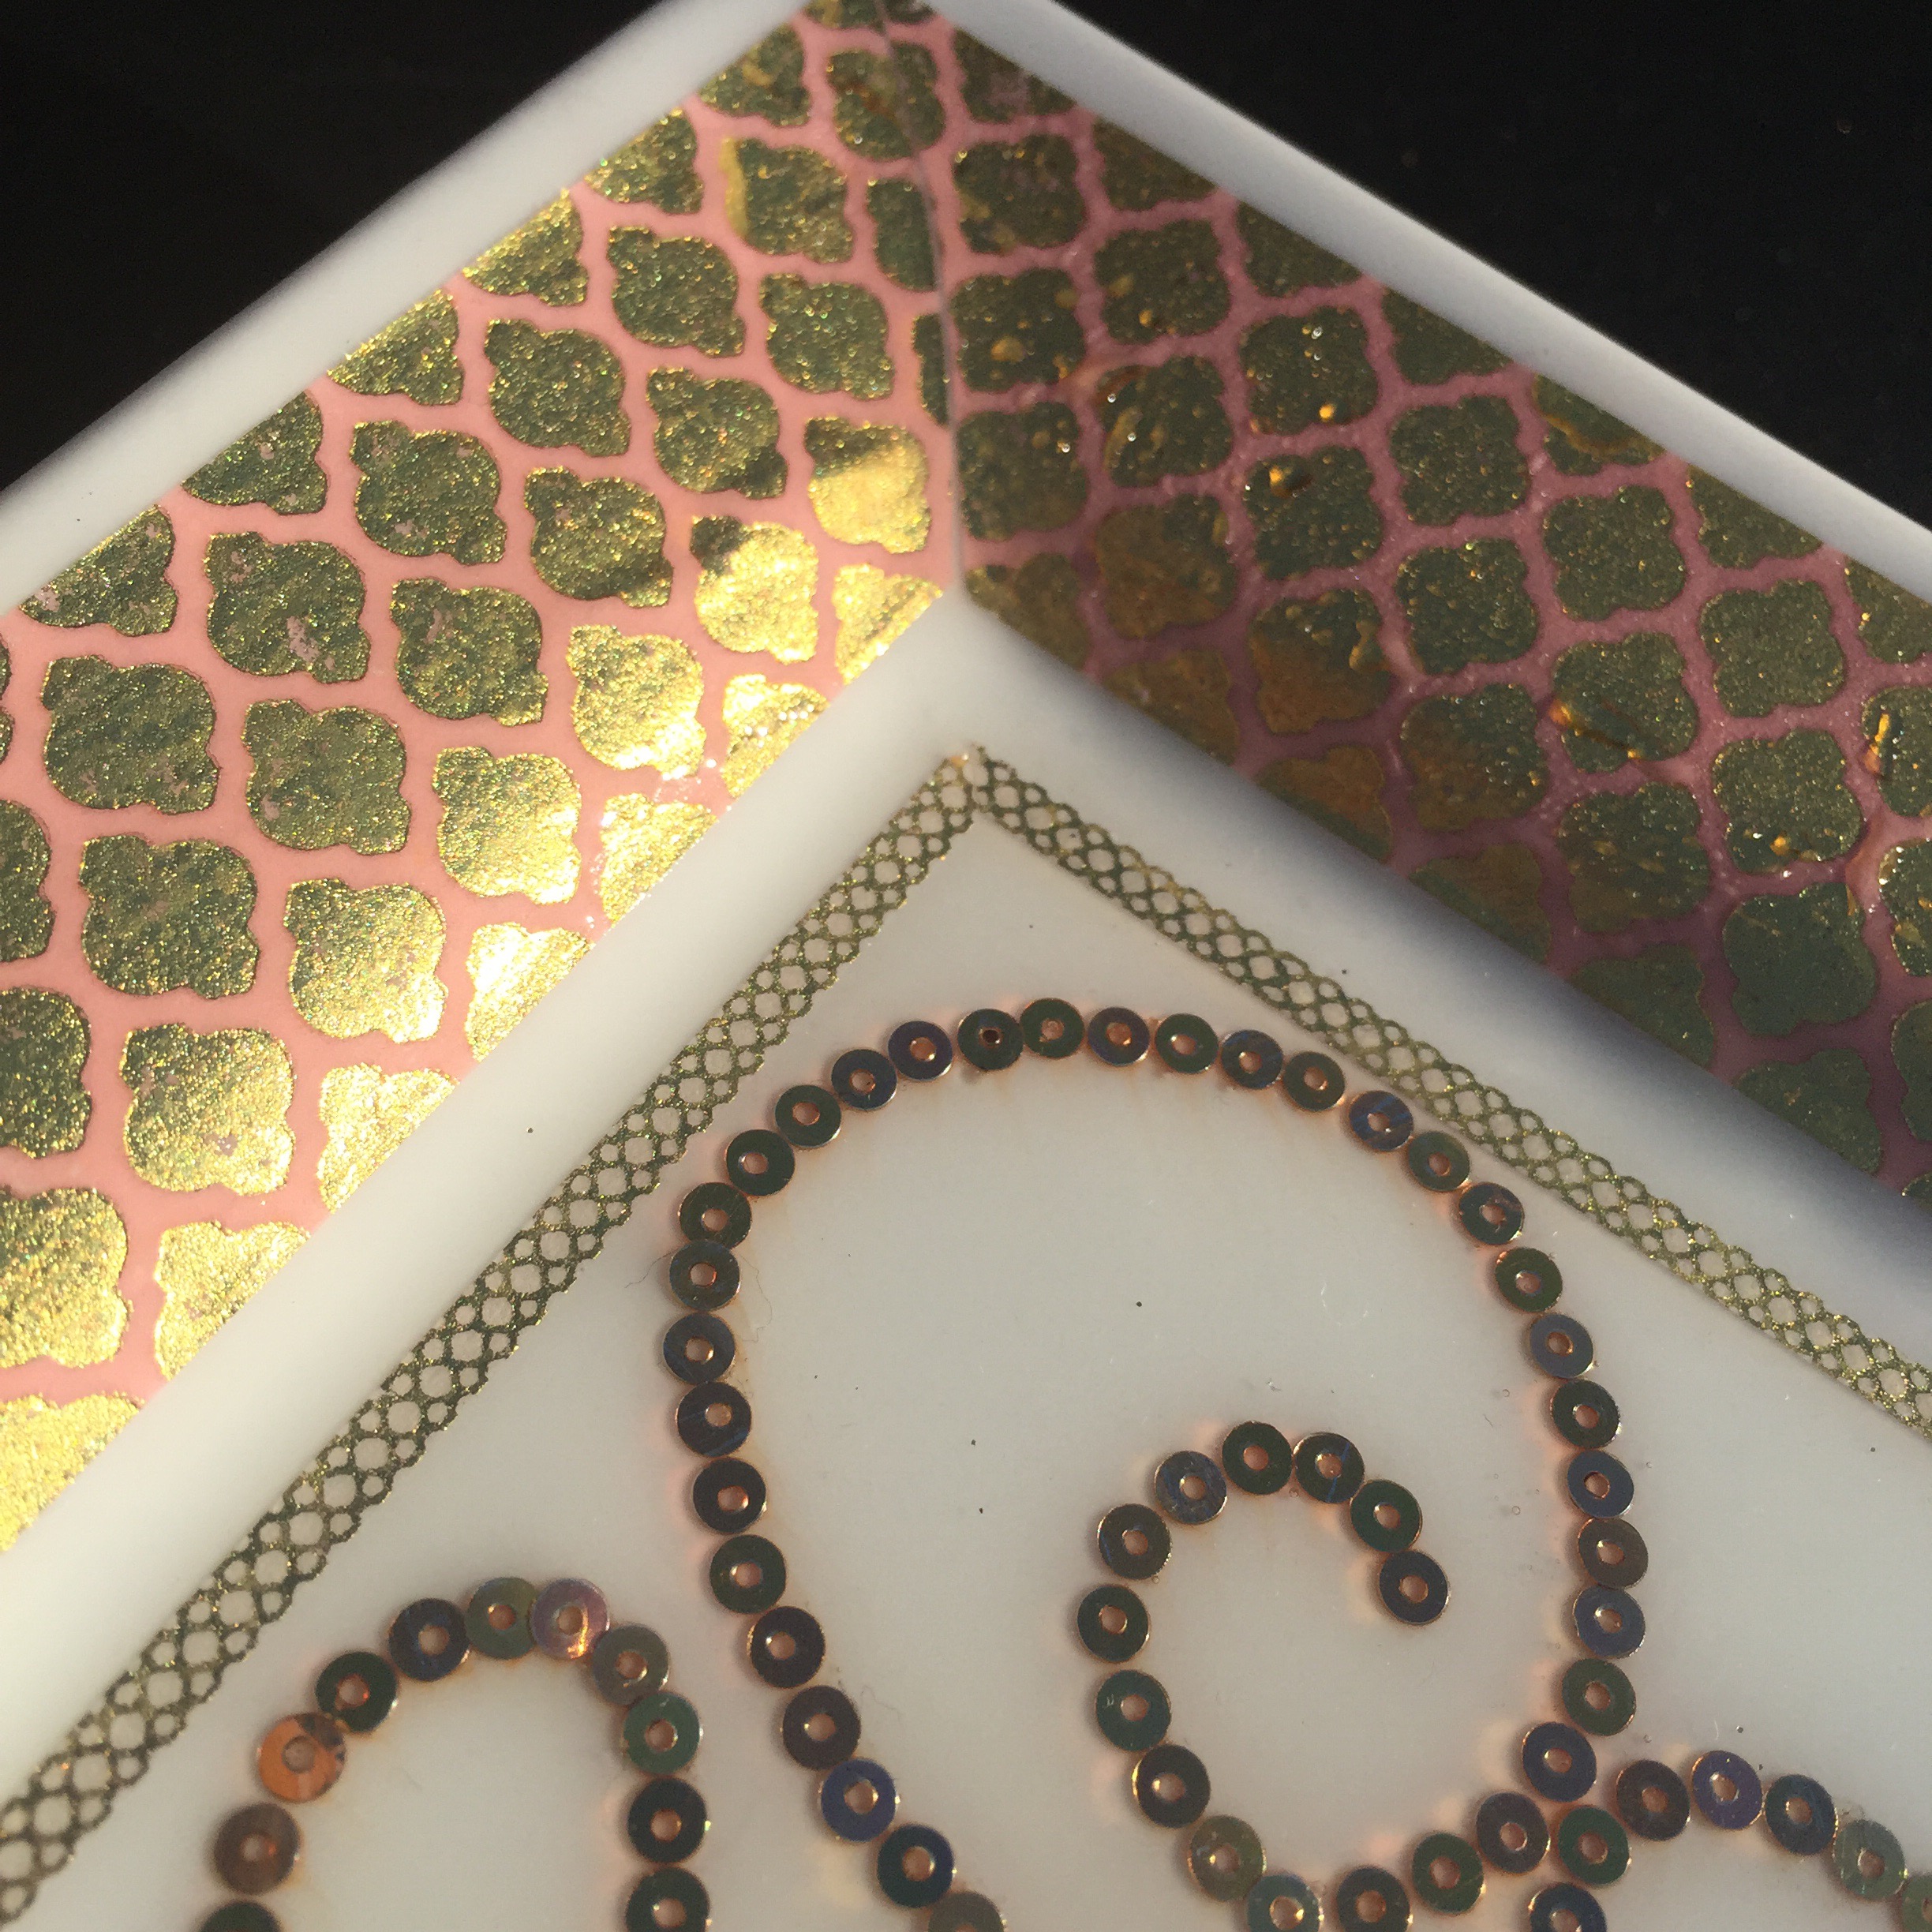
 Truthfully, I probably shoulda done that step before the sequins but I was impatient to start the sparkle. I just made sure not to get the glue on the sequins so it didn’t dull their shine. The glue goes on white but it dries clear. I also used a tweezer to pull up the edges of tape to glue underneath as the corners had started to pull away from the ceramic around the curves. You can sorta see it near the mitred corner in this pic:

  
When that was all good and dry I was ready for the last step- the most exciting step besides the glitterfication. The pour-on epoxy sealer! 

  
This stuff is the best thing ever- it makes everything it touches look like glass. It’s just brilliant and you can use it a bazzilion creative ways. 

Basically, it’s two liquid parts. You combine equal amounts of each and mix it up really well and then pour it on stuff and it’s like sealed under “glass” forever.  
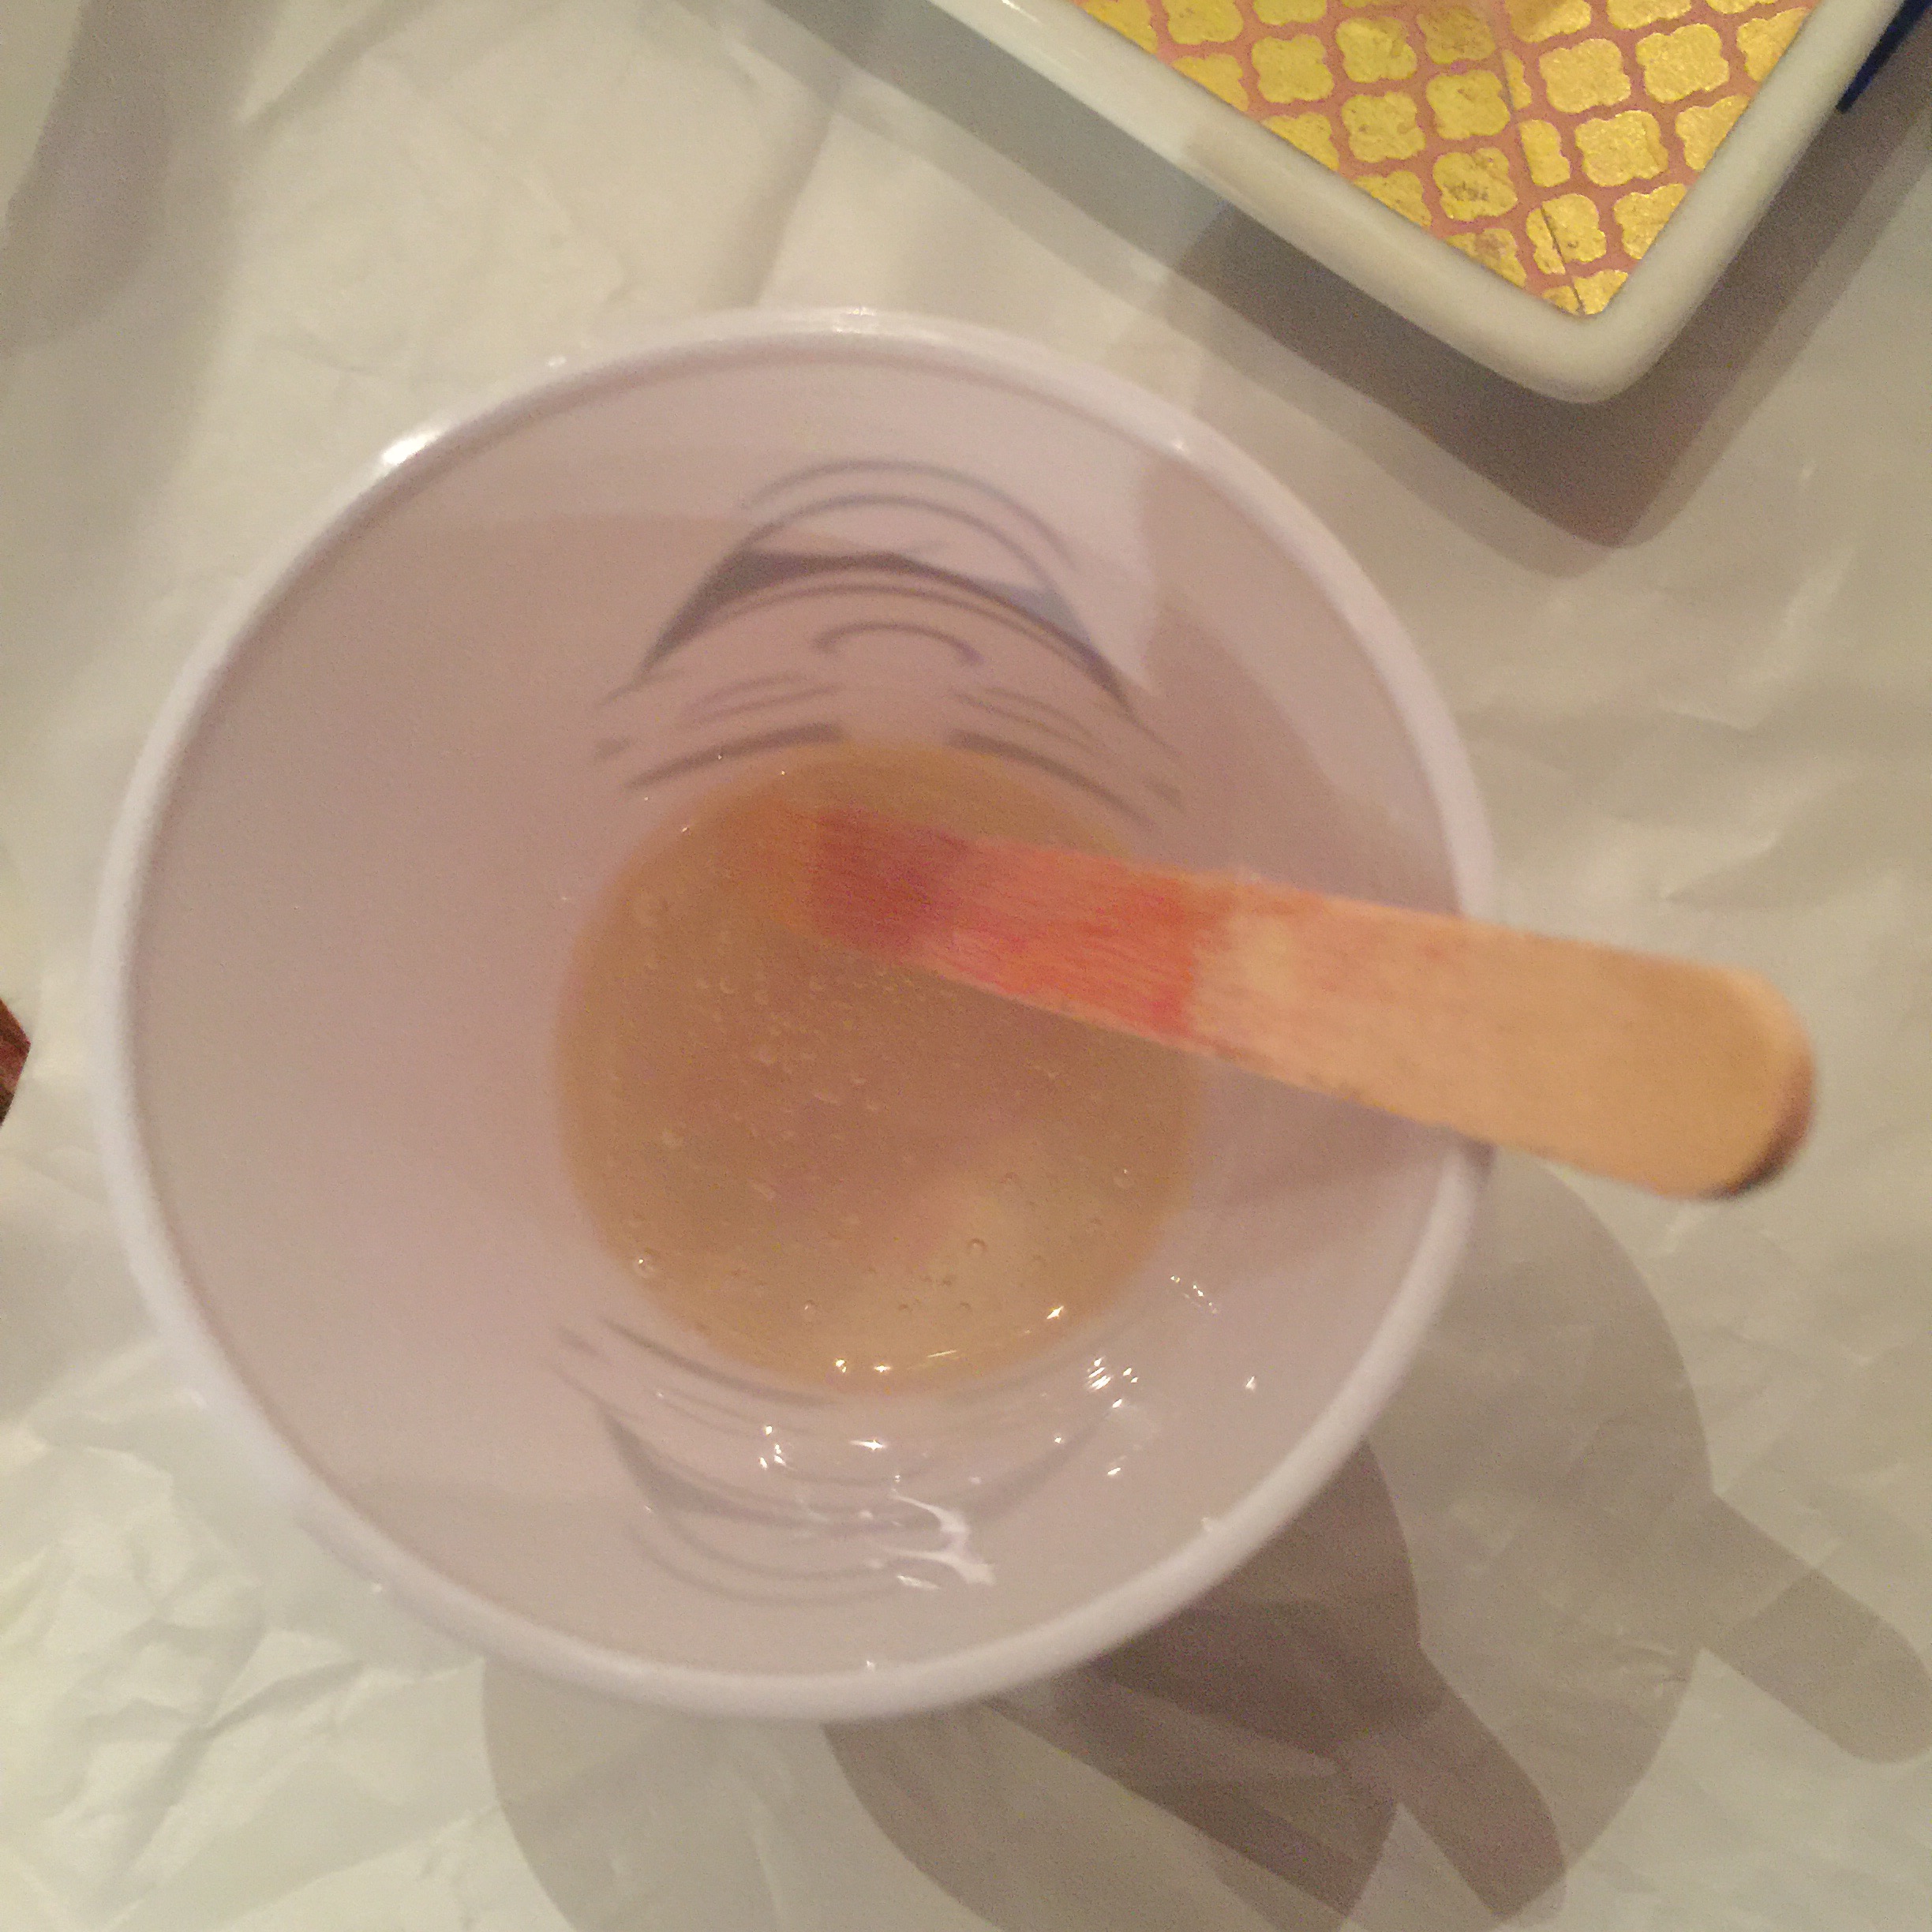
 
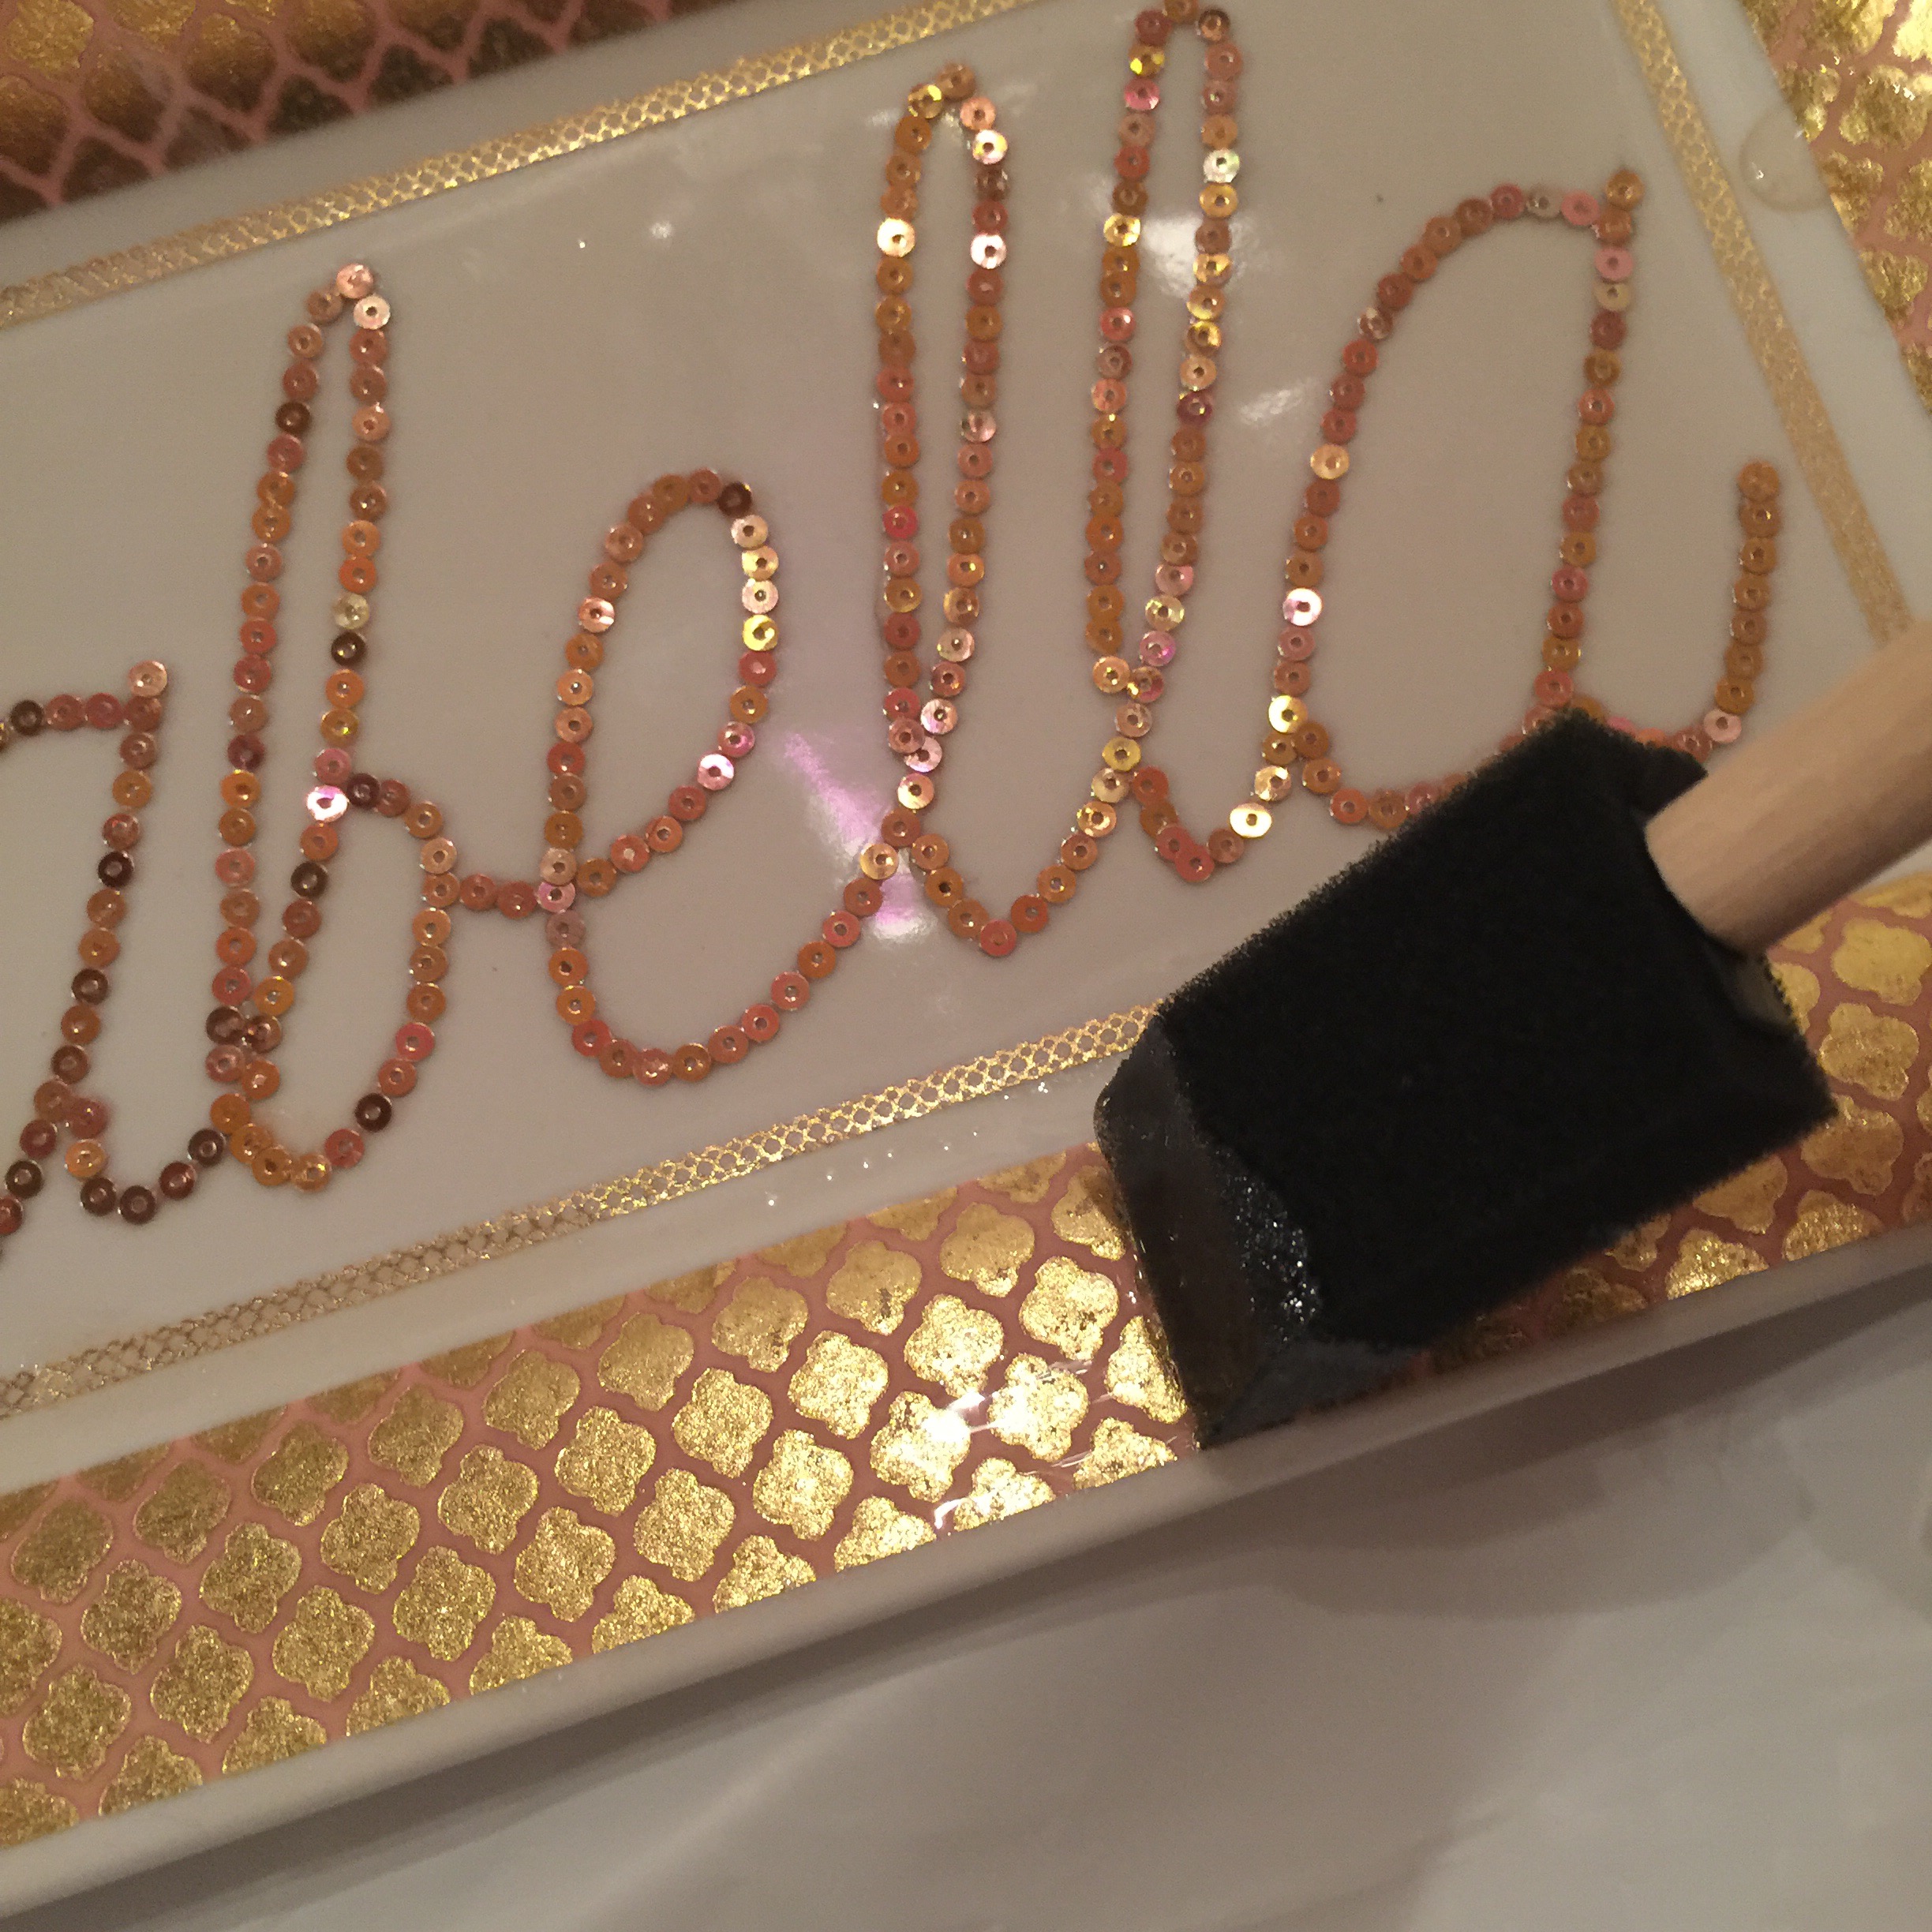
  I used a sponge on the tape areas, I didn’t need or want it super thick there, just enough to seal it in place. This also let me control its placement along the perimeter of the plate without it dripping off in the wrong direction. I started w the perimeter so the epoxy would fall into the cavity of the plate. You can see it there in the top corner of the picture dripping onto the cavity. 

I was a bit nervous to use it because when it’s poured over crystals the crystals just lose ALL their muchness, so I thought the sequins might too. But they didn’t. So then I just poured the rest over the sequins.  
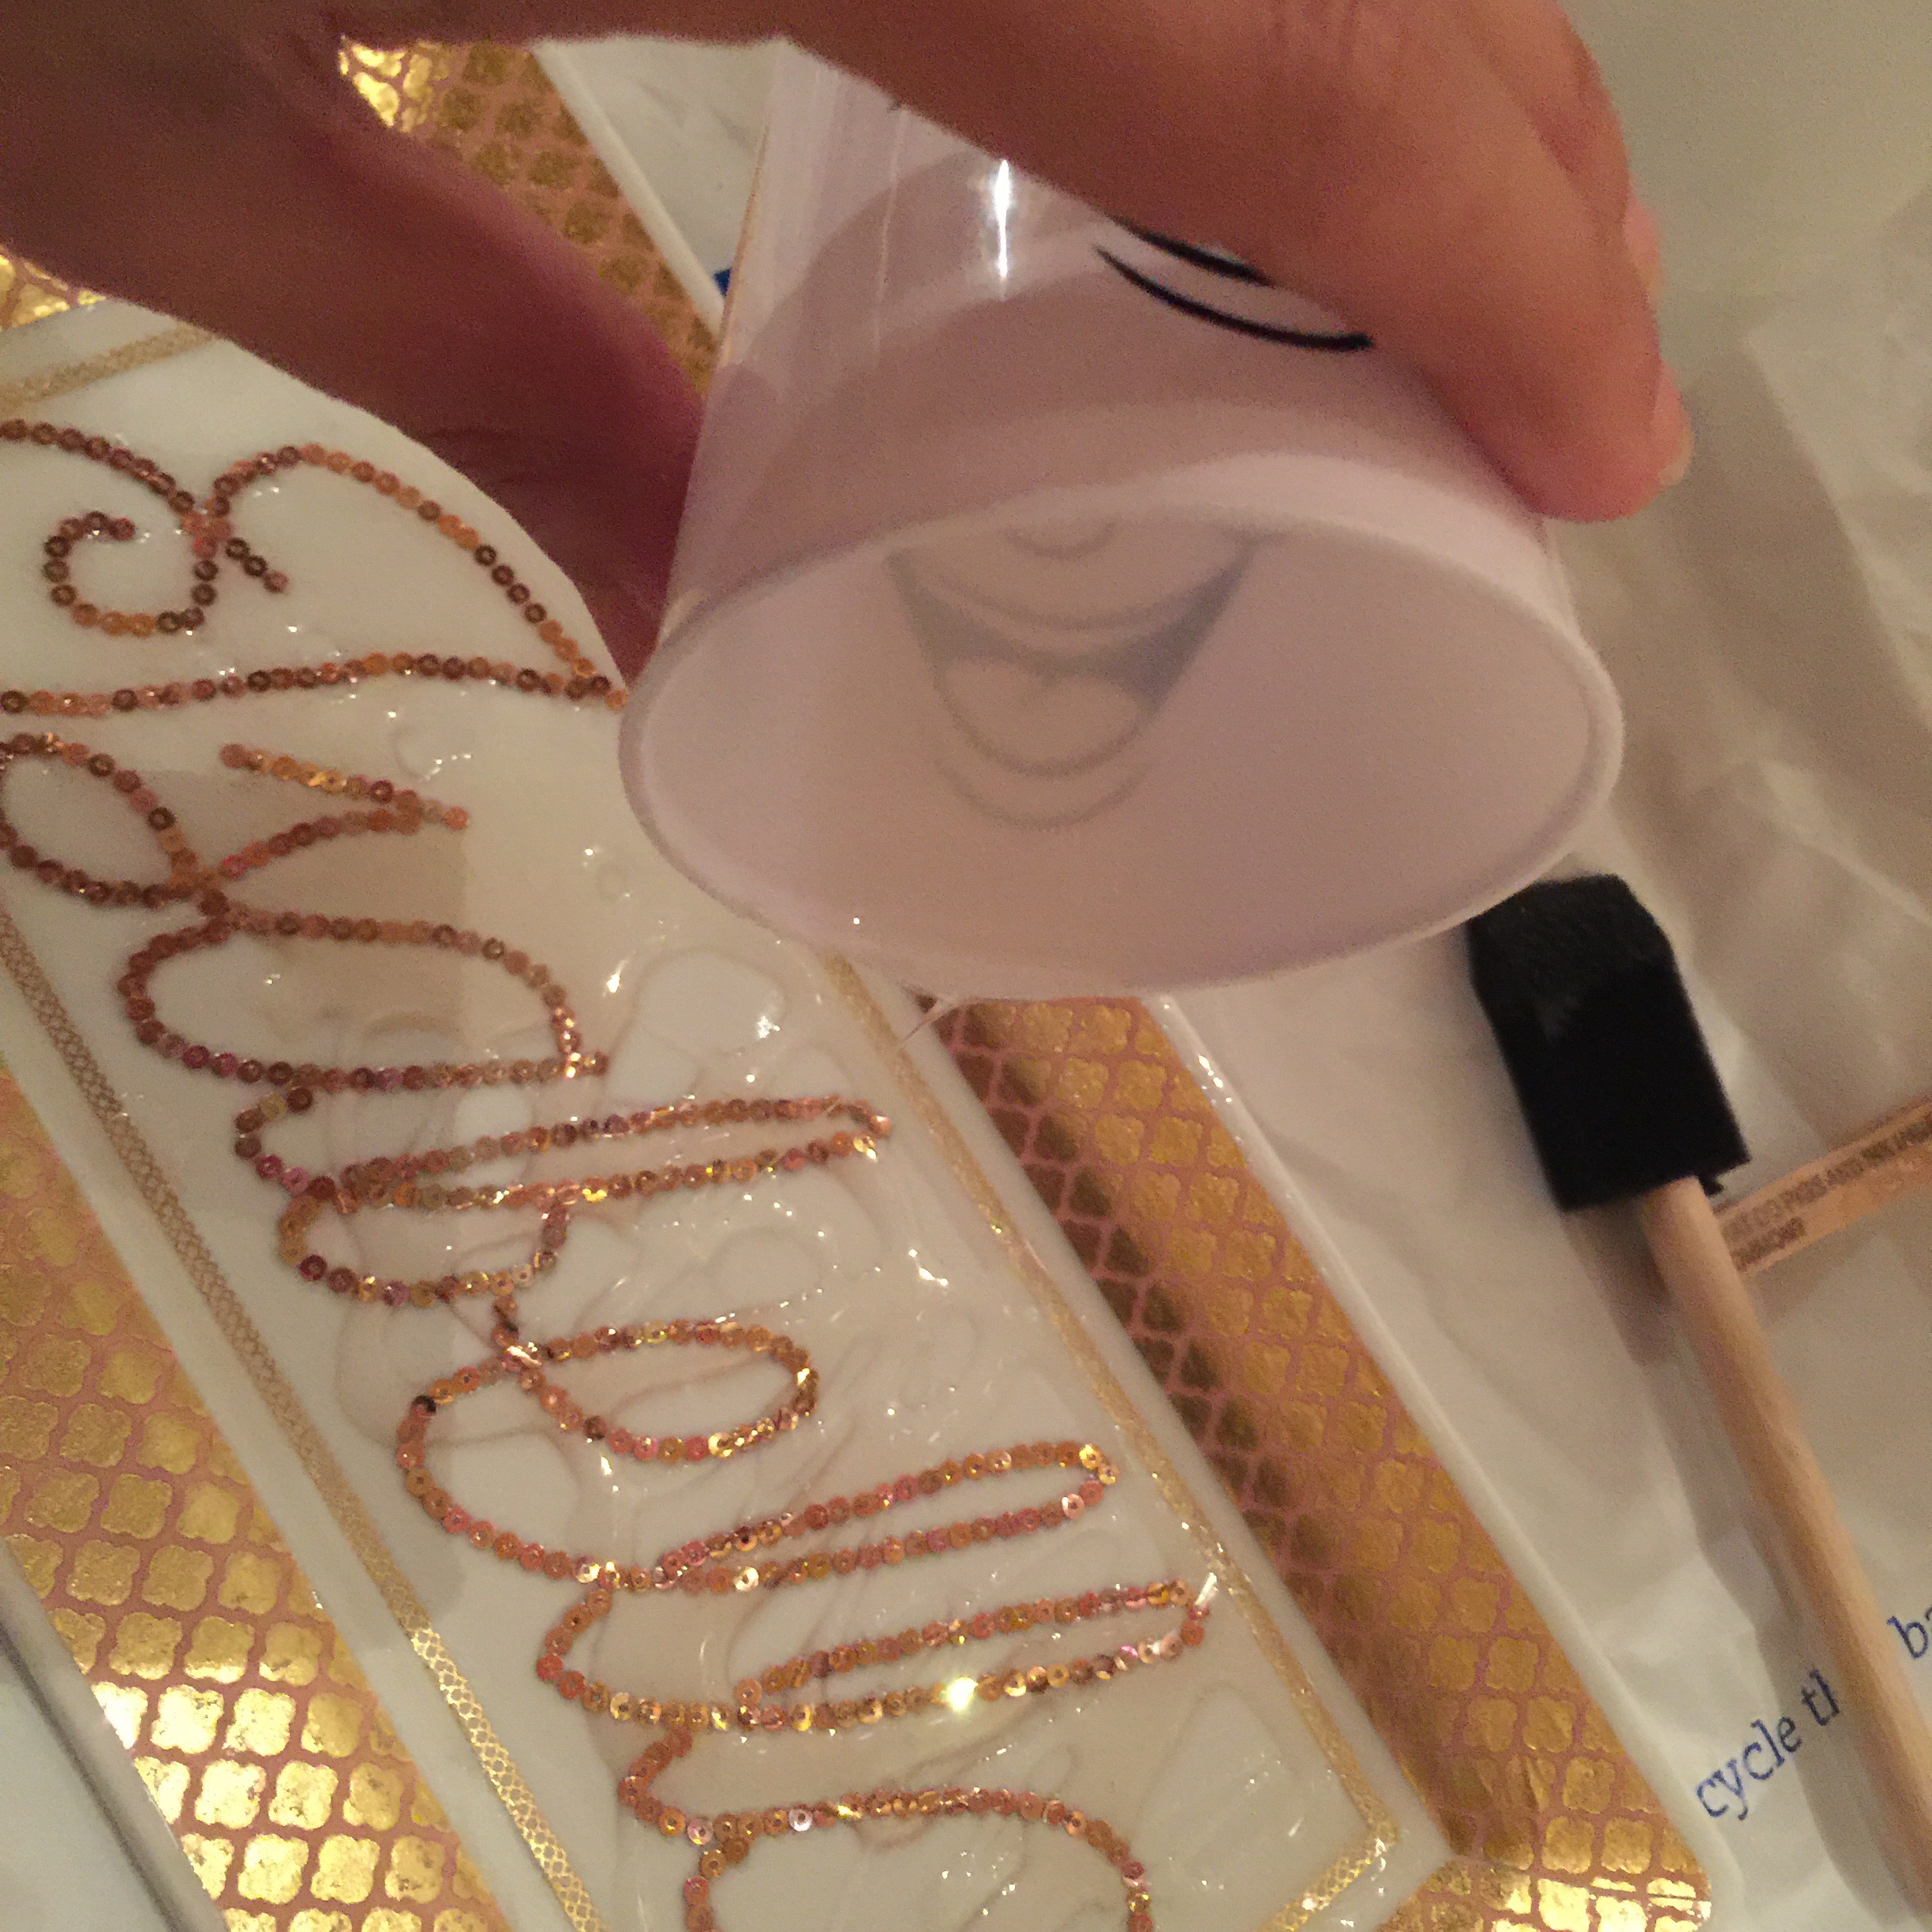
 
I spread and flattened it with the sponge. It was totally level and smooth, no sequins were protruding above the epoxy and the washi tape looks absolutely etched on there. 

As the epoxy dried it did roll down the edges into the plate but enough stayed put to act as a sealer and protector. The sequins look embedded in there. It’s really quite gorgeous, if I do say so myself. 

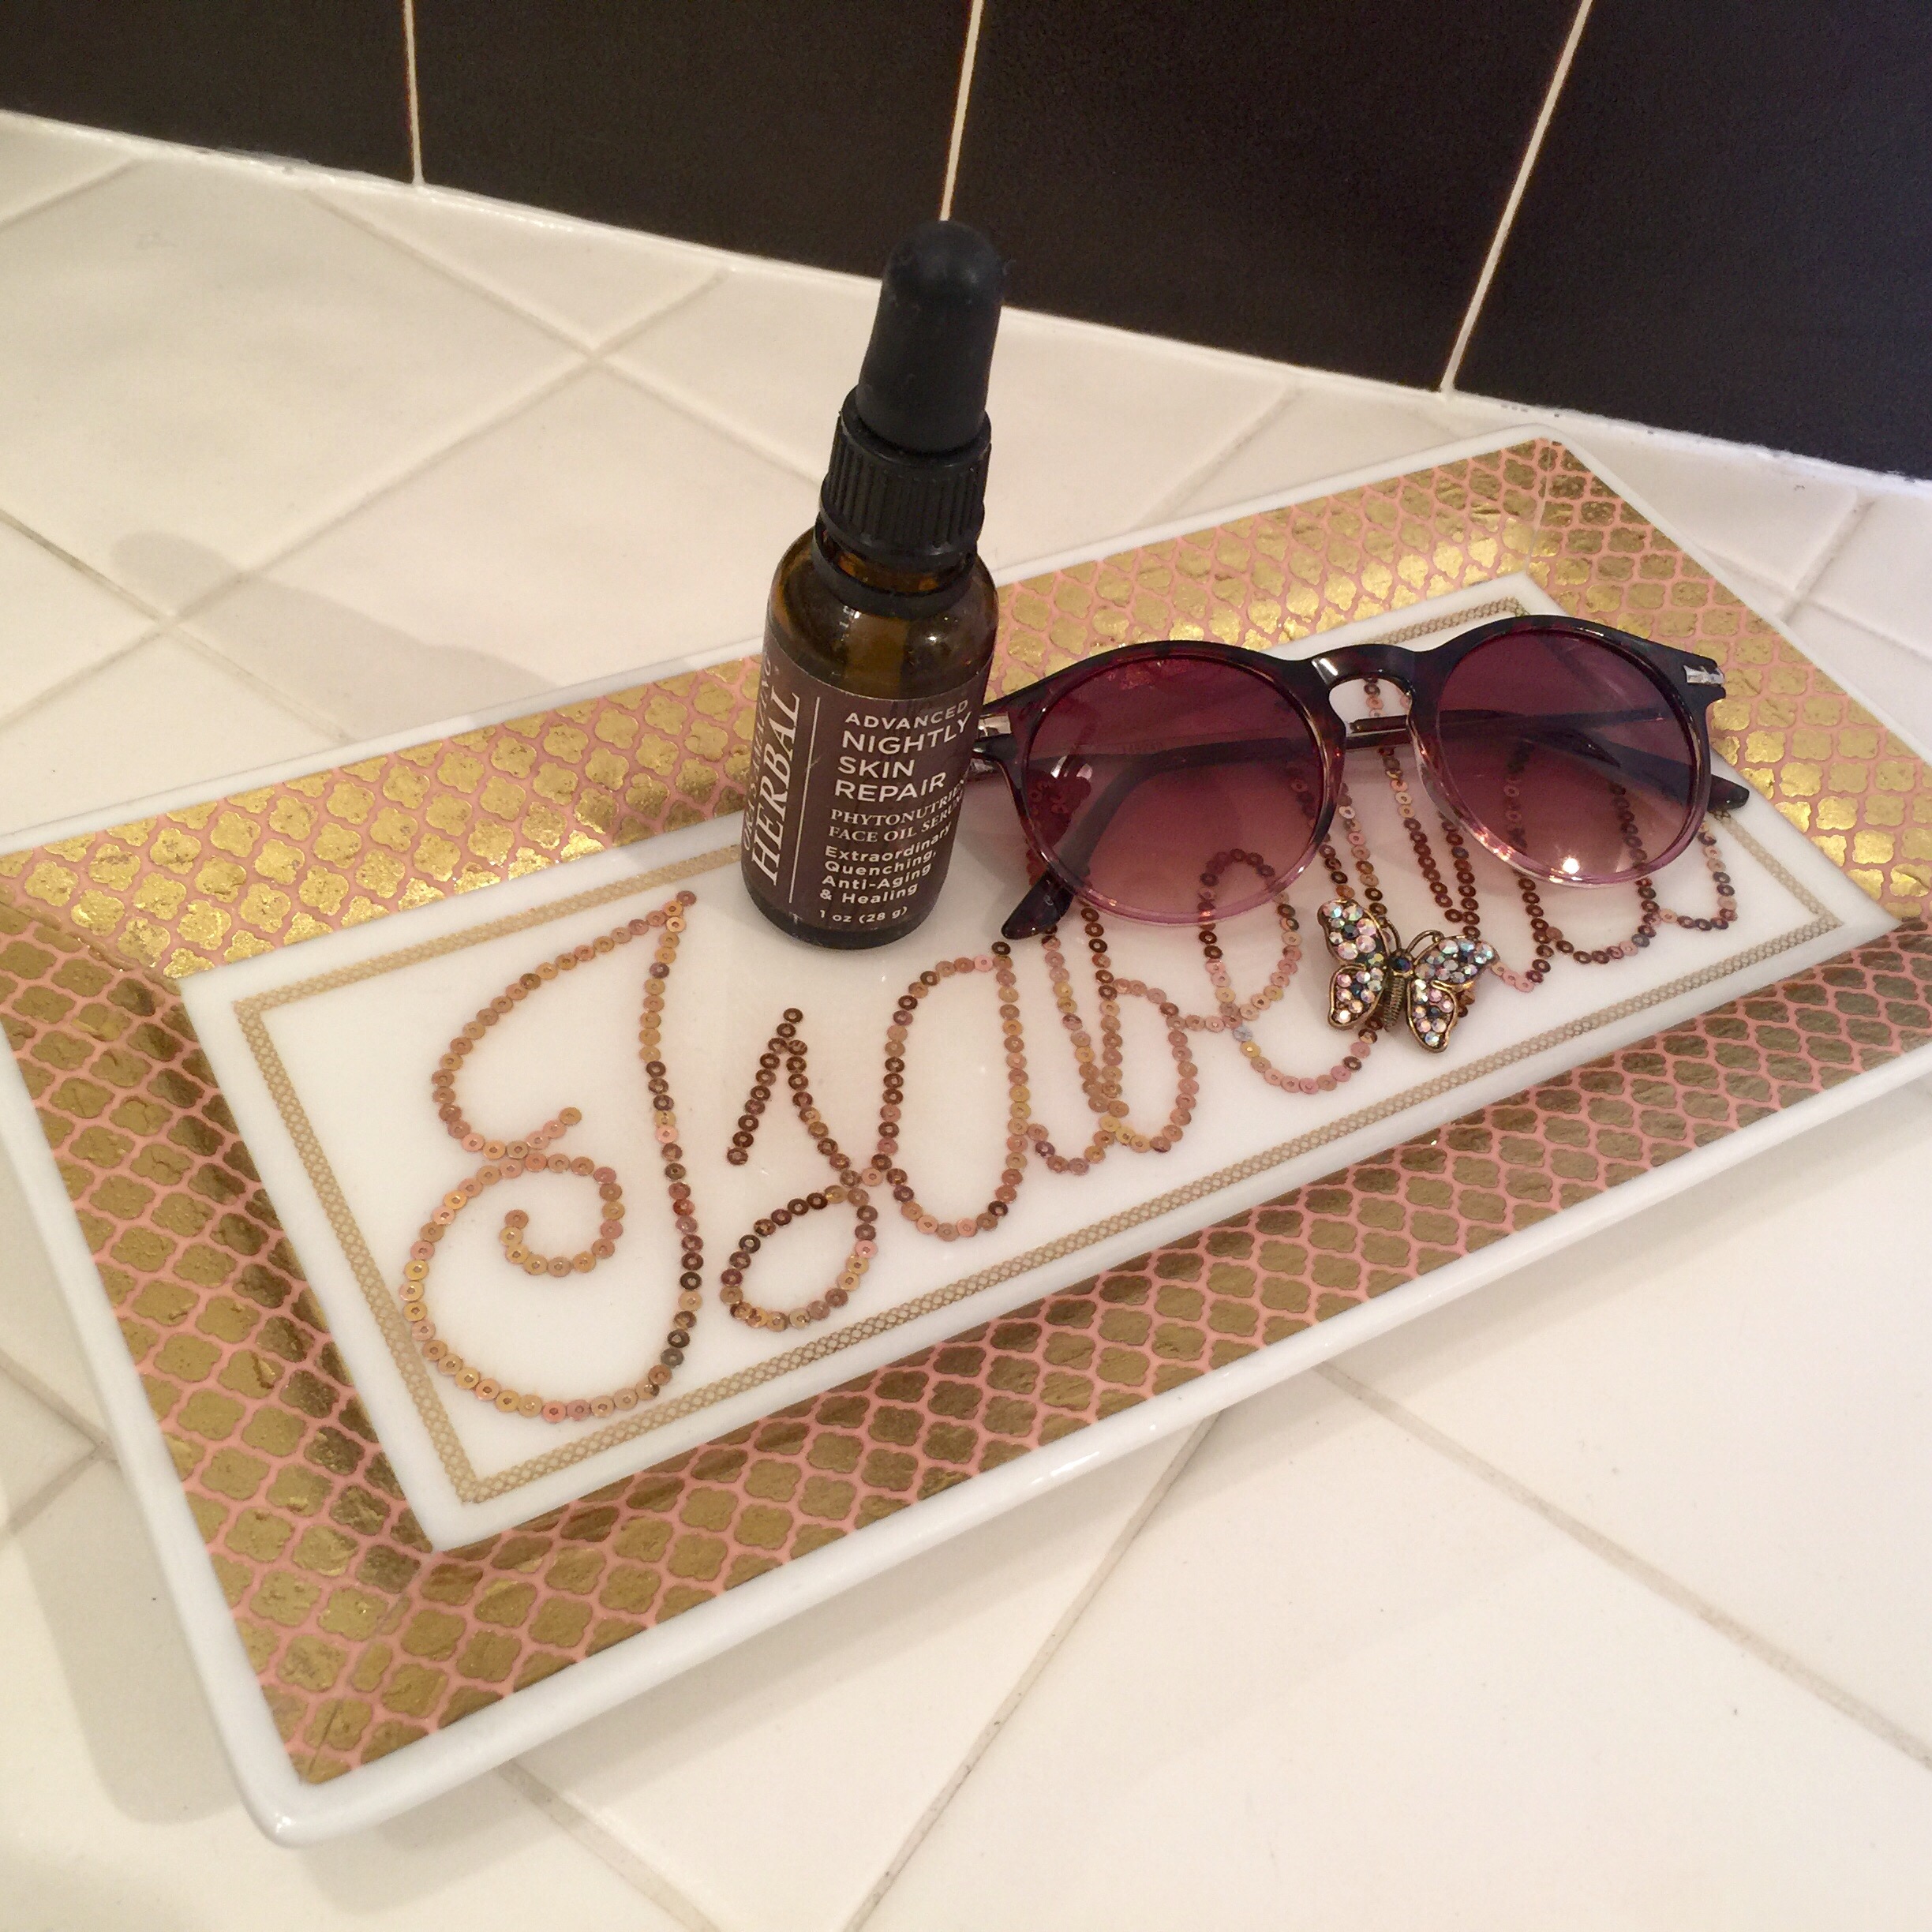
Here’s some more pics because they’re free. 
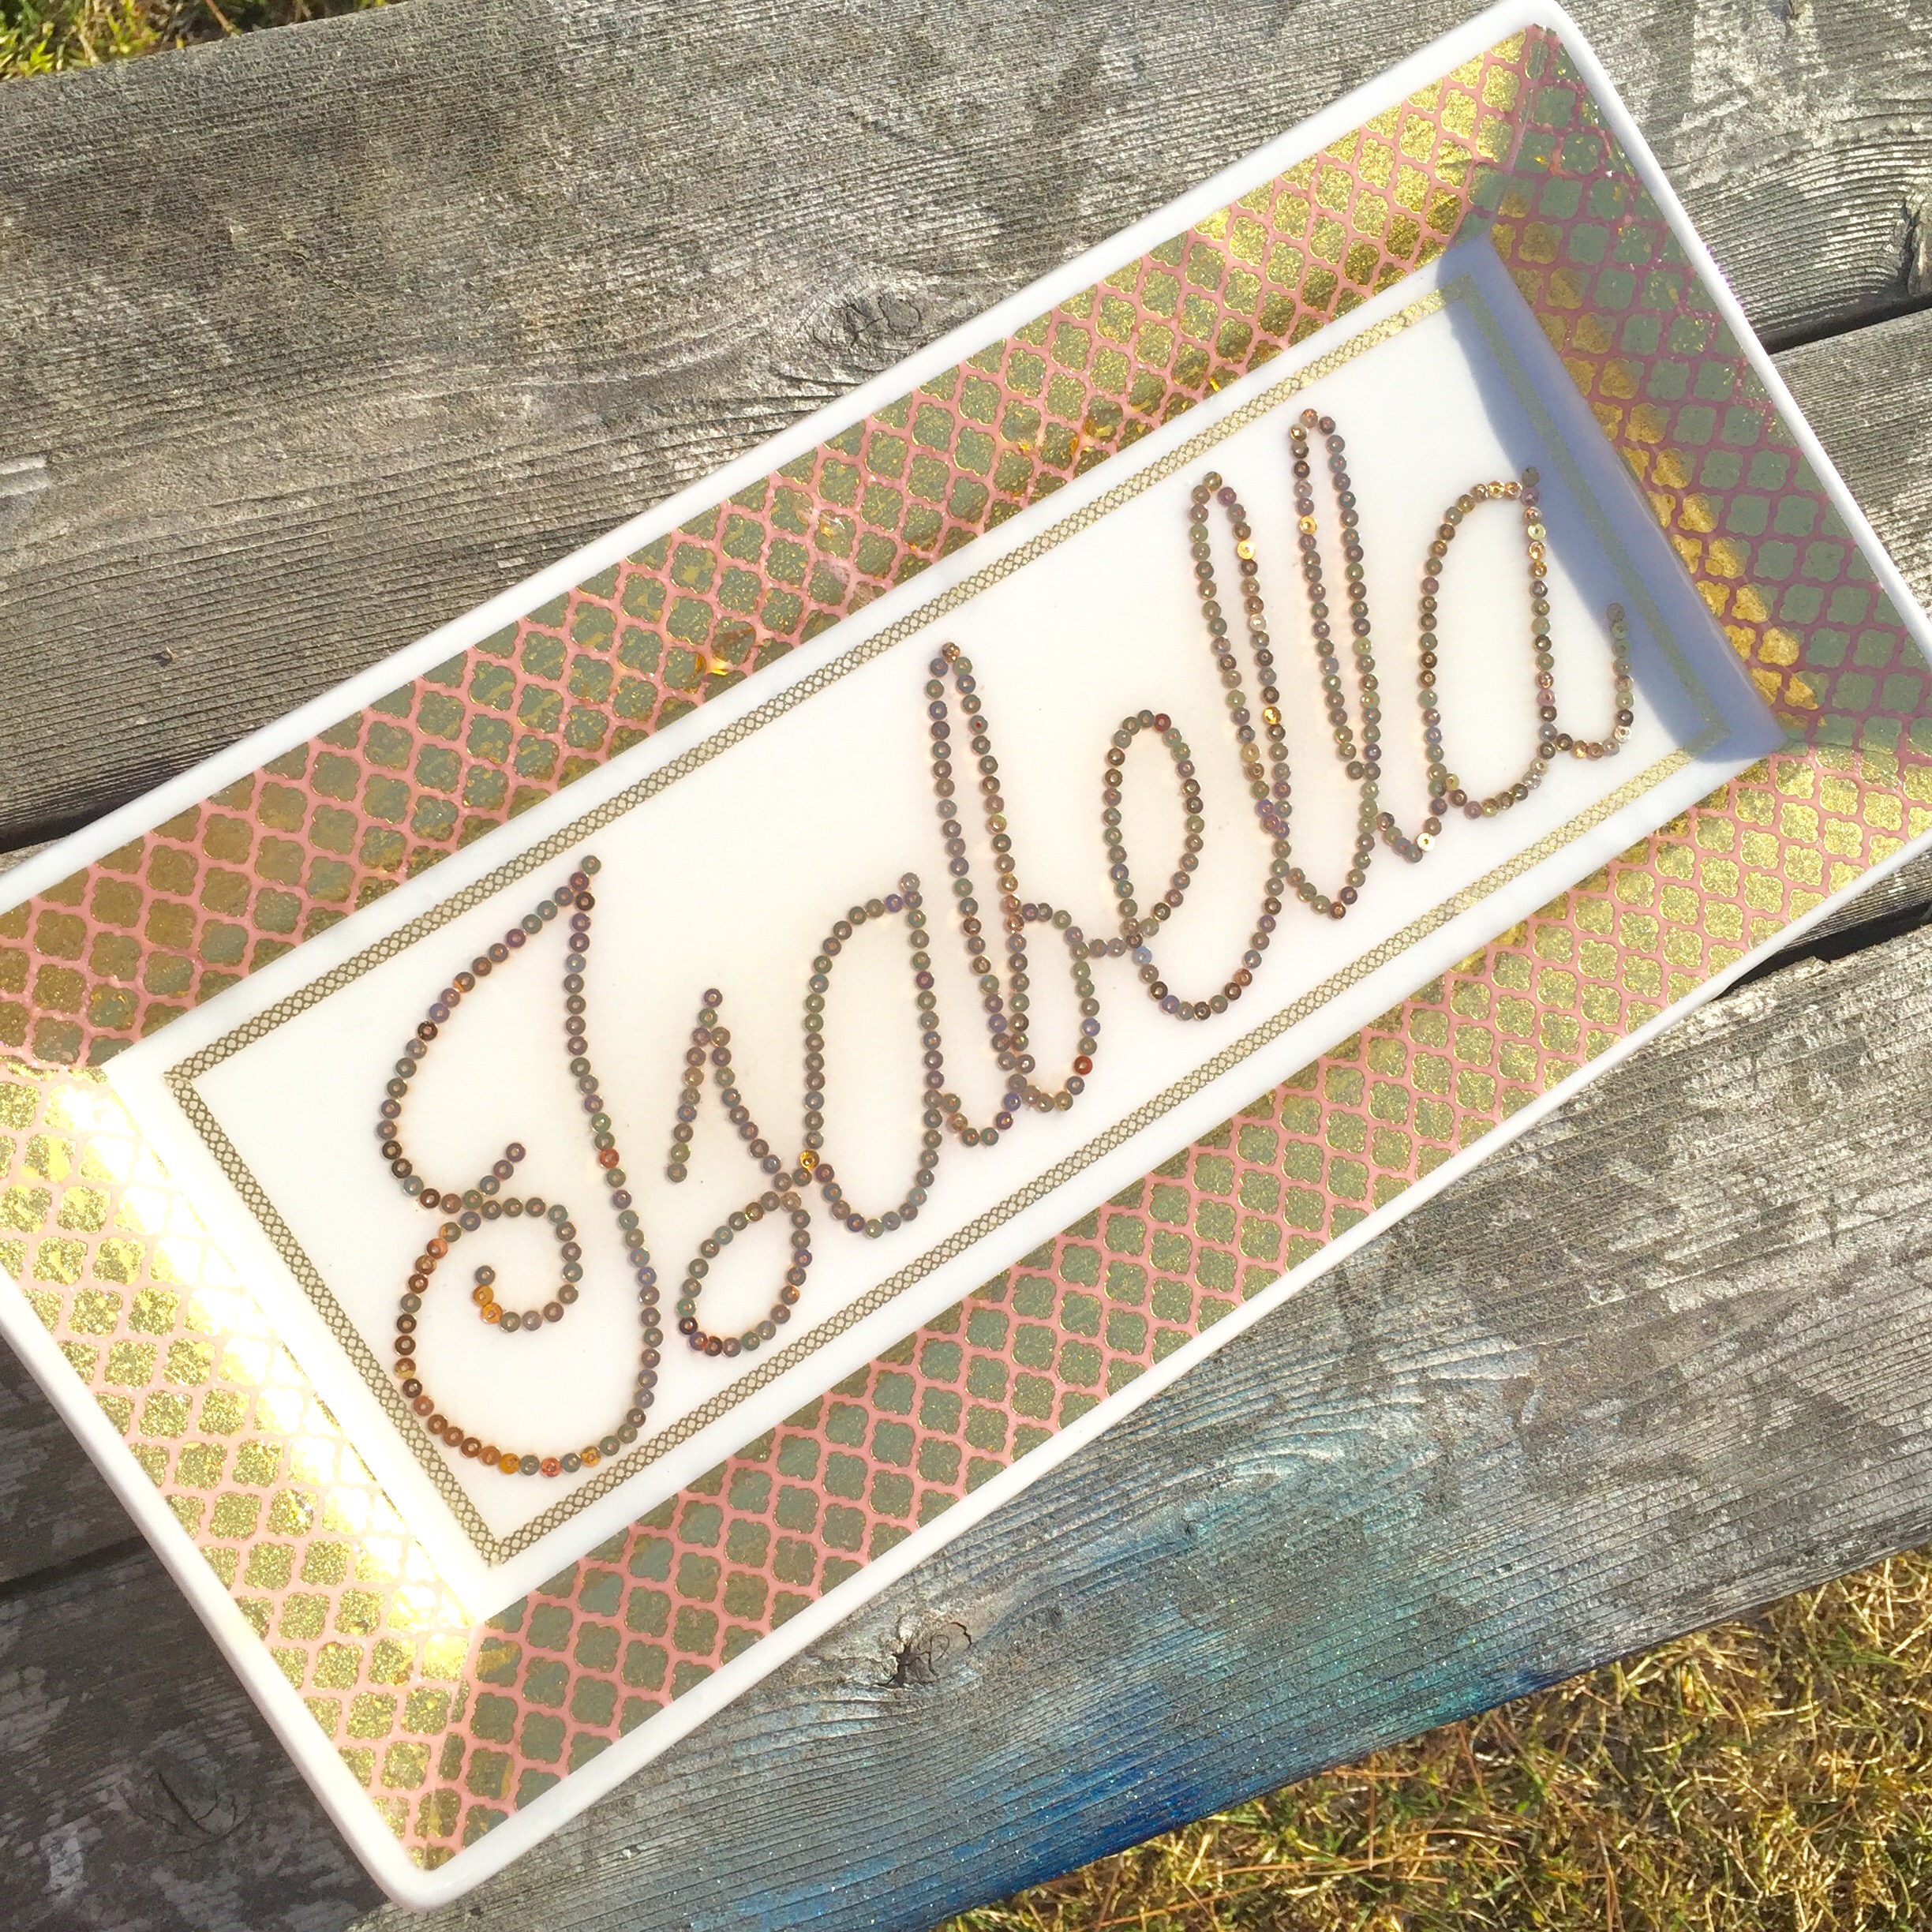
   
    
Reflecting the sunlight on the sequins and glass-coated finish. 

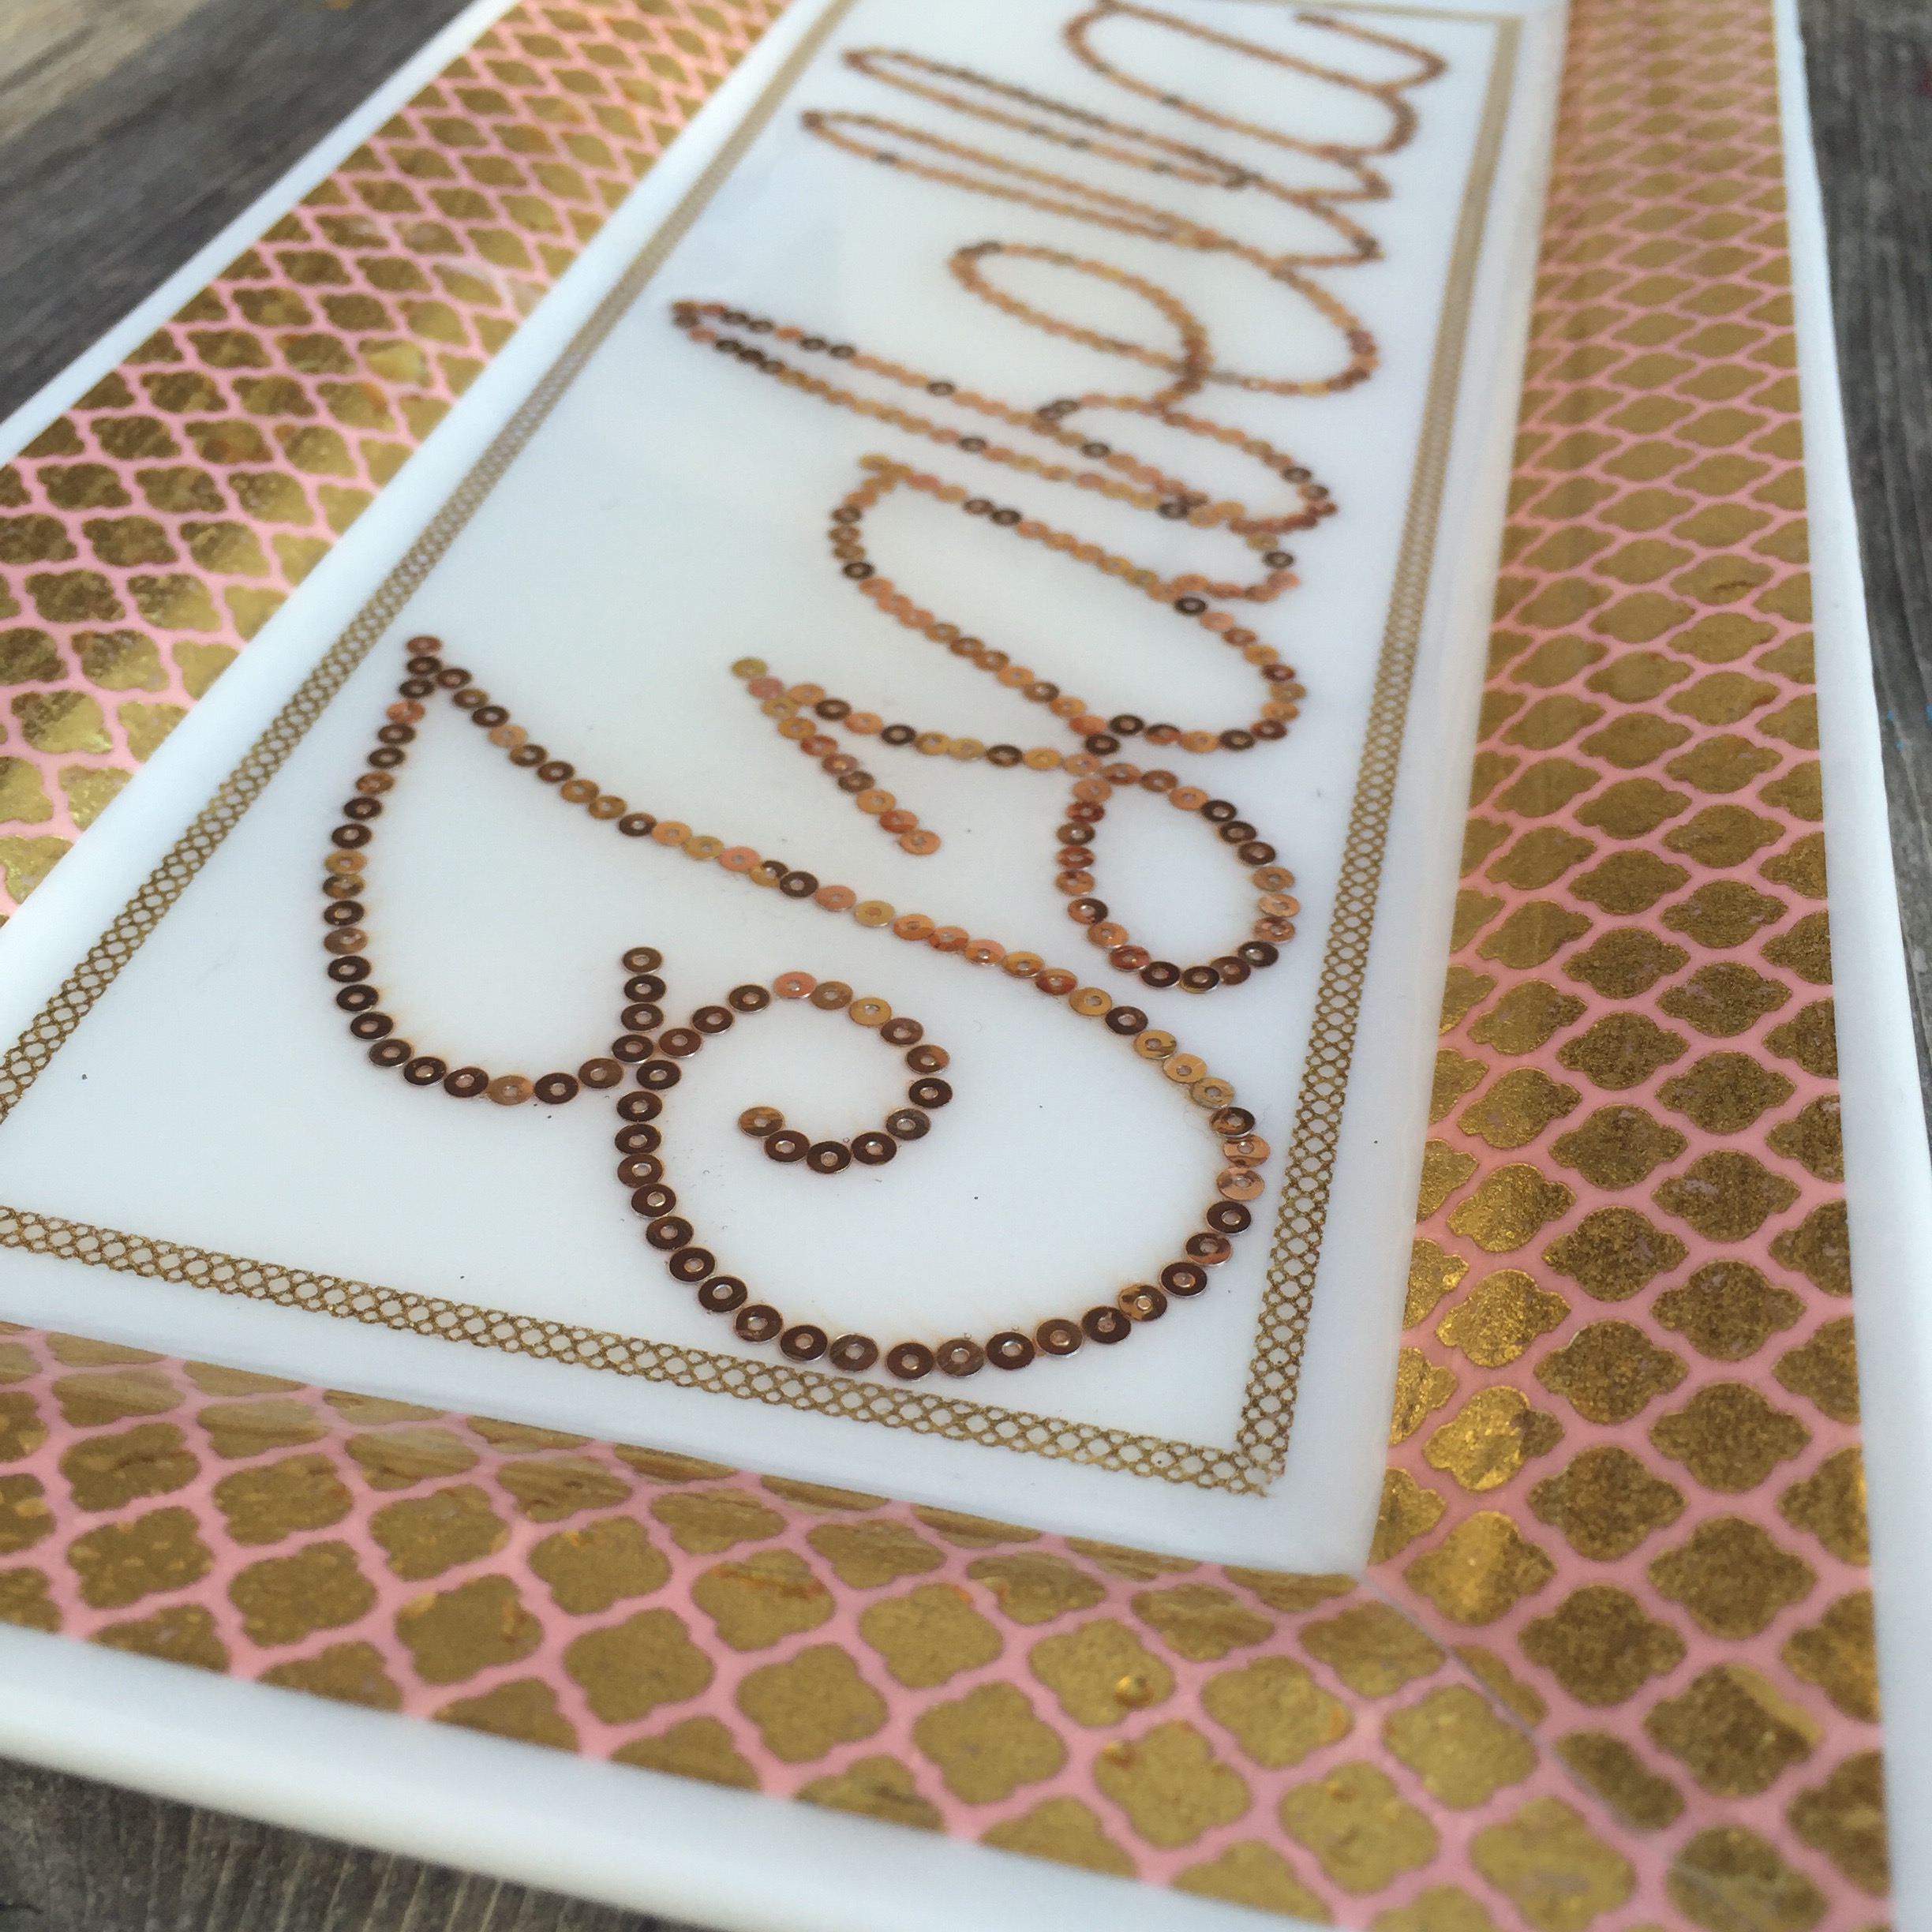
   The tape as etching up close. 


Muchness Craft Time!

It has been SO long since I’ve shared a craft here. I’ll bet so many of you don’t even know I do crafts. I do. I totally do crafts. Sometimes, I even write horrible poetry about the crafts I do. Because, why not?

Before I share this craft with you I just want to say for the record that when Molly turned 4 I made her an awesome Disco themed party and totally planned to blog all about it and share the pictures of the disco balls the kids made. It was total Muchness. I never shared the pics. She’s six and a half.

OK. That’s been weighing on me. Now that I got it out of my system, maybe I’ll share it… eventually.

Moving right along….

I cleaned out my garage and basement! It started as part of the curriculum of my 8 week Finding Your Muchness After Babyloss program… sort of a “clearing the clutter” part of the program,  but quickly escalated to an all-out call-your-uncle-and-beg-him-to-help-you-get-the-shit-out-of-your-house event.

It culminated in this beautiful sight:

Nothing like the feeling of dumping 500 lbs. of trash in one fell swoop.

But during the clear out I found my stash of FIMO clay from back in my college days!

I loved that stuff. I used it to sculpt some masterpieces…. with which to smoke from.

photo 4

(Nicotine products only. What?!?!?!?  —seriously- everyone thought I was a pot head because I…well, I’m not sure why – any ideas? But I totally wasn’t. I thought it was stupid to use drugs in order to act “cool” or”weird”… I was totally those things already! Score! As an adult, I know better. )

Anyhoooo, Molly wanted to do a project and she and Liat were tired of totally ruining my patio while I recorded the horror in parental pride.

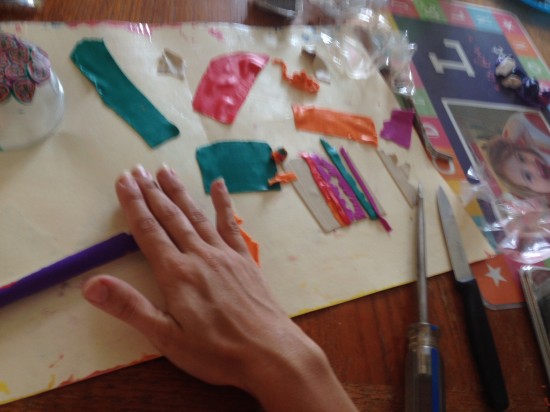
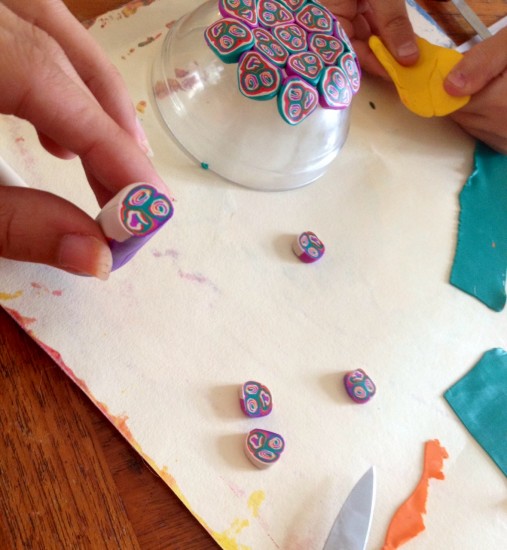
So I pulled out my fimo and the pasta maker that went with it and we got to work:

photo 3


photo copy

Then, Molly had the brilliant idea of filming us doing it! …but sadly, the mic on the camera wasn’t working… which in one way was good because it saved me the headache of having to edit the whole video for you. I just slapped it up on The YouTube as is, seeing as it was beyond repair anyway.

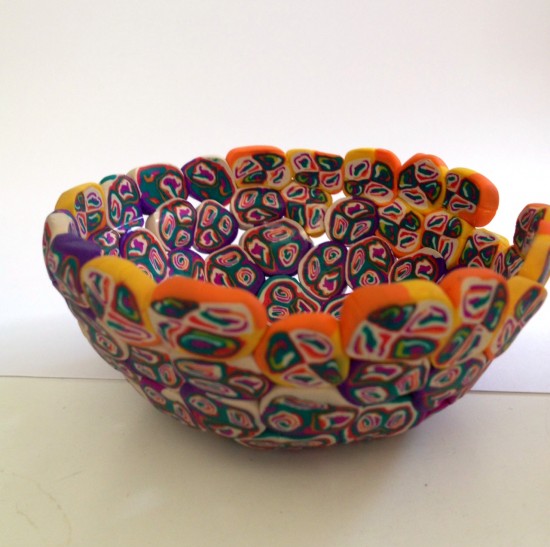
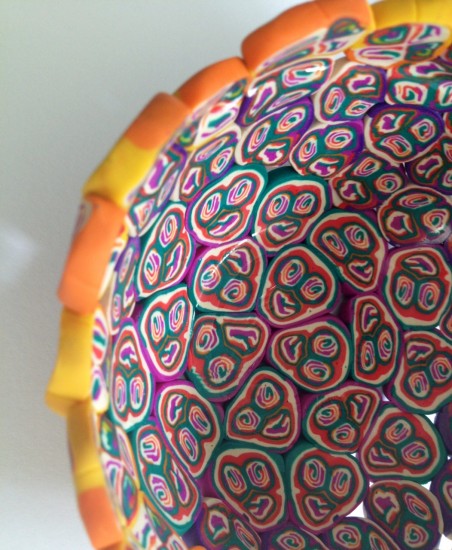
So, look at the pretty finished bowl!!

photo 1-1 photo 3-1

It’s missing a “tooth” at the top, but we think that just adds character.

Following this project, Molly asked me to use an entire $45 gift card she received for her birthday to buy an assortment of FIMO clay for her to make more stuff with.
I gladly obliged. So much better that than more Hello Kitty crap to fill my house. Though, she could probably make her own little Hello Kitty Figurine to match the little Kero Keroppi one I made sometime before the turn of the century. photo 5
Of course, hers won’t have smoking paraphernalia shoved up its butt.

Weekend Muchness Project. Paint will set your MUCHNESS free…

When Molly was three we bought a copy of the movie Annie. The kids watched it, as kids do, over and over and over and over again. Molly know the songs backwards and forwards and sung them under her breathe or in whispered hums in the back of the car. If anyone acknowledged her singing, she immediately stopped.

Nine or 10 months later a local group was putting on a production of Annie and I decided to take Molly. She was excited to be going somewhere special with me but didn’t really know what to expect. She perched on my lap with her back straight to get the best look and when Annie came out, boldly and clearly singing the opening lyrics of “Tomorrow” Molly spun around in my lap and, eyes wide, exclaimed “She has an AMAZING voice!” – those words, out of a four year olds mouth, with that much passion- I loved it.

From that day on, Molly would belt out tomorrow at the top of her lungs from the backseat of the car. Or, in the shower, or living room. It was like she’d suddenly been granted permission to use her voice. If only as adults we just needed that little bit of reassurance, right? A few weeks ago, I saw a YouTube video about this 5 year old painting prodigy, Aelita Andre. The beautifully artistic video of her gracefully yet playfully painting in her studio made her appear etherial and angelic.


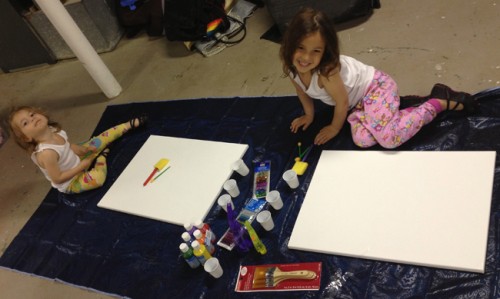
I think what was so compelling to me about it was that she was just doing what she wanted to do. No rules, no worries about using too much paint or making a mess or getting it wrong or staying in the lines…. the kind of freedom that only a child can capture without trying. So this weekend, I showed Molly and Liat this video and asked if they wanted to do it too. Like the singing, I knew that seeing someone her age express herself so freely would inspire Molly, who has a tendency towards shyness and has been known to freak out if she colors outside the lines. They were psyched. I printed out my Michaels 50% off Memorial Day coupons and we took a family trip to the craft store. before Then we went down to the basement and got busy! Here’s a “before” pic and video of the action. I loved making this video- It made me laugh out loud doing a “knock-off” of the very serious vid above.

Truth? As the girls painted, it was hard to stop myself from offering guidance or directions. I wanted to say “Try it this way” or “Don’t mix those colors together” but I didn’t. I just let them go for it. I put out the paint and I put out the glitter and I let them figure it out. It was so tremendously relaxing and so amazing watching them just explore the paint, the colors and their creative freedom. I wanna do this. Maybe together with some friends, some wine, and some music, this would be a totally amazing way to tap into a Muchness that has been feeling stifled for far too long…. Who’s in? 🙂

A Muchness Coincidence… and also maybe a bit creepy…

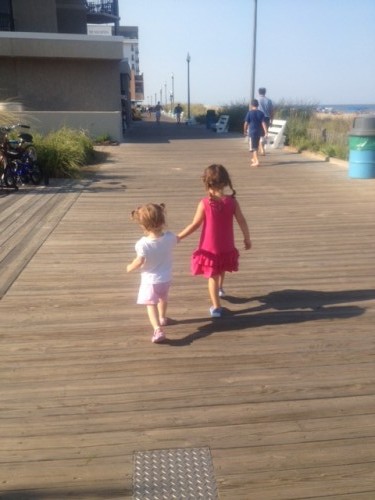
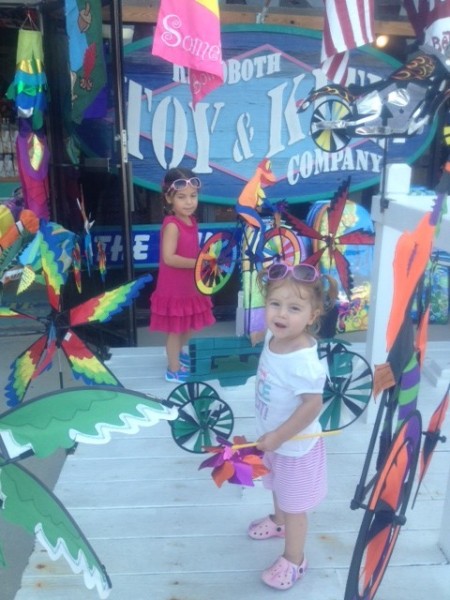
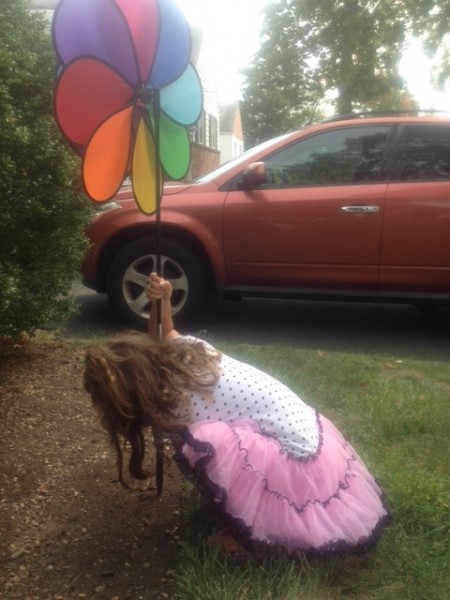
Last week on vacation the whole family went to a shop on the boardwalk to buy a pinwheel. The girls were really excited.
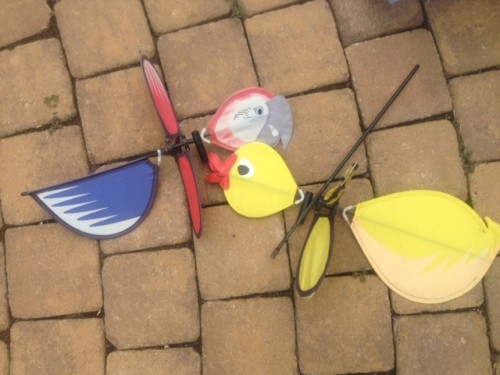
We’d gone to the same spot last year and Molly picked out a little ducky and parrot.
Last Year:
They were in the backyard all year and got the crap kicked out of them by the winter weather.
I Molly was excited to go buy a new one. This year the girls got to pick one together.
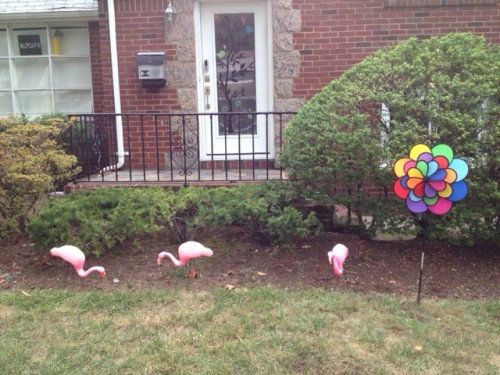
As soon as we got home, Molly got to work installing it in the front lawn.
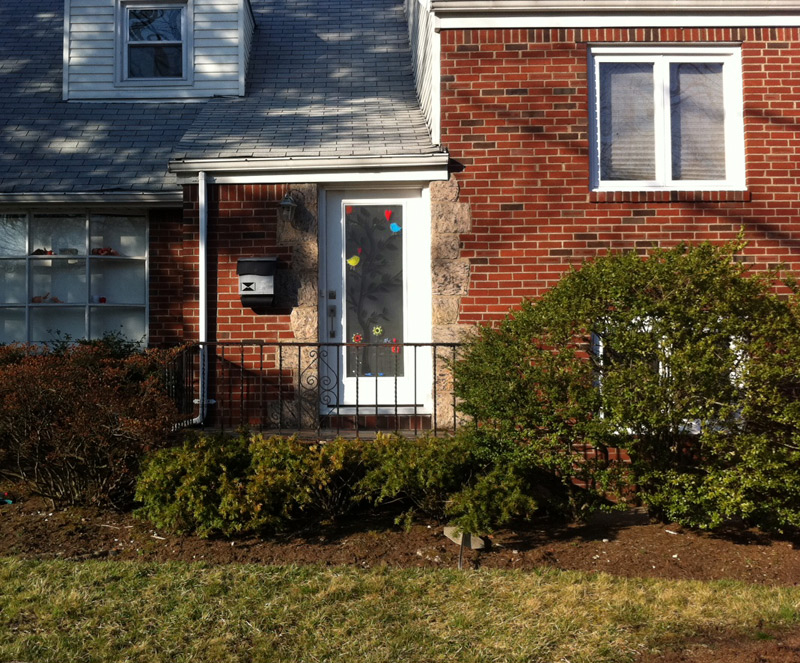
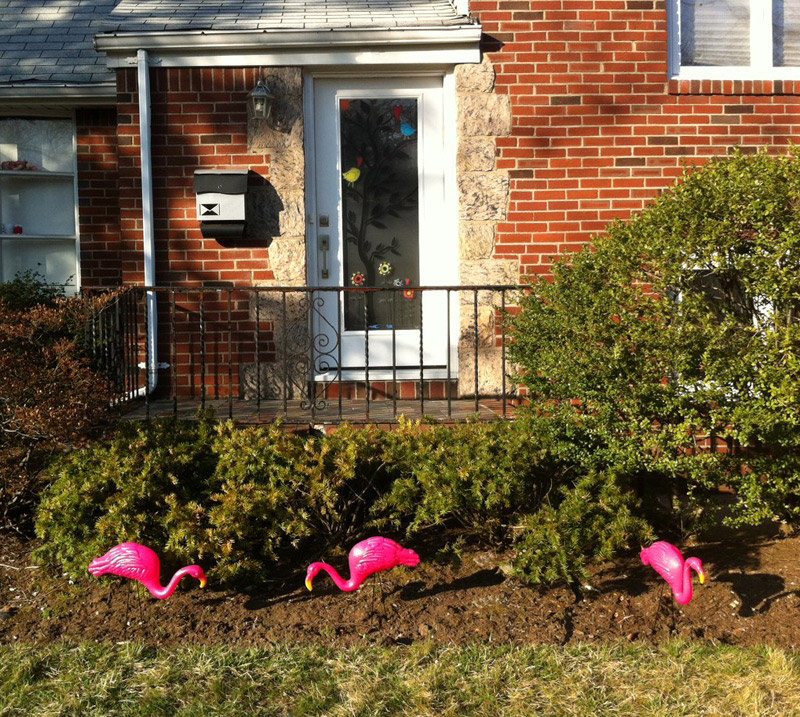
It looked really fun and pretty… Maybe a little lonely in our less than exciting front yard but those fading flamingos are (temporarily) keeping it company:
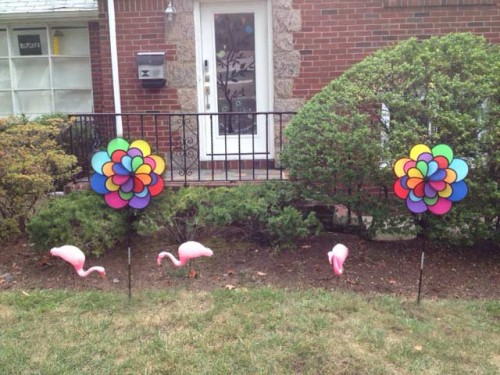
If I’m honest,  I kinda was wishing I had something else there too, just to balance it a bit. But I don’t. So be it.
Anyway, today I went to work. My coworker, who’d also been on vacation clear across the country, told me she saw something on her trip that made her think of me, so she bought it! How nice is that? I assumed it was some sparkly doodad that’s easy to travel with and screamed “Look at me!! I’m Muchy!!”
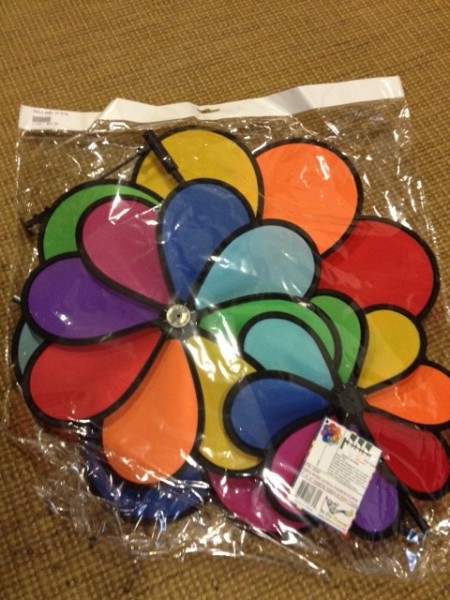
So she went into her office and returned with an oversized bag. Inside?
I nearly fell to the the floor. I mean, REALLY? Folks- she didn’t know about our pinwheels. We have NEVER had a conversation EVER about the fact that last year we bought pinwheels on our vacation. I hadn’t posted any pictures or comments or ANYTHING that would have made her brain say “Pinwheel? Tova!” And that is it the IDENTICAL pinwheel…
I don’t know… it’s all just a  bit TOO MUCH for me. 🙂
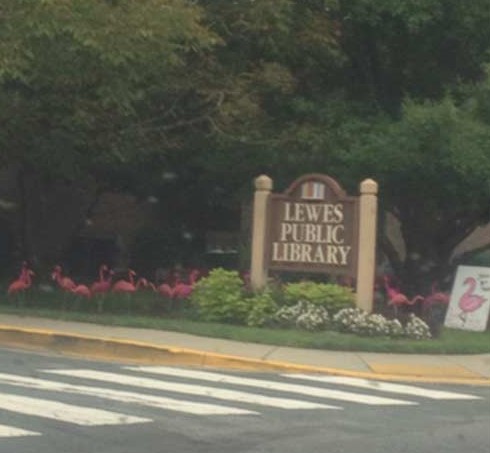
Seriously, the only thing I need to do now is yank out those sad bushes that attract too many bugs and install a flamingo garden like the one I saw in front of the Lewes Public Library.
Could you imagine? My neighbors would absolutely LOVE me!!!! 😀
hahahahahahahahahahah

Hanging out in the old internet neighborhood…

Once upon a time, before I’d ever heard the words TTTS and Babyloss, I used to spend my free time meandering around the internets on blogs that were lighthearted, enjoyable and fun. It’s been a while since I’d visited any of those sites, but today, I thought “hmmmm, I wonder what’s going on at Apartment Therapy?” I used to read that blog all. the. friggin’. time.

Today I logged on and boy has it changed! I mean, it’s still a home decorating blog but there is just a whole lotta other stuff going on there! hmmm. nice.

I saw this post and I thought “Oh, that’s pretty muchy! I’d like to share that on my blog.

Check it out: 10 simple things that can make you happier at home.   

If you have a minute you should check out the list- there are some gems there, but my favorite is #5: 

“If you can’t get out of it, get into it. This tip comes from The Happiness Project By Gretchen Rubin. I love the message: The dishes are not going to clean themselves, so you will do it, and you will like it! (Unless, of course, you can outsource this job, in which case I say: Nice work!) Otherwise, get into doing the dishes. Feel the soothing warm water on your hands. Enjoy the tickle of the tiny bubbles. Crank your favorite album at an unusually loud volume, do a couple fist-pumps while shouting “Can I get a hell yeah for the dishes? Hell! Yeah!” and pretend you love it.” 

Ya know what’s funny? I got an advance copy of Gretchen Rubin’s second book, and it’s called Happier at Home and I’ve been meaning to finish it and write a review, but I’m a slow reader (especially when it’s filled with so many gems I have to stop every 5 seconds to highlight something…hmmm- put that on my never-ending to do list…. right below “rewrite to-do list because Liat scribbled all over this one…”)

OK- I’m rambling. The other one I loved was number 4:
Start a one-line-a-day gratitude journal.
Ya know why I loved that one, right? OF COURSE YOU DO! That’s pretty much your Muchness Challenge!!! (Take a picture! Upload! Share!! Muchness Multiplied!… yay!?)

Anyway, like I said, go check out that post. It kicks. And while you’re there, check out this FANTASTIC –  OMG – I CANT BELIEVE ONE WOMAN COULD SINGLE HANDEDLY CREATE THAT INCREDIBLENESS WHILE ON MATERNITY LEAVE – bathroom floor. I’d nearly forgotten that it was there… but I reread all the nice stuff people said about the bathroom floor that I retiled in pennies (all heads up! You betcha!) after Molly was born, and I thought “Hmmm, In January 2009, I asked the question: “How should I decorate this bathroom that I tiled in pennies.” and in the three and a half years since, all I’ve done is  hang a light and mirror. Maybe it’s time for a Muchy Makeover, Powder room style!!

Penny Floor

Good Questions: Ideas for the Penny Tiled Powder Room? | Apartment Therapy

.


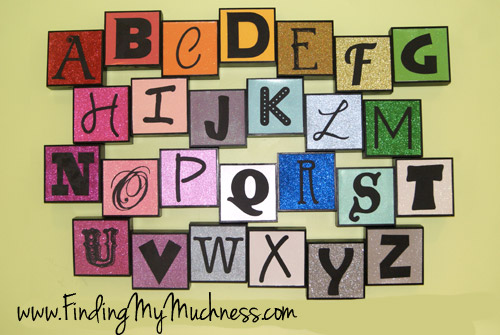
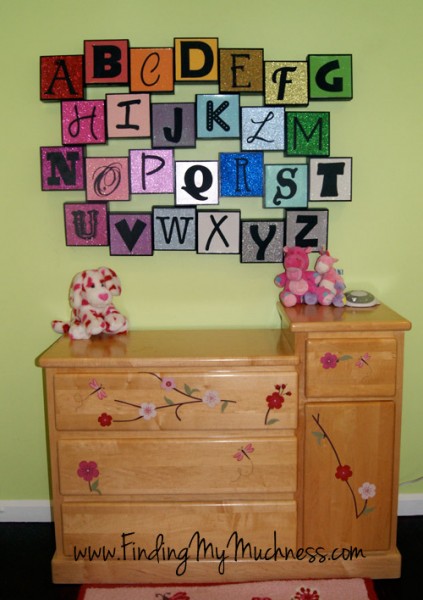
Muchtastic ABC Chart – DIY – (And Day 22 of My Headshot Challenge! :) )

So here’s how it began, back in 2011,

I was in the dollar store, that place is like a 7th heaven.

I’m always finding stuff that others might see as trash,

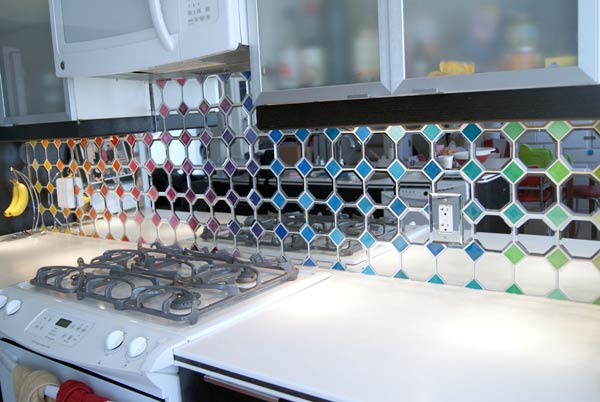
For me it looks like tiles to redo my backsplash!

Sitting on a shelf looking really quite distressed

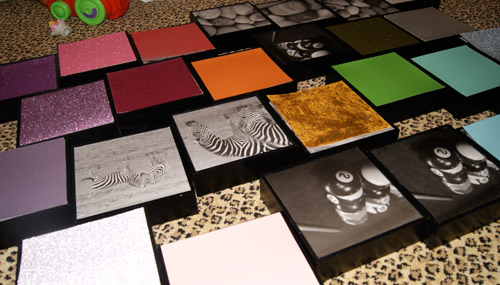
were these wooden cubes with photos, I was really not impressed.

But then I saw the sticker, it was 3 frames for one dollar!

“you cant just leave them here!” I heard my brain a’hollar

So I took a set of three, and put it in my cart,

but I couldn’t just stop there, had to listen to my heart.

So I took another set, then another and one more

And when I turned around, I had cleaned out the whole store!

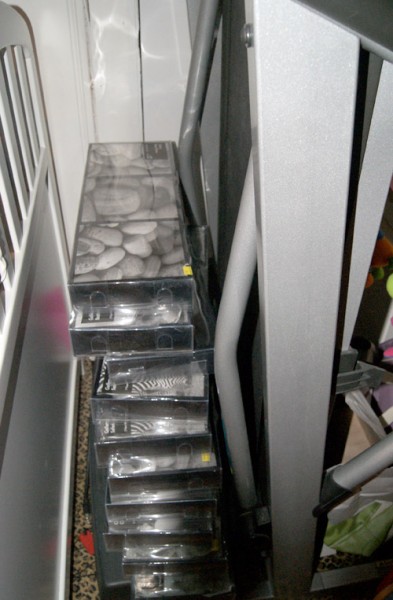
So I brought my purchase home, and stacked them by the treadmill,

Where that sat, and sat , and sat.

(Clearly, the threadmill got no use either. But anyway…)

And then one day it hit me, just clear out of the blue

I would make an ABC chart that sparkled and was cute!

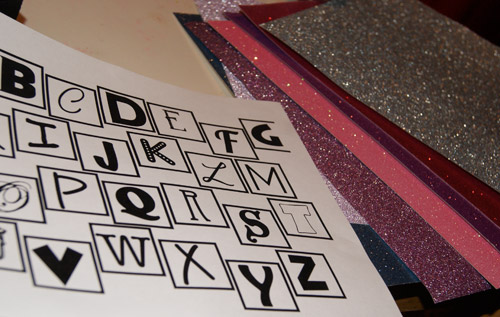
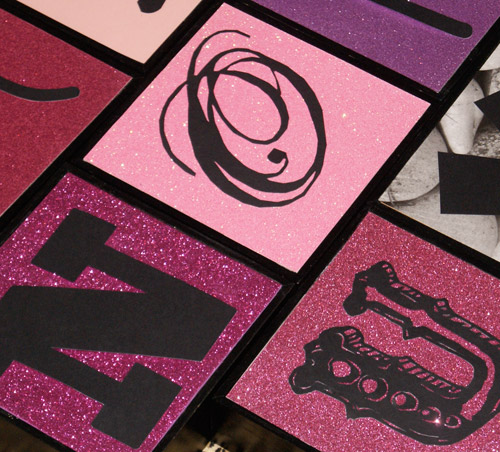
Glitter paper I selected that everyone would want

and by computer I designed it, it’s all about the font!

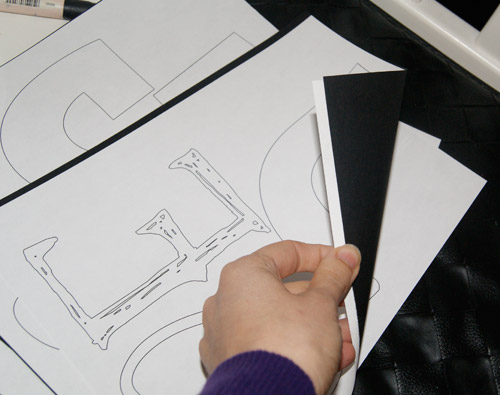
I printed out the letters, backwards and to size.

then spray mounted them to cardstock, and I can tell no lies-

that cutting it was tedious, I had to use a blade,

but in the end I love  it, though my fingertips were frayed.

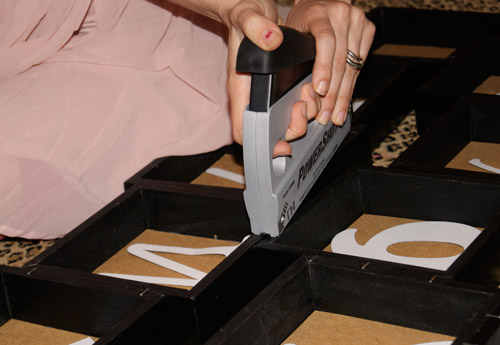
The frames I put together with a staple gun and tape.

it held it all together and I’m pretty sure it’s safe.

I laid out all the colors and arranged them out just right,

did I mention when I did this it was always past midnight?

But finally it was complete, I will admit I’m proud.

Sharing it on my website is the closest to a crowd.

That I can show and ask “You like?” and hope to get some comments,

(I have nothing to rhyme with “comments” but am leaving it there anyway, hint hint.)

My kids they love it and they point and sing the ABC’s

And in the daytime all the glitter brings me to my knees. 🙂

So thanks for reading all about this project I completed.

If you wanna, I’d be happy, just to know it’s tweeted!


Weekend Muchy Makeover!!

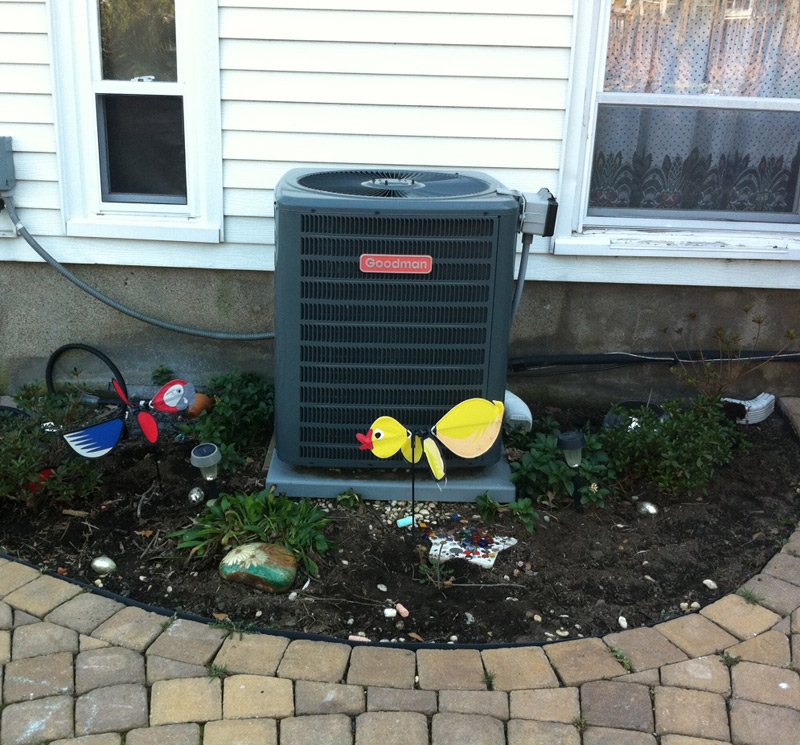
I think every NJ home needs a bit of Boca.

These were $2.50 each at Target. But the Muchness they add to our garden is priceless!!

Front Yard Before:


Front Yard After:

Back “yard” Before:

Back “yard” after:

I told landscaper that I could / would not ‘garden’ and he should just leave that area around the AC unit bare for me to fill with random colorful things. He didn’t believe me and now, every season I just yank out the stuff that grows from the roots. I really wanna fill that whole area with a mish-mash of random tacky crap. That would make me happy. (Except my twins rock. That’s not random tacky crap. That’s my heart.)

Decluttering!!! Doing a little bit every day will keep the momentum going- I can FEEL IT!!!

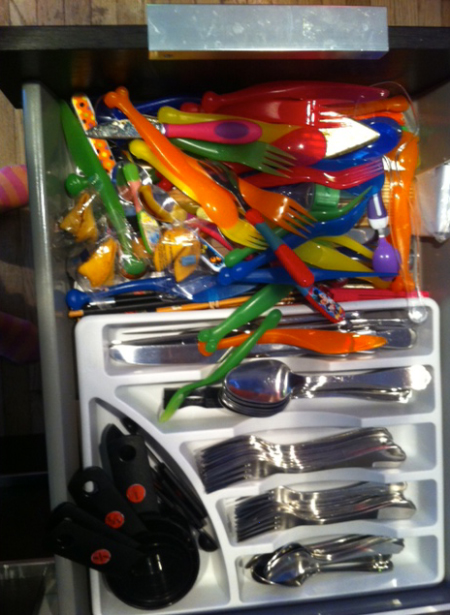
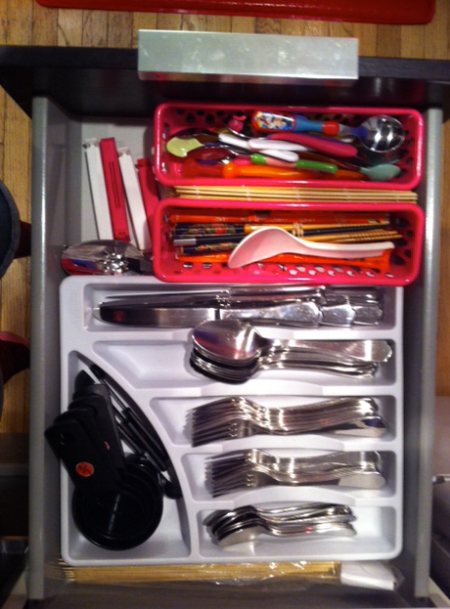
today was just me and the kids and Ithought “I’m gonna get NO Decluttering done!” But keeping my expectations low, I managed to get through two important drawers and a lot of my Family room shelves. I’ll save the shelves for when they’re REALLY done. but check out some of the drawers:

BEFORE:

AFTER:

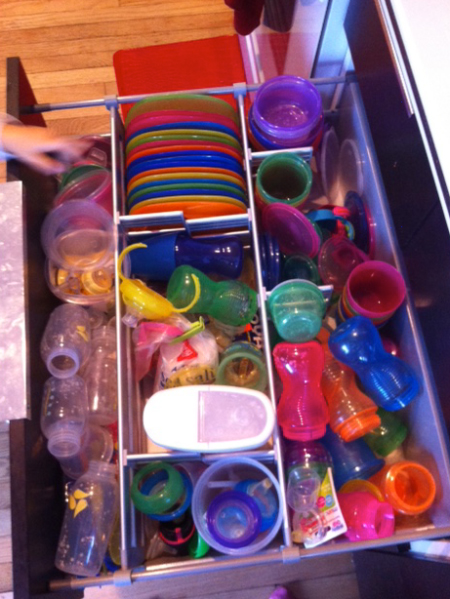
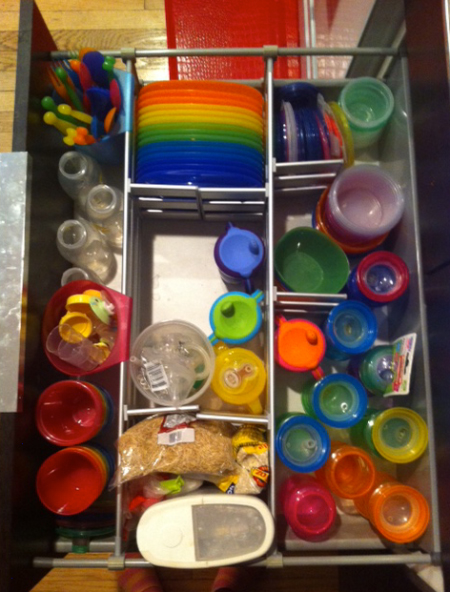
… I stole those pink baskets from the pens in my other junk drawer- planning to buy as little as possible!!!! And the Ikea kids cutlery made it’s way into a different drawer. Behold:

BEFORE:

AFTER:

Those hanging Ikea baskets work great on the rails, and I have them just because I figured they’d be good for SOMETHING (I also keep hair elastics and barrettes in them in the bathroom)

It feels great to open  up the drawers and be able to just grab something…. almost makes me want to do dishes!!! (almost)

🙂

What are some of your Before & Afters?