Come on baby, light my Muchness

Don’t expect me to explain what the post title means. It uses the words light and Muchness and that’s what this post is about.

I was so inspired by the makeover that David Bromstad and HGTV’s Color Splash brought to my house. (what? you didn’t know they were here last week? You missed it here, or here, or here….) In all seriousness, David listened to what I said and interpreted a room for us that is so amazing, so enjoyable and vibrant and happy and truly, so “us”, that I really feel like the Queen of Muchness in there. Especially when I’m sitting on the chairs on this previously mentioned receipt. They are the Muchness thrones.

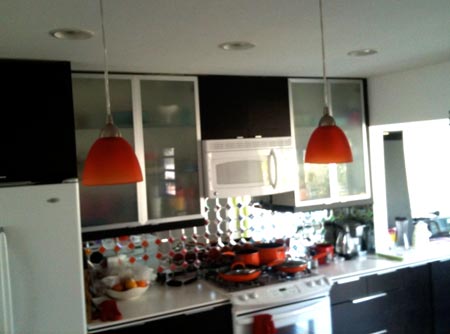
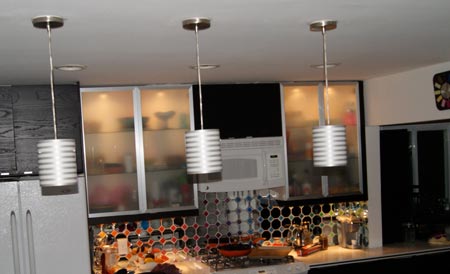
But I digress, and I will stop kissing Color Splash ass for just a moment. I have these pendant lights in my kitchen.

There are three in this location. Not two.

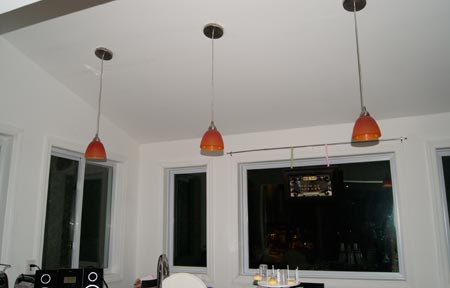
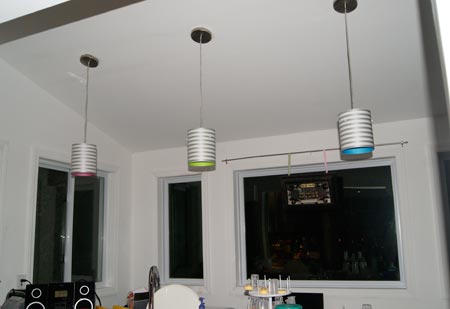
And there are another three in the sunroom (to the right of the pic)

Three more in the sunroom

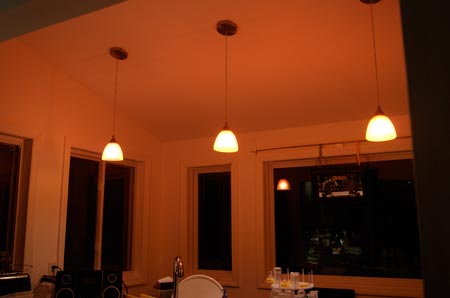
I hate them. I hoped they’d be gone when I got back from my makeover. They weren’t. They were still there (In the kitchen, which opens to the makeover room, which I can’t show to you… yet) And I hated them more than ever. Those ones in the back sunroom are the worst. When you turn on the light  it makes the whole room orange. It’s like a bordello- and not in a good way. See:

Not Cute. it's like hanging out in the fire pits of hell.

So, inspired, I decided on a DIY fix. My first plan was to go hunting for 6 cut crystal bowls or glasses as thrift shops or flea market and get holes drilled in them to create new shades. Then reality set in and I realized I don’t have time to do that- and it likely wont work. So I went to Christmas Tree Shops to be inspired. I was inspired to buy these, and $200 dollars worth of other crap I don’t need (but really, really wanted) but nothing for the lights.

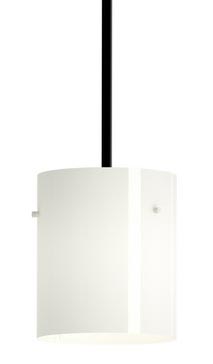
Though I swore this room would hence forth be an IKEA FREE ZONE, (minus the kitchen cabinets- ya know, a very minimal element)  I went there anyway. If you hack something Ikea, it’s not really Ikea, and I thought maybe some cool vase would work. I was almost out of the store with these when I saw these:

Cheesy plastic shade. It literally comes flat and you have to make it a cylinder yourself.

Not much to look at, right? But, I was inspired… and they were $3 each. Sold.

Come home. A little striped tissue paper for gift wrapping and a little spray mount and I’ve got these:

Silver and white striped tissue paper.

Much calmer. Much cleaner. Much classier, and I love how it matches the new living room.
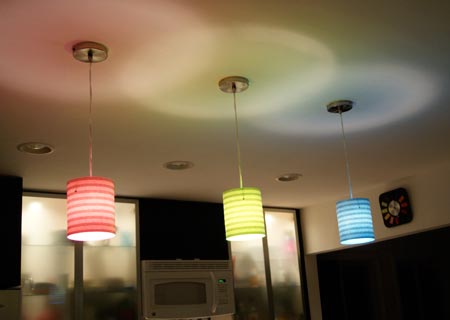
What? They look a little lacking in the Muchness? Well, take a look at this:

Hell's yeah!

That’s just a little colored tissue paper lining the inside. Subtle… then ka-pow!
Oh, goodness, how I wish I could show you the other colorful light situations in this room. But I cannot.

So check it out from eye level:


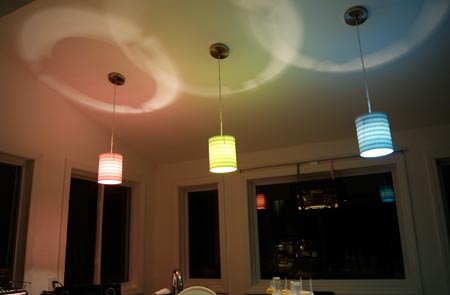
and in the sunroom:

sunroom lights off

...and on...and on...and on....

The big picture:

Now My lights are Muchy, and I am happy.

What do you think?


The Backsplash


So much Muchness!

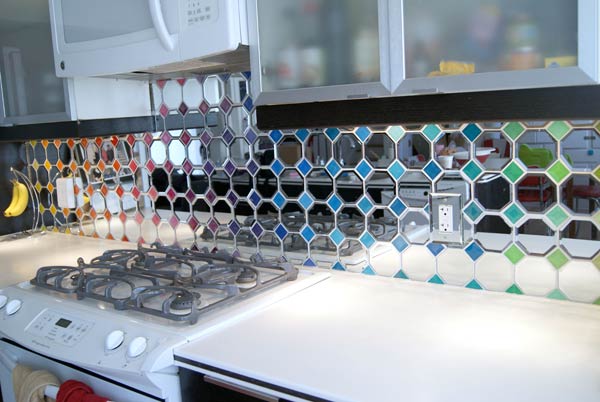
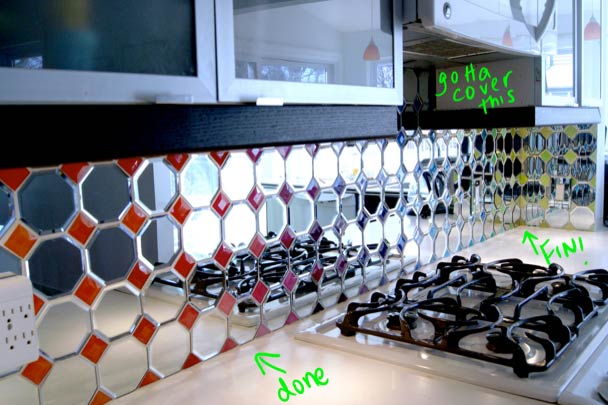
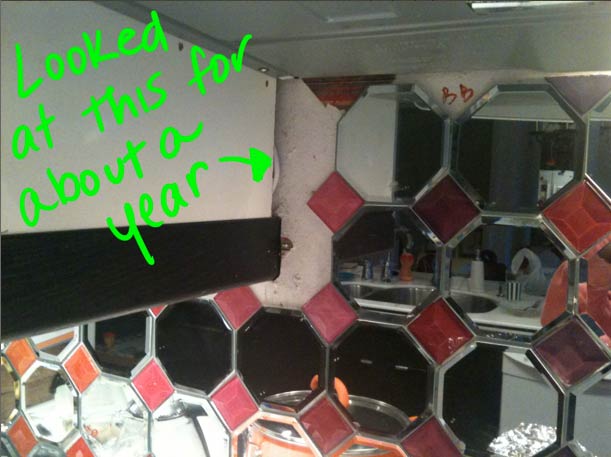
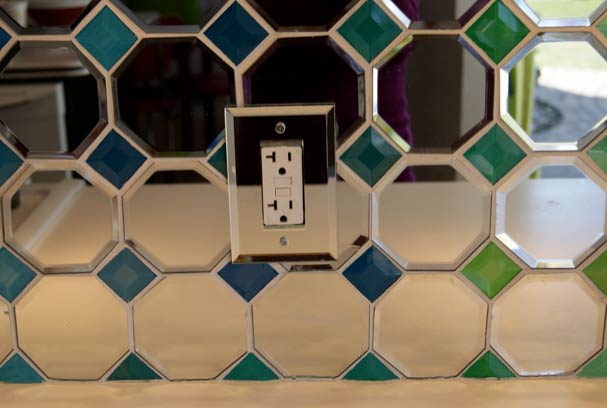
So, I mentioned in the original 30 Days of Muchness that I finally, after 17 months, completed my backsplash!!! Its been a couple of weeks and I’m LOVING it. It is exactly what I envisioned, and the feedback I’ve gotten is super.

So now, I’m just gonna give a little bit of background;

I used mirrored coasters from Amazing Savings. That’s like a dollar store but much more awesome. I’d been looking for almost 18 months for the right material for the backsplash… I didn’t want something ordinary and I really wanted something colorful that sparkled but wasn’t 800,000 gazillion tiny rhinestones glued to the wall (like my wedding shoes.) I saw the coasters, at a buck apiece and knew I’d hit the jackpot. I slapped those suckers on the wall with tile adhesive. Except the ones that had to get cut to fit the edges… took a while to figure out how to do that.

But what to put in the 1.5″ space between them? Tiles don’t usually come in 1.5″ and besides, I couldn’t really decide on a color to commit to. Many months of online searching led me to clear beveled tiles, available in 1.5″. They were about 65 cents a piece. All together that brought me to around $13 per square foot in tiles.

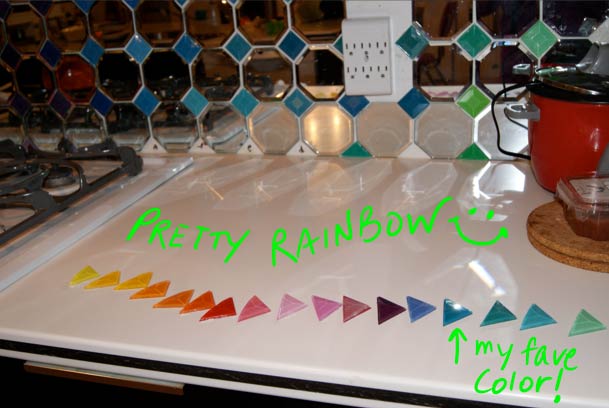
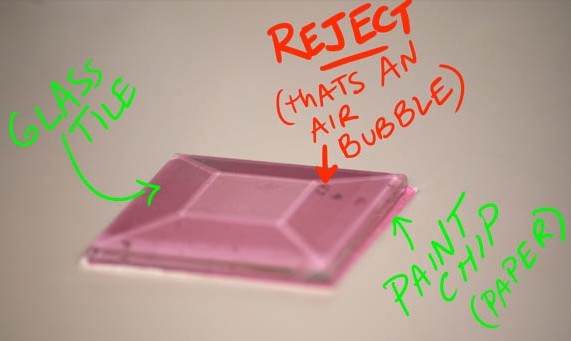
I don’t know where the idea to use paint chip samples came from, but thats what I used to “color” the glass. I swiped a crapload of swatches from home depot and layed them out in a gradient format. I numbered the spaces and numbered the swatches and started glueing the glass to the paint chips. and I glued. and glued. Then I started mounting them on the wall with the tile adhesive. But it was water based and started softening the paper and I started to see air bubbles between the paper and glass. For some tiles, it was too late and I have learned to live with it. No one really sees it but me. But I switched to a highly toxic marine glue that had no water in its base and dried really quickly. most of the tiles used that and they are perfect.

I bought a handheld rotary glass cutter to cut the tiles and was able to snap the glass ones in half with no problem for the edges. But the mirrors were too thick to cut that way. Eventually I brought the mirror tiles to a professional glass cutter who charged me $5 per cut. That added almost $250 bucks onto the total price, which sucked, but the results were worth it.

So, it took 17 months because I can get kind of lazy. I also had a pregnancy (where I didn’t work on it at all) and baby over that time.

I thought I had more pics of the clear glass tiles and the paint chips before they were glued together, but apparently I’ve sniffed so much glue I don’t know what I’m talking about cuz they are nowhere to be found.

Oh- after it was all done I grouted it. With grout. Unsanded. And I had to push the grout up into the spaces with my fingers cuz the spaces were so unbalanced with the the beveled edges, and also I didnt wanna scratch the mirrors with a tool pushing too hard.

Also- the mirrors areall handcut and no two were identically sized, so the grout lines are all unbalanced. I like that because it adds character and meant I only had to keep my tile lines parallel and straight- not perfectly perfect.

Synopsis:
Total time: 17 months, start to finish
Total cost: Mirror tiles- about $175
Glass tiles- about $110
Glass cutting tools- about $40
extra to cut mirrors professionally – about $250
grout, adhesives & glues- about $40
mirrored outlet covers- $10 / pc x 3 = $30

TOTAL:  about $645.00  Certainly not the cheapest option available…. but no one else will have anything like it, and that’s, to me, priceless.

Pretty, Pretty Dresser

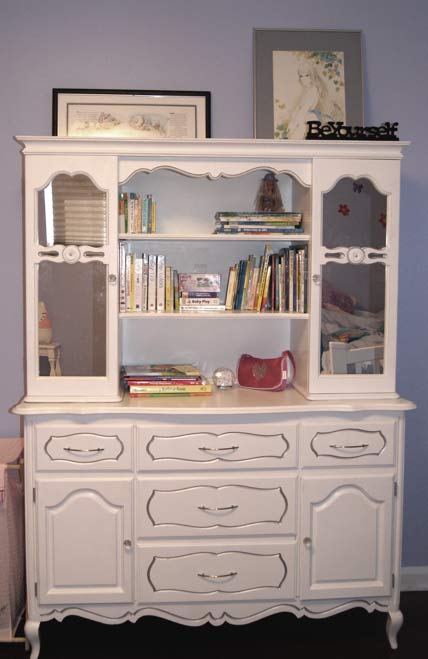
I got this for free. My uncle had it in storage. I saw it and said “That’s pretty.” He said “Take it”. I did. It sat in the basement till I had a baby and therefore, enough time to refinish it. Then it took me an additional 3 more months to put in the mirrors. The last, easiest step always takes the longest…

What do you think?
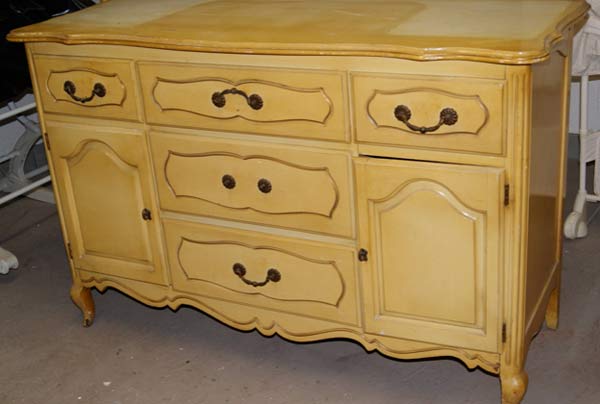
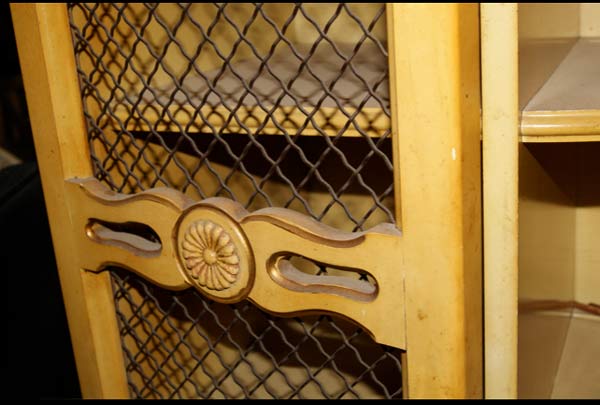
Dresser Detail before

Dresser Detail Before

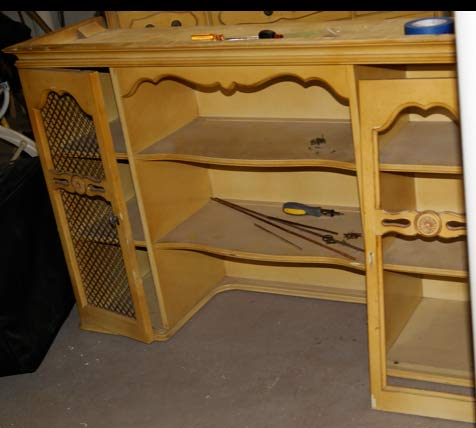
Dresser before, top hutch

Dresser before, top hutch

Dresser before-bottom

Dresser before-bottom

Ain't it perty?

After!

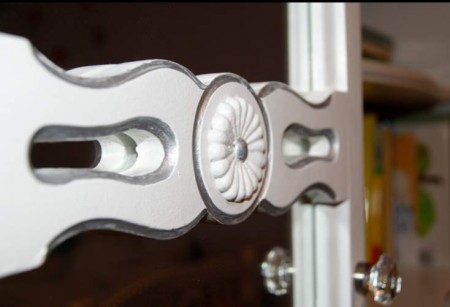
Silver Paint pen!  


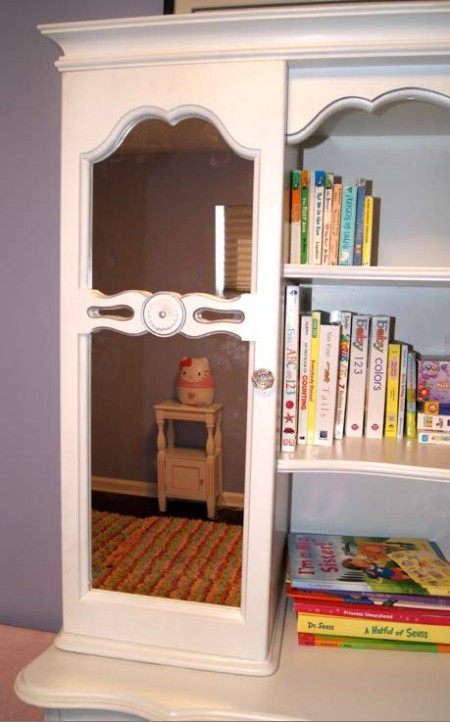
After Door Detail

Hello, Hello Kitty!

The mirrors add the Muchness!